Your Website Launch Checklist: From Domain to Discovery
Launching a website can be overwhelming — especially when you’re juggling everything else in your business. Between picking a platform, writing copy, figuring out SEO, and making sure everything functions well, it’s easy to second-guess your choices.
Whether you’re building your very first site or refreshing your current one, this step-by-step guide will walk you through every part of the process. Think of it as a complete (and realistic) checklist to take you from buying a domain to hitting publish. We’ll cover each step: strategy, content, design, SEO, and all the tiny-but-important tasks that make your site work behind the scenes.
This post contains affiliate links, which means we may earn a small commission if you make a purchase through our link. We only recommend resources we love and trust. You can read our affiliate disclosure here.

Step 1: Website Pre-Planning
Before you dive deep into fonts and color palettes, let’s start with the foundations. Pre-planning might not feel as exciting as hitting publish, but it’s the part that makes everything else smoother.
This is where you get organized, clarify your structure, and make sure you have everything you need before you even open your website builder. Think of it like packing for a trip: the better your bag is packed, the less likely you are to end up missing something you need.
Whether you’re building your site yourself or working with a designer, this step helps you set the tone, avoid headaches, and feel more confident moving forward.
Here’s what to check off first:
Domain name: Choose a domain that reflects your brand, is easy to type and spell, and quick to remember.
Branded email: A branded email address (like yourname@yourdomain.com) looks professional and helps your emails stay out of spam folders. You can create a branded email through your domain host or with platforms like Google Workspace.
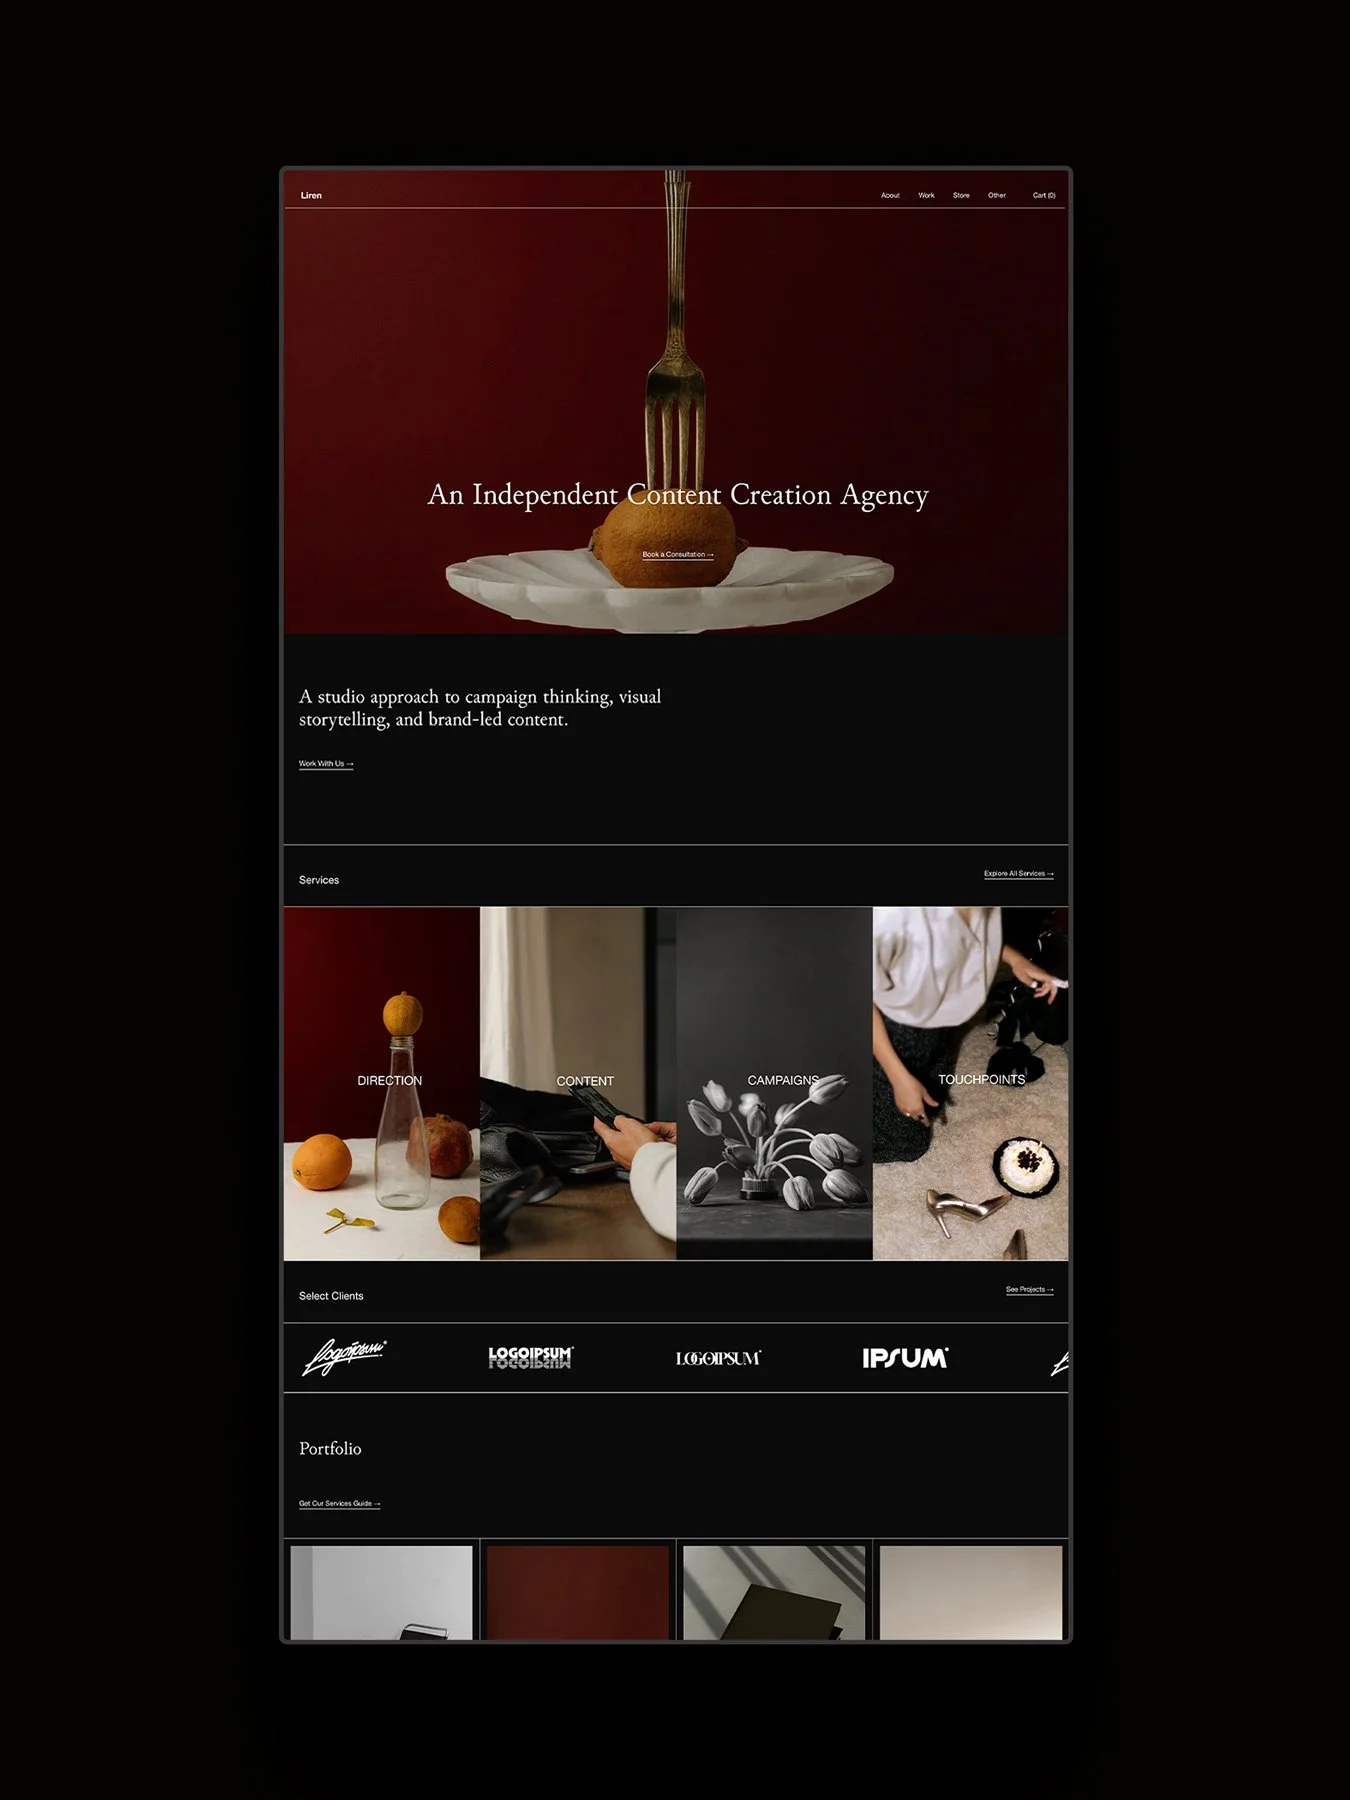
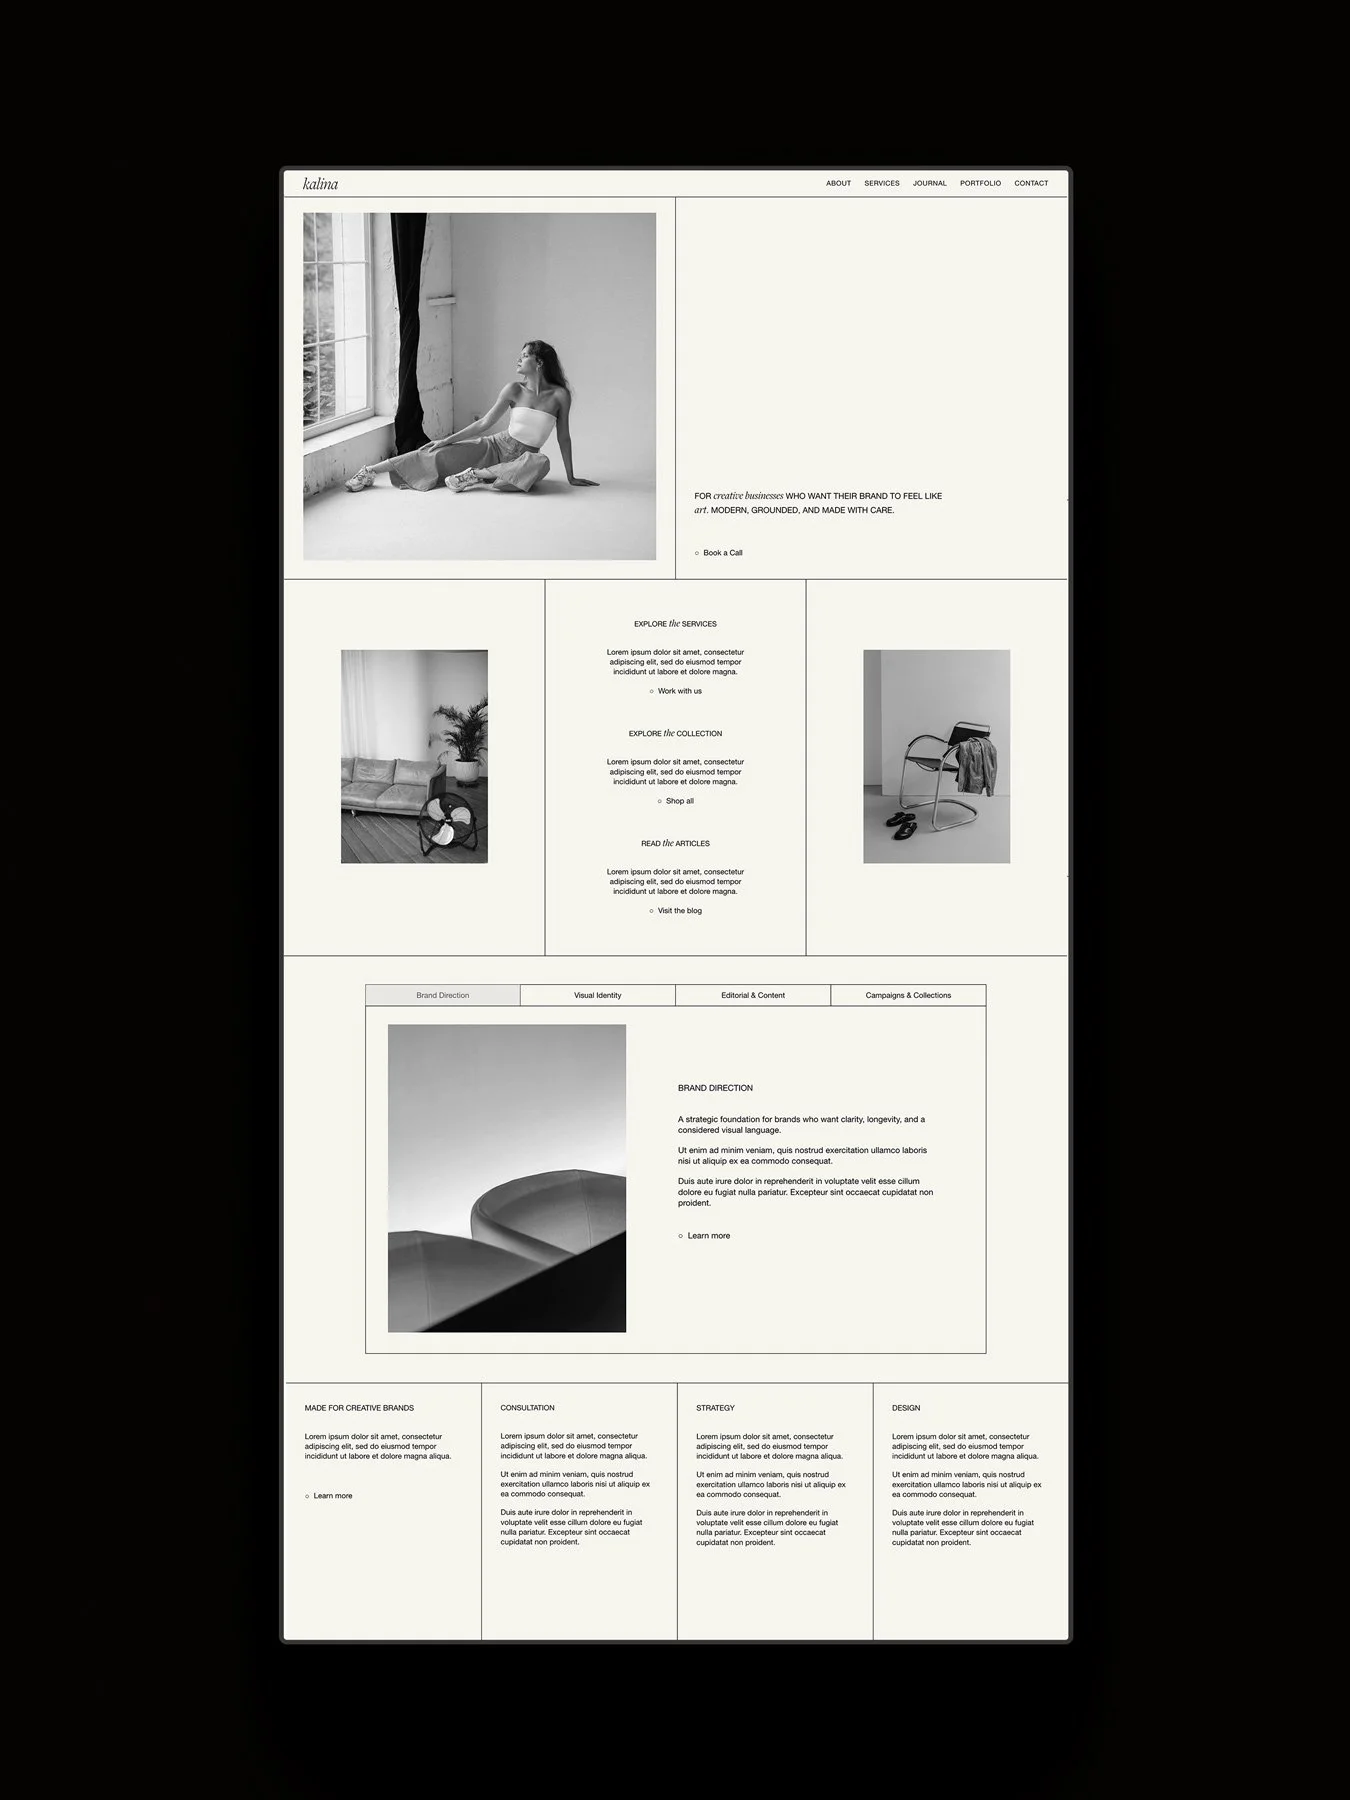
Hosting/website platform: Pick a platform that suits your needs and skills. We love Squarespace for its ease of use and built-in design tools, but Shopify might work better depending on your goals.
Website template (optional): If you’re designing it yourself, a high-quality website template can save you hours. It gives you a professional structure to start from and customize to fit your brand. We offer a designer-made collection of Squarespace templates.
Legal documents and compliance: Check what laws your website needs to comply with in your area (for example, GDPR, CCPA, or FTC guidelines), and make sure you have the legal disclaimers and pages your website needs. Depending on your location and audience, you may need privacy policies, cookie banners, and terms and conditions. We love The Contract Shop® for legal templates (the Privacy Policy & Terms and Conditions bundle offers the essentials), or you can use a tool like Termageddon, a legal document generator.
Step 2: Website Strategy
This step is all about getting clear on why your site exists, who it’s for, and how you want it to function. Defining your strategy up front helps every other part of the process, from writing your copy to choosing your page layout, feel more intentional and less chaotic.
Before you start designing, take a moment to map out how your website will support your business goals and serve your audience.
Here’s what to map out first:
Purpose: What is the purpose of your site? Is it an online store, a portfolio, a community space, or a lead generator? What do you want it to do? If it’s an e-commerce site, your goal is probably to convert visitors into customers. For service-based businesses, it might mean booking calls or building trust with potential clients.
Audience: Who are you trying to reach? What do they need from your site? Think about their mindset when they land on your homepage. Are they browsing, ready to buy, or looking for more information?
Goals: What specific outcomes are you aiming for? Maybe it’s email signups, product sales, booked calls, or inquiries through a contact form. Get clear on what success looks like, and how you’ll measure it.
Features: What features will help you meet those goals? Do you need a blog to share updates? A portfolio to showcase your work? A booking system, product pages, or lead capture forms?
Third-party plugins: Will you need to integrate additional tools like email marketing software (like Flodesk), live chat, or scheduling tools like Calendly.
Payment processing: If you’re selling from your site, you will need a secure payment system like Stripe or PayPal.
Lead capture: Do you need to set up forms to capture client info, like a newsletter signup or contact form?
Marketing: How will people find your site once it’s live? Will you drive traffic through social media? Pinterest? SEO? Paid ads?
Step 3: Website Design
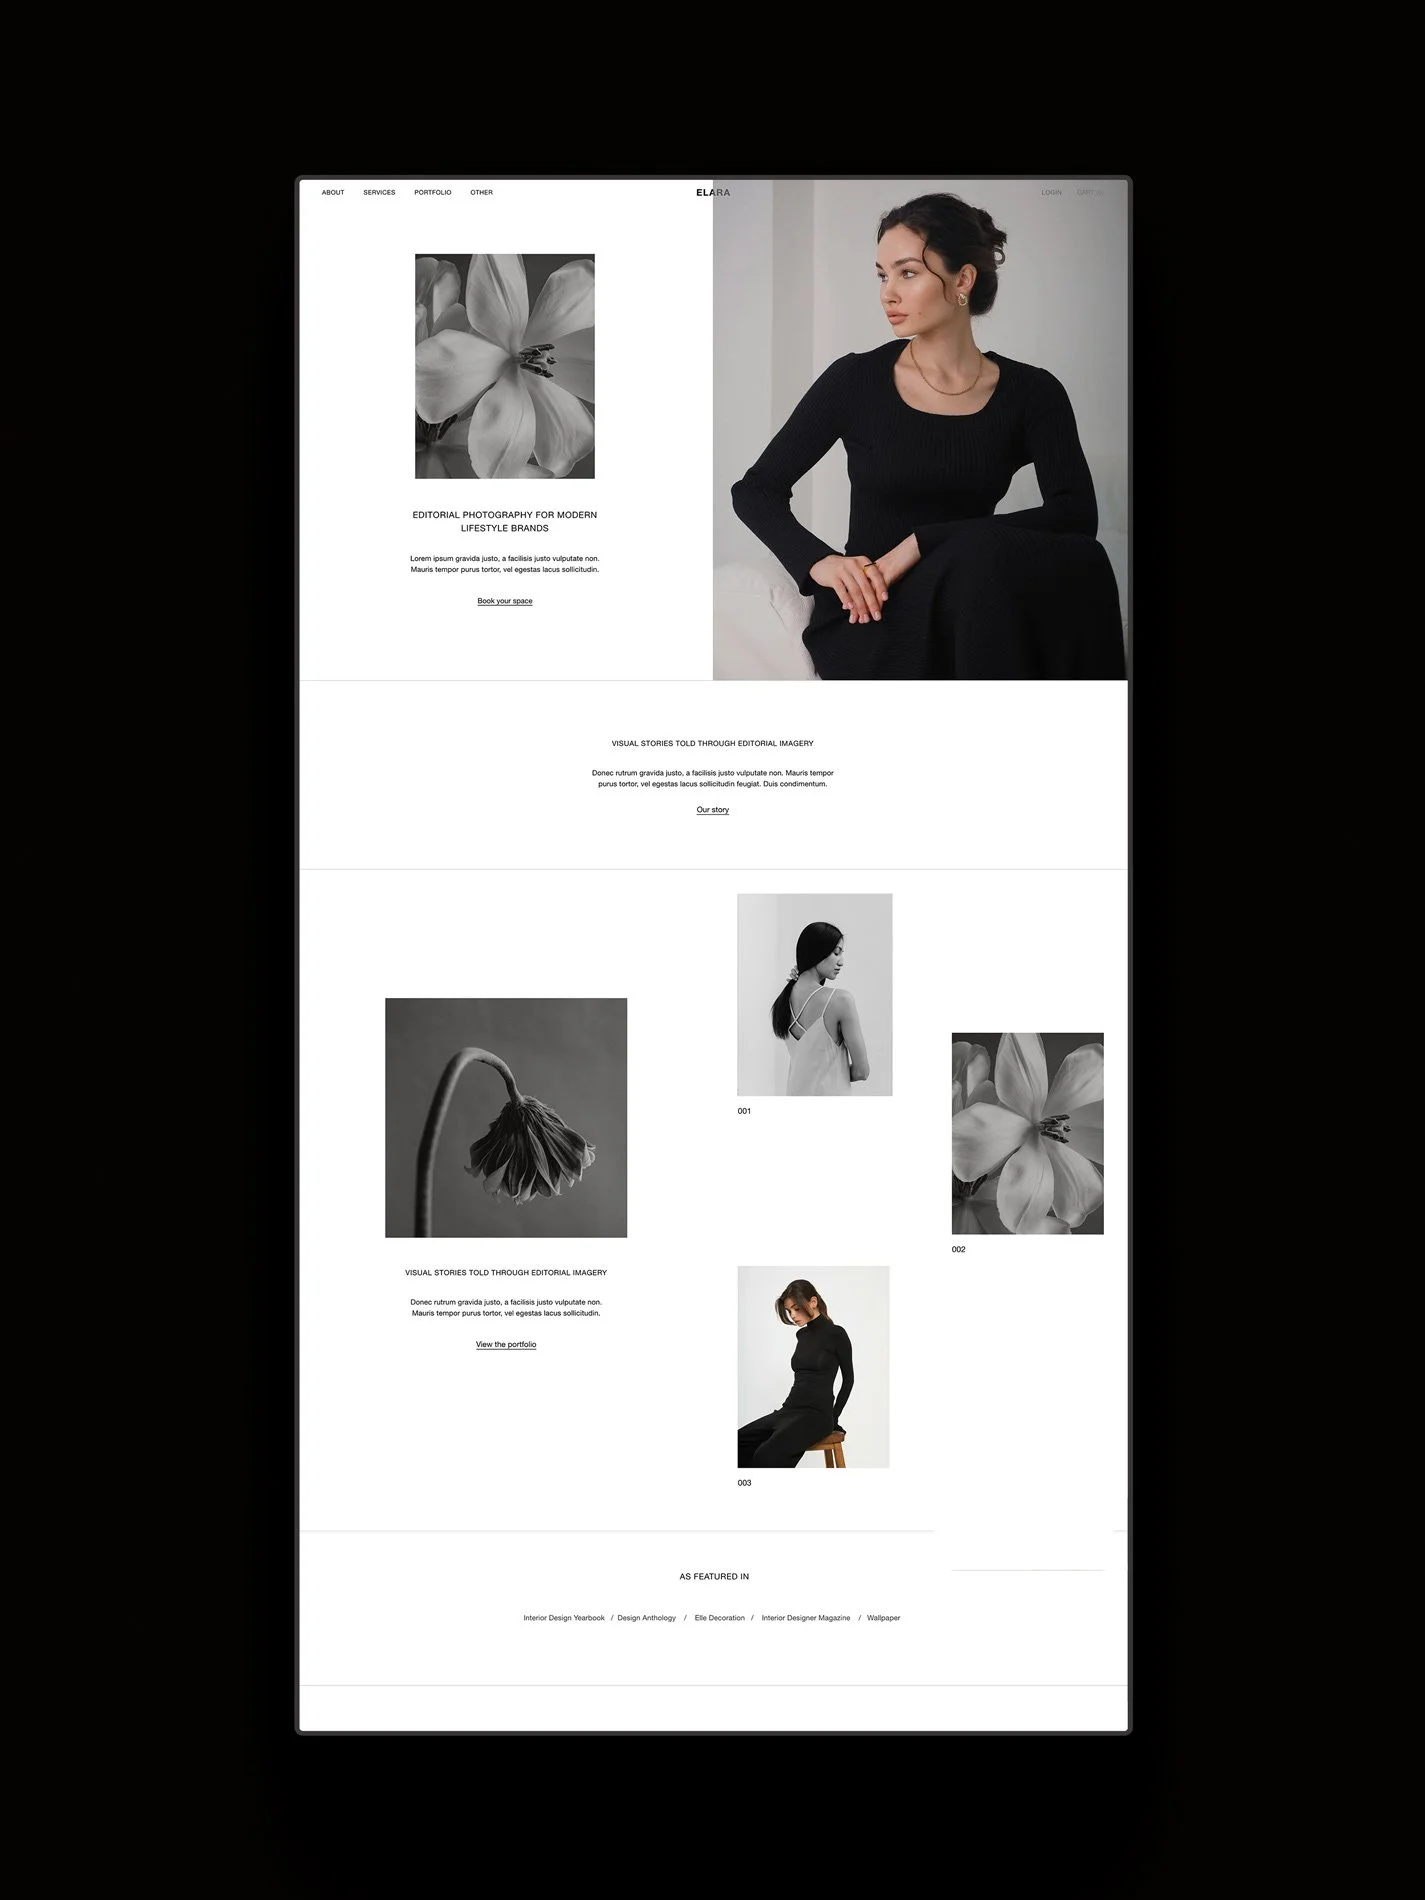
This is the part most people look forward to — choosing fonts, playing with color palettes, uploading photos. And while design is definitely where your brand starts to come to life visually, it’s about more than just looking pretty.
Good design is strategic. It’s about guiding your visitors toward the right action, making their experience feel effortless, and helping your brand leave a lasting impression. The best websites aren’t just beautiful — they’re thoughtful, consistent, and built to serve your goals.
Whether you're customizing a template or designing from scratch, this step is your opportunity to create a space that builds trust at a glance and helps your audience feel at home the moment they land on your homepage.
Here's what to focus on during the design phase:
Logos, fonts, and colors: Upload your brand assets and use them consistently across the site. This visual cohesion builds brand recognition and makes your site feel more trustworthy.
Favicon: It’s a tiny detail, but it matters. Adding a favicon (the little icon that appears in browser tabs) helps reinforce your brand identity and makes your site feel complete.
Copy: Your design might catch someone’s eye, but your copy keeps them reading. Share your brand story, explain what you offer, and write with your audience in mind. Aim for clear, warm, and honest.
Content: Don’t skimp on this. Well-written product descriptions, helpful blog posts, and clear calls-to-action not only engage your audience, but also play a huge part in SEO.
Responsiveness: Design isn’t just for desktop. Make sure your site adapts seamlessly to different screen sizes, especially mobile. A bad mobile experience is one of the fastest ways to lose a potential customer.
Site speed: Use tools like Google PageSpeed Insights or GTMetrix to test and optimize your site speed.
Step 4: Technical Setup
At this stage, you’re probably feeling excited (and maybe a little impatient) to hit publish. But before you launch, you’ll want to make sure all the technical pieces behind the scenes are set up properly.
From connecting your domain to testing every form and payment link, it’s about making sure everything works the way you intend — so your visitors have a seamless experience from the first click to the final thank-you page.
Here’s what to double-check before you launch:
Connect domain: Make sure your domain is properly connected to your website so visitors can easily find you.
Subscribe for hosting: Confirm that your hosting plan is active and that any platform fees are paid — no surprises on launch day.
Connect payment processors: If you’re selling products, services, or digital downloads, hook up your payment processors (like Stripe, PayPal, or Square) and make sure transactions are flowing correctly.
Connect contact forms: Double-check that all forms on your site (newsletter signups, contact pages, applications) are properly connected to your inbox or CRM. You don’t want to miss an important inquiry because of a broken form.
Test: Click through every page, every button, every link. Submit a test form. Run a test purchase if you’re selling products. Check that your 404 page is branded and helpful (in case someone lands there by mistake).
Step 5: Search Engine Optimization
It doesn’t matter how beautiful your website is if no one can find it. Good SEO (search engine optimization) helps your site show up when people search for the products, services, or topics you offer. A few simple, strategic steps can set a strong foundation that helps your site start ranking over time.
Here’s where to start:
Keywords: Build a list of keywords your audience is searching for. These will guide your content, page titles, and descriptions.
Optimize content: Use keywords in titles, headers, image alt text, and body copy. You can use an SEO tool like Ahrefs to help you optimize and fix SEO errors.
Image optimization: Make sure your images are optimized for fast loading, using tools like TinyPNG or Bulk Resize Photos to reduce image sizes.
Image alt text: Add alt text to all your images for SEO and accessibility.
Build backlinks: Reach out to other websites or blogs to exchange links. Backlinks help improve your site’s SEO authority.
Indexing: Connect your site to Google Search Console and Bing Webmaster Tools and index your pages.
Step 6: Refinement
Even the best websites evolve over time as your business grows, your offers shift, and you learn more about what your audience actually needs.
Here’s how to approach ongoing refinement:
Feedback: Talk to your audience. What do they love? What’s confusing? Gathering honest feedback (through surveys, casual conversations, or even DMs) can show you exactly where you can smooth out friction points and improve their experience.
Analytics: Use website analytics to understand how visitors are interacting with your site. Which pages are most popular? Where are people dropping off? Where do they linger? Real data helps you make decisions based on how people are actually using your site, not just how you think they are.
Refine: Make small, regular updates. Maybe it’s rewriting a headline to make it clearer, adding a new testimonial, tweaking your navigation, or creating new content based on your audience’s interests. Refinement is about staying in motion, not chasing perfection.
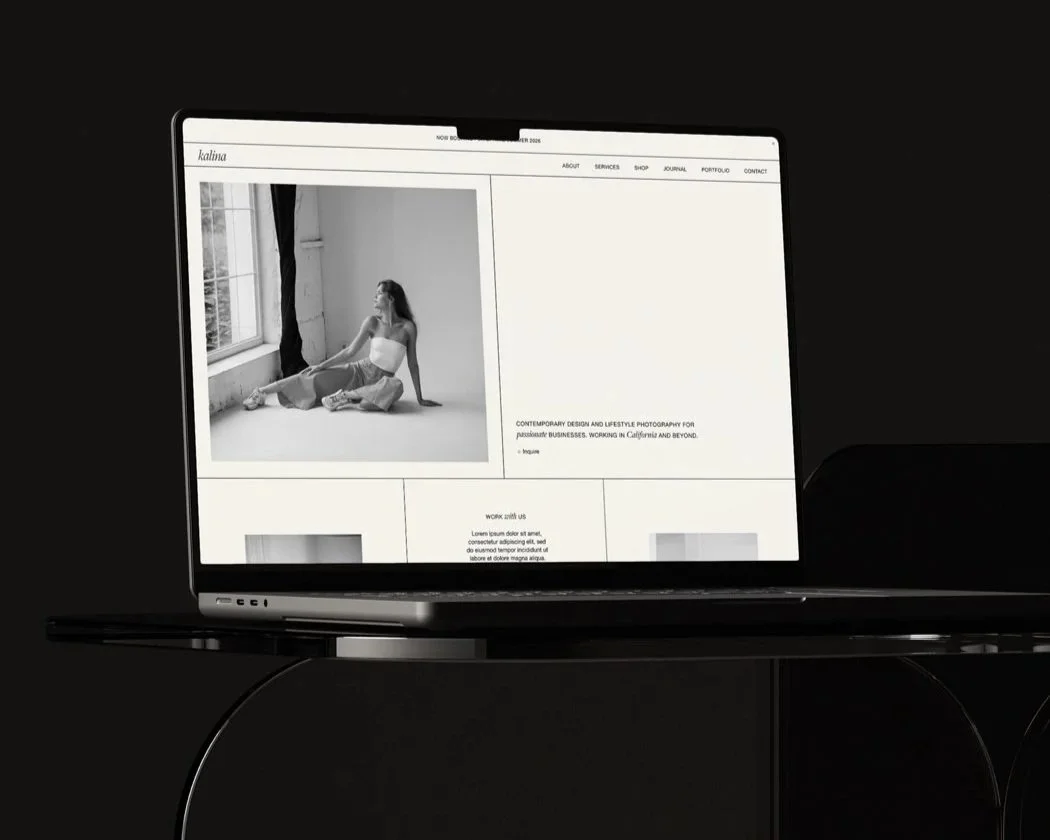
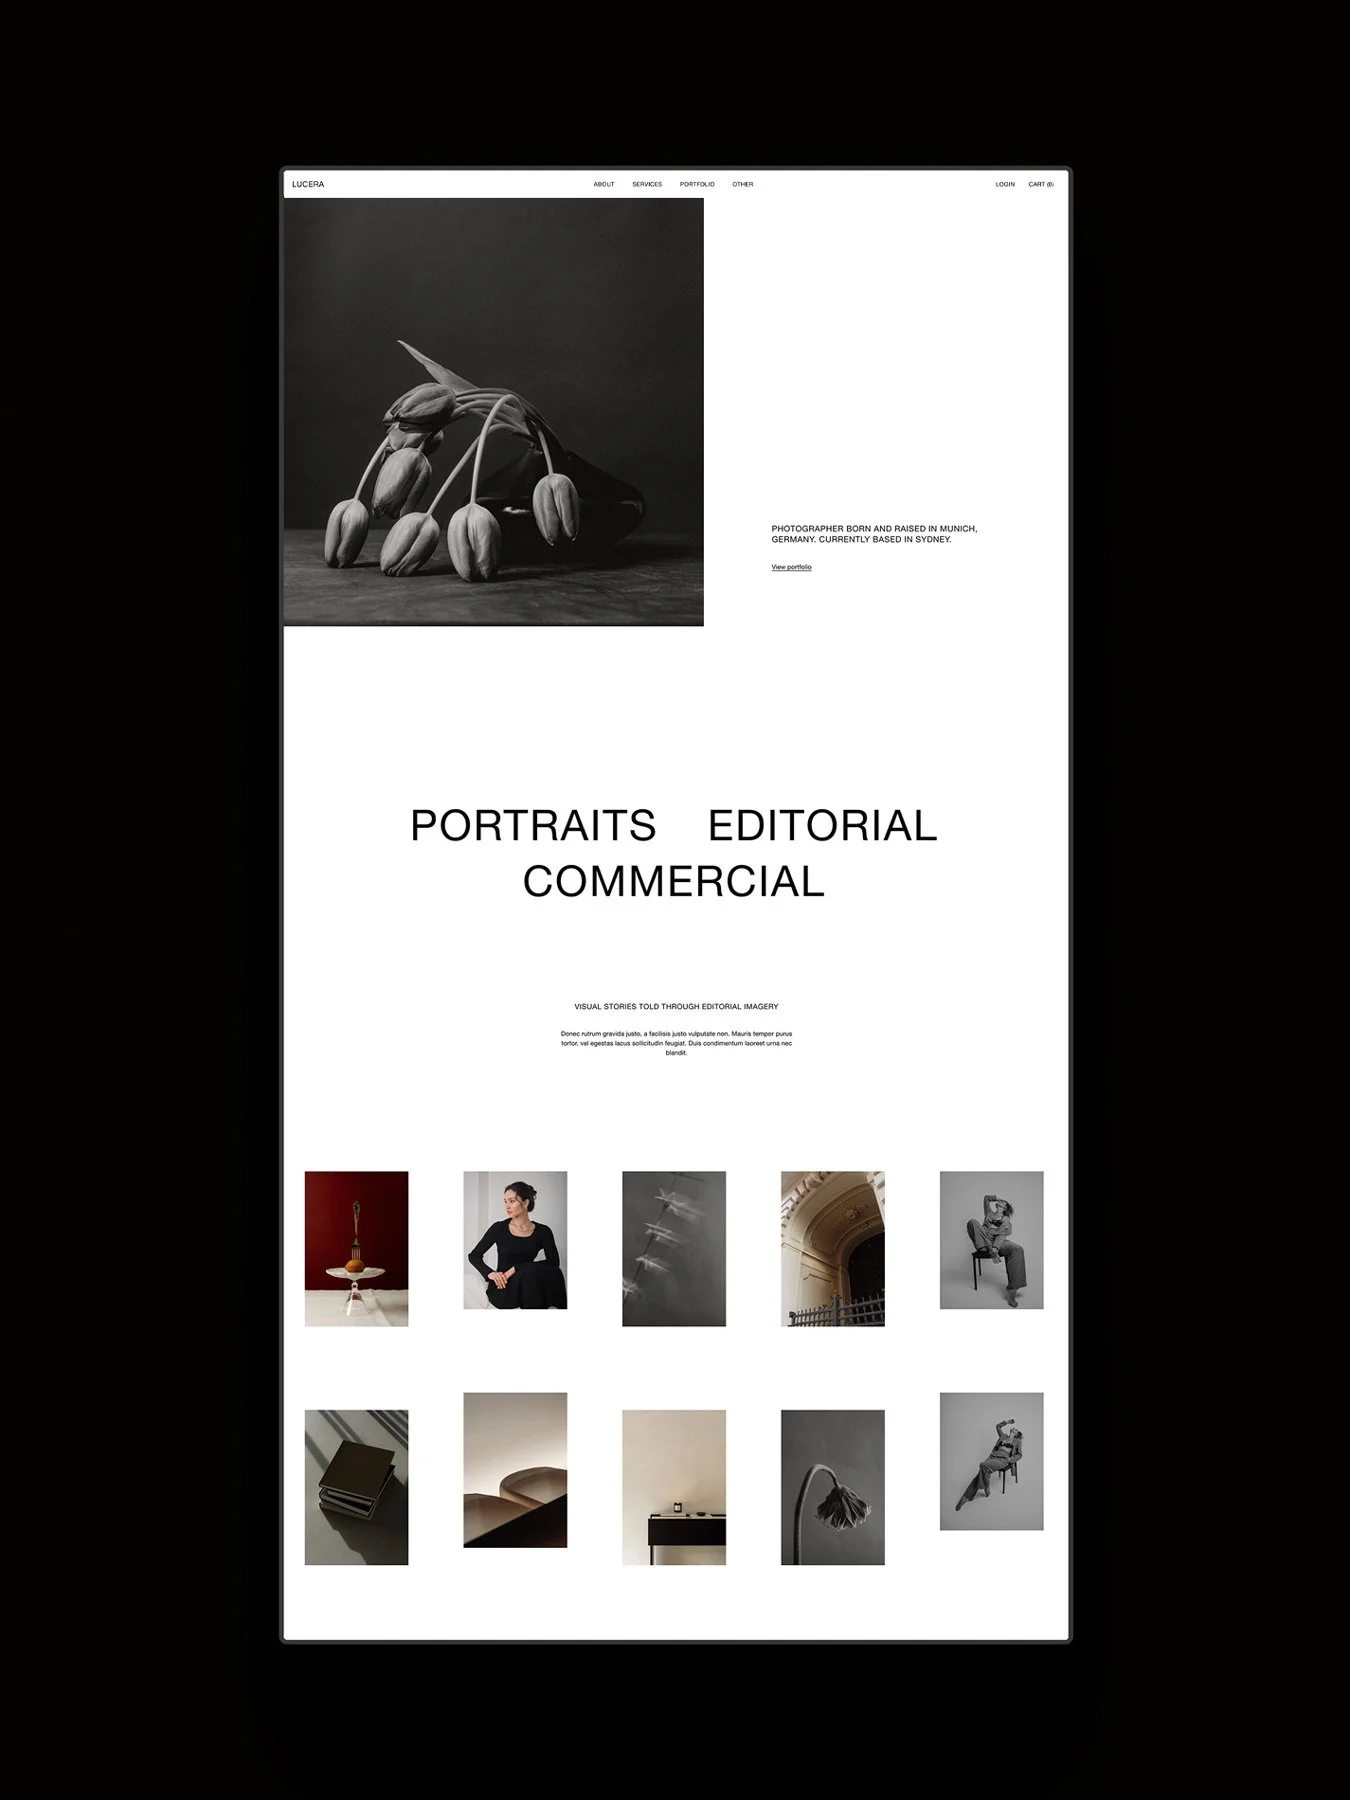
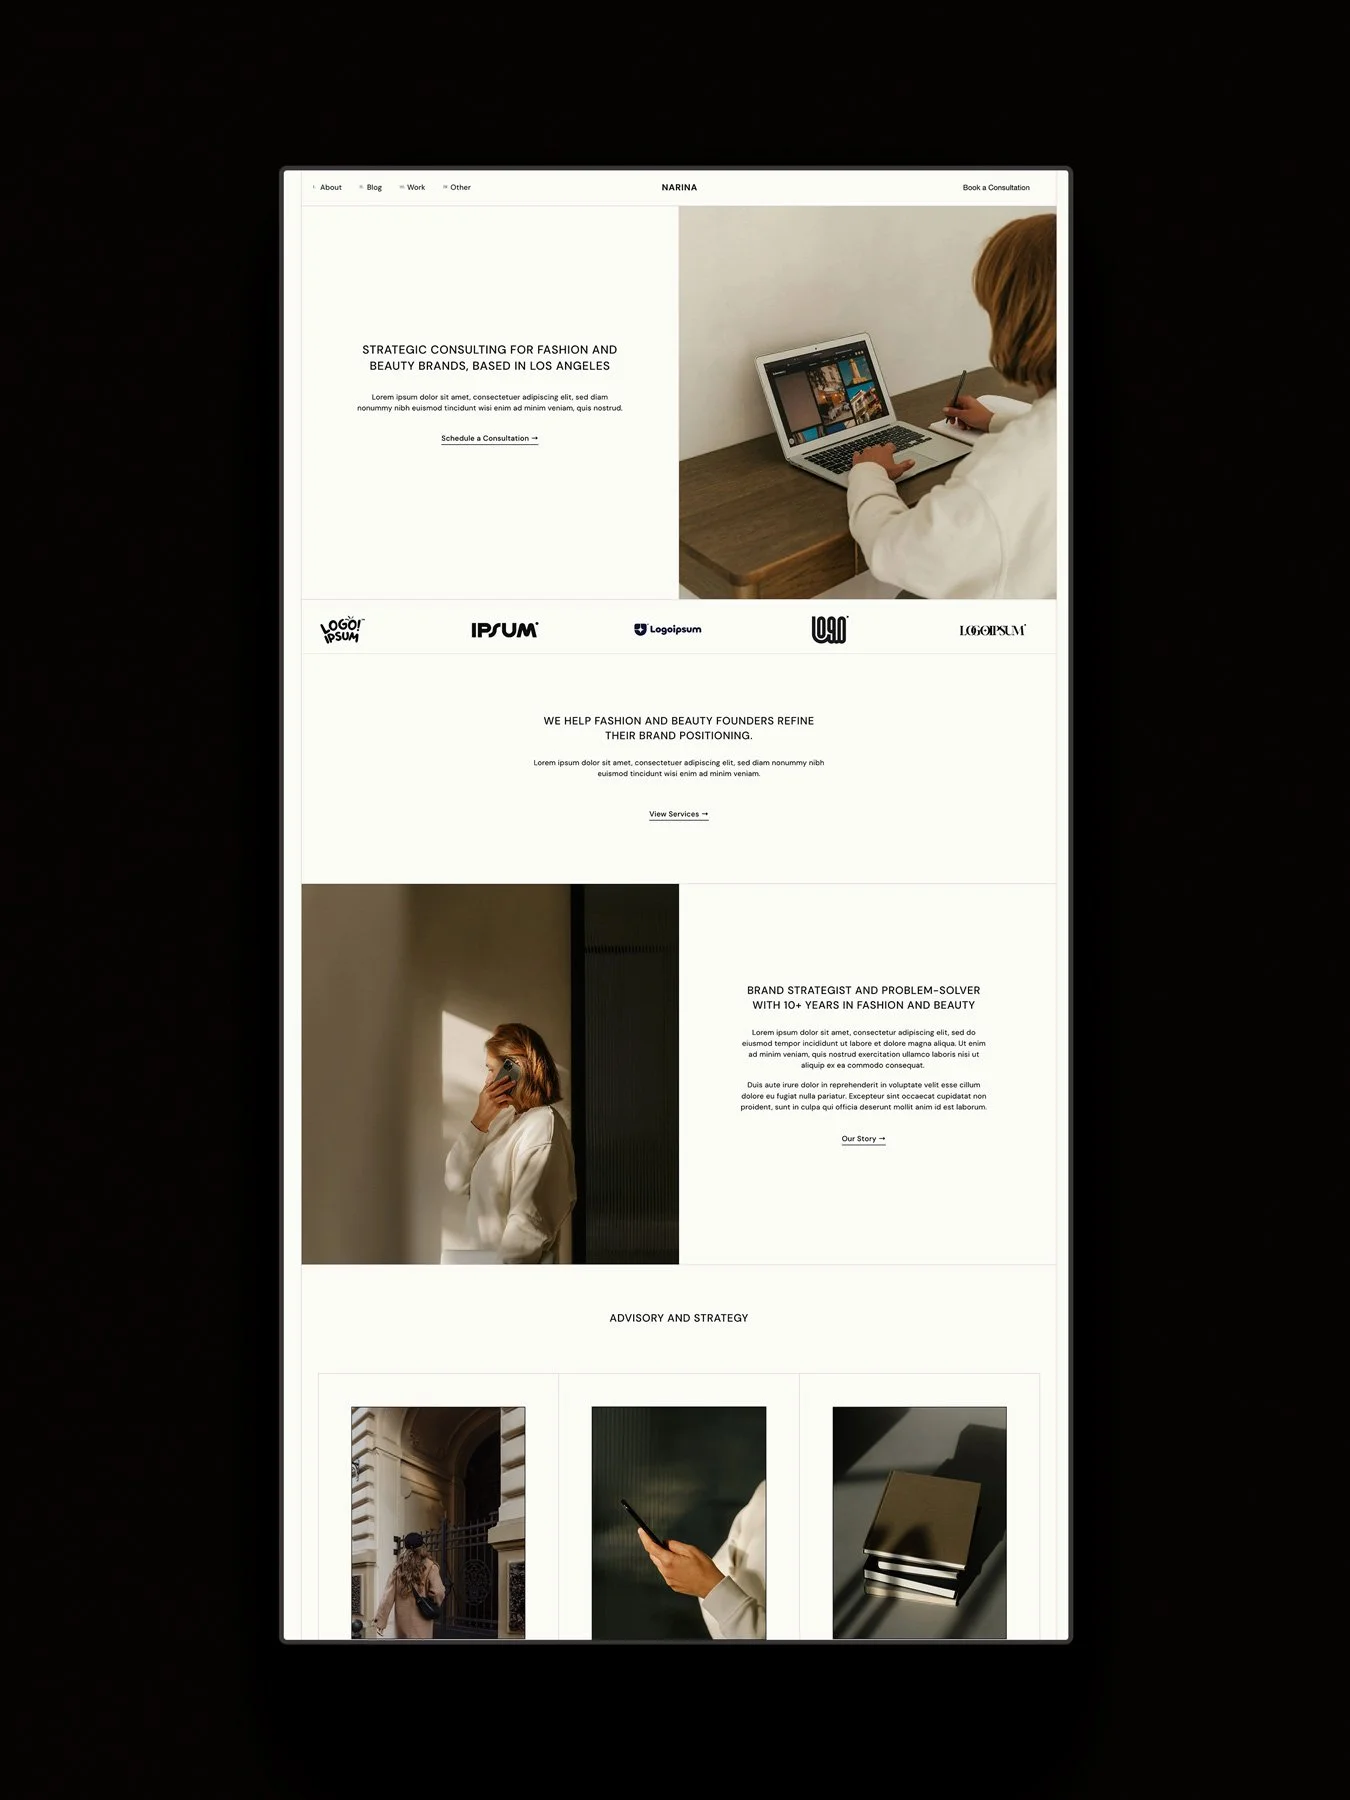
Studio Founded Templates
Feeling overwhelmed by the idea of building your site from scratch? You don’t have to start with a blank page.
Our collection of artful, strategic Squarespace templates is designed to make launching easier, without sacrificing style or substance. Each template comes with a suite of resources, guides, and friendly expert support, so you can build a site that feels aligned with your brand and drives conversions.
Concluding Thoughts
Save this checklist or bookmark it for when you need a quick check-in on launch day.
A website launch can feel like a huge project, but breaking it into simple, manageable steps makes it a lot less overwhelming. You don’t have to do everything in a day. Focus on steady progress, and let your checklist keep you moving forward (without the last-minute panic).
And when you do hit that launch button? Share it. Celebrate it. Invite your people in. Let them be part of the moment you’ve worked so hard to create.