Squarespace SEO Checklist: A Beginner's Guide to SEO
A website isn’t useful if people can’t find it. It should be bringing organic traffic through Google and other search engines. Squarespace offers a lot of SEO features, and while some are automatic, many aren’t, and you need to know how to optimize your content. This is a guide for small businesses and creatives who want to start being visible, offering a Squarespace SEO checklist that you can work through step-by-step at your own pace, from choosing keywords or optimizing your meta data and indexing your pages.
Affiliate disclosure: Some of the links in this article are affiliate links, marked with an asterisk (*). Studio Founded may receive a commission from qualifying purchases made through these links, at no additional cost to you. You can read our full affiliate disclosure here.

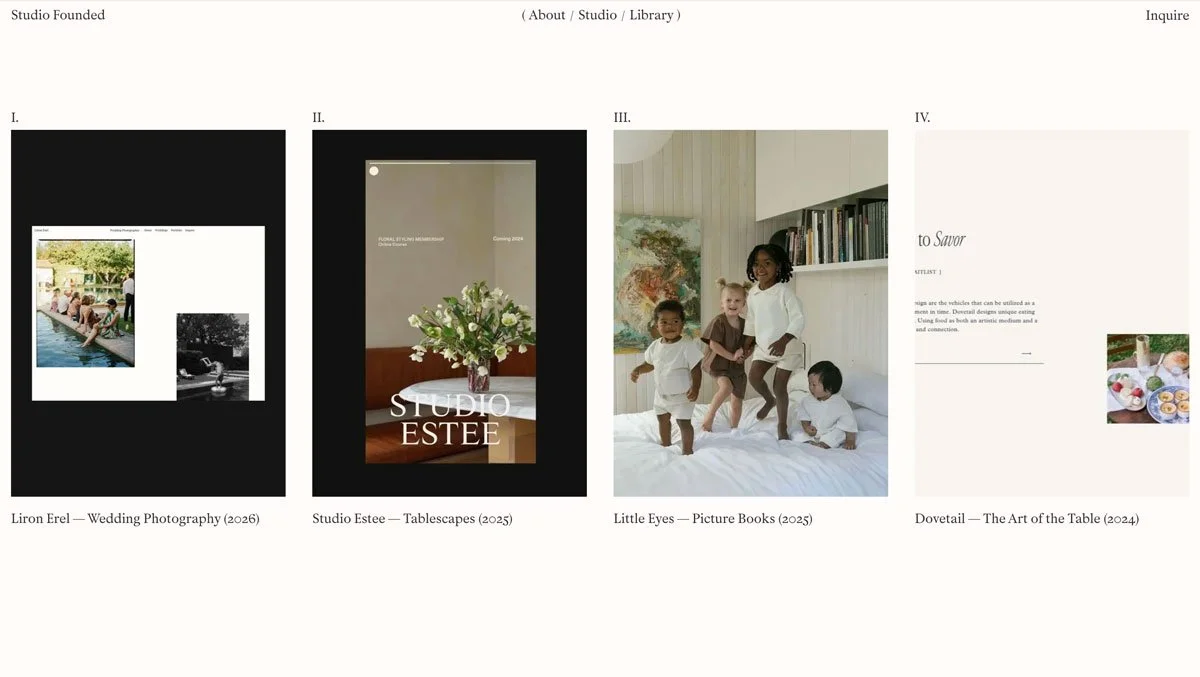
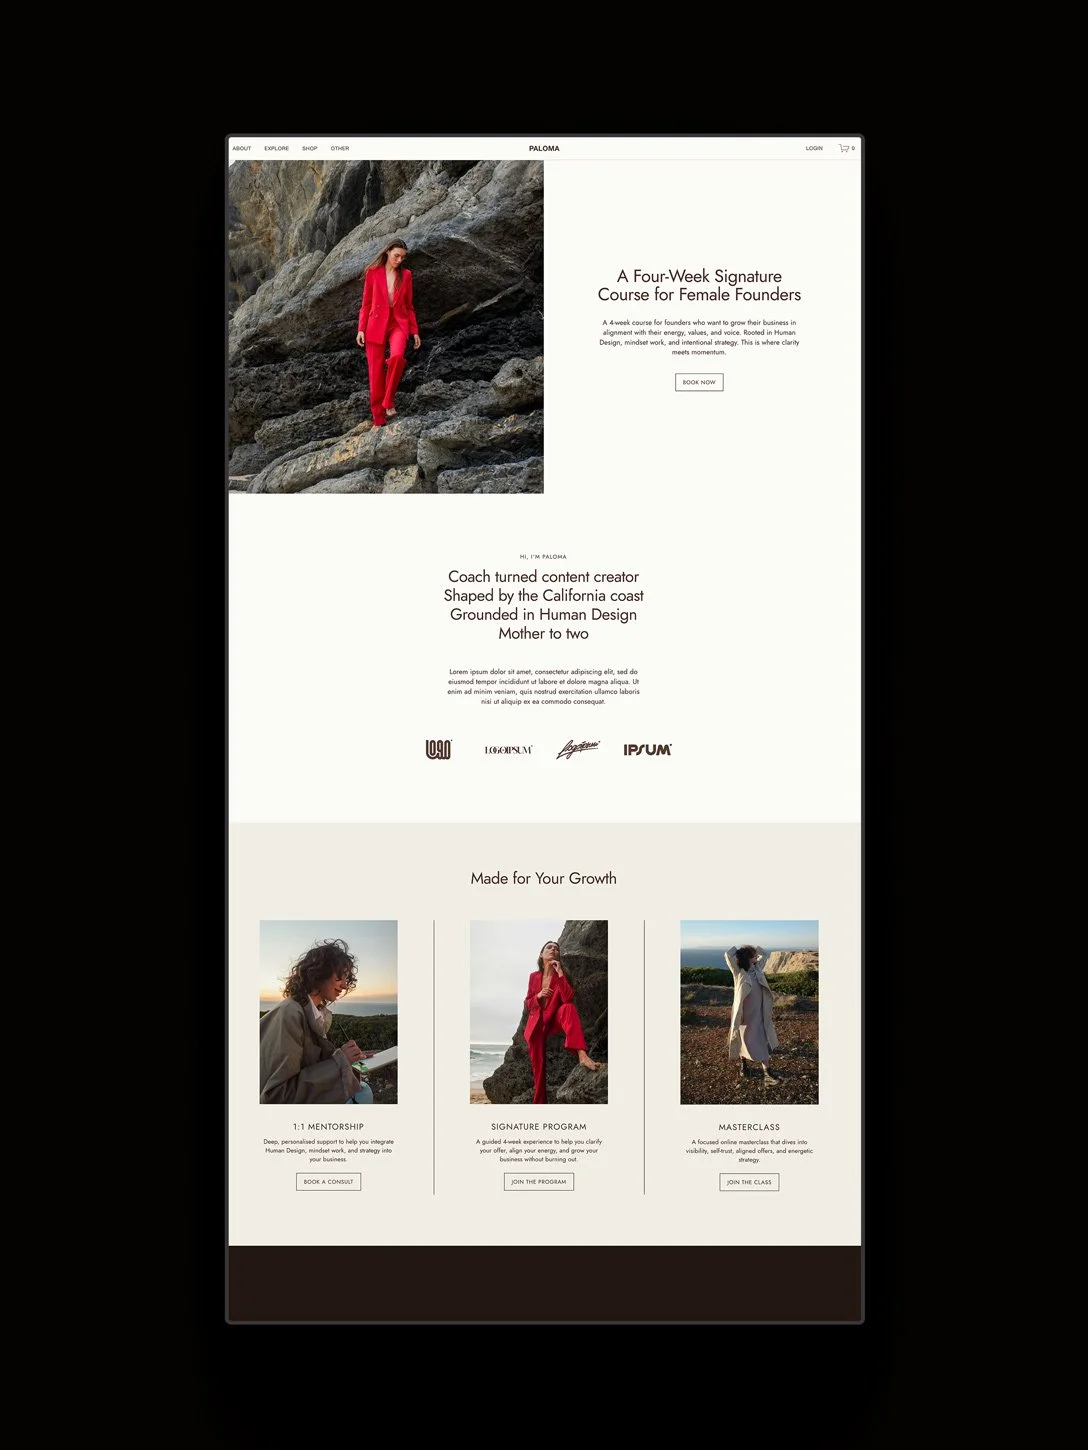
The Liren Squarespace Template by Studio Founded.
What is SEO?
For anyone completely new to SEO, it refers to search engine optimization, or the process of optimizing your website so it can rank in Google and other search engines, allowing people to find it through search. There are a number of steps in SEO, from keyword research to creating meta data, structured content, internal linking, and indexing your site with Google Search Console.
What Does Squarespace Optimize Automatically?
There are a few steps in the process that Squarespace handles for you. These include:
Sitemap Generation
A sitemap is a map of your website that’s used by search engines to help them discover and crawl your web pages. Squarespace automatically generates your sitemap and updates it whenever you add, remove, or edit content. You can then submit your sitemap to Google Search Console (we’ll share more on this further down).
WebP Images
Squarespace automatically converts your images to WebP, an image format that preserves the quality of a JPG but is much smaller, helping your site load faster, which in turn helps it perform better in search, as search engines generally reward fast loading.
Secure SSL Certificate
Squarespace sites include an SSL certificate so your site can be served securely. It encrypts your visitors’ data and avoids the “Not Secure” warnings that can appear when people try to visit your site. Sites without SSL typically have higher bounce rates and lower engagement, and they don’t rank as well in Google as HTTPS is a ranking factor.
Structured Data (Schema)
Squarespace includes schema markup for products, blog posts, and events. Schema is structured code added to a webpage that helps search engines understand it, and can enable extra features like rich results. Squarespace doesn’t include things like about, review, or service schema, so there may be cases when you need to create schema yourself if you’d like more coverage. This is optional, and not every website needs complex schema.
Hosting and CDN
Squarespace sites have a built-in CDN that delivers your site assets from servers that are close to your visitor’s location, which helps improve performance. Again, Google prioritizes sites that perform well, load quickly, and are free of errors.
The Squarespace SEO Checklist
While Squarespace does handle all of the above, there are still steps you can take to optimize your site and rank higher in search engines. Below is your guided SEO checklist to follow while optimizing your Squarespace site. There are quite a few steps, and each task may take some time to complete.
1. Define Your Ideal Client
First, we’re going to step back and consider your client. That’s the person who you want to attract via search, so you need to think about who they are and what they’re searching for. You can start with some basic demographics such as:
Age
Gender
Location
Work
Family situation
Then start to go deeper, considering who they are, what they’re struggling with, and what they’re seeking. Consider:
What are their pain points?
What problems do they currently have that they are trying to solve?
What are their dreams and goals?
What questions do they have that they might turn to an expert for help?
What might they type into Google to help them with their problem?
How does your product or service help them solve their problem and/or achieve their goals?
Being able to answer these questions will help you understand who you’re speaking to, what questions they’re asking, and what keywords they’re searching for.
2. Brainstorm Keywords
“Keywords” are the phrases that people type into Google when they run a search. Step 1 should have given you some ideas for the kind of keywords that might be relevant to your business, by understanding what your ideal client is searching for. A few other questions you can consider are:
What are some ways of describing your product or service? What words are people likely to use when searching for your product or service? For example, “Brand Copywriting” could become one of your keywords.
Where is your ideal audience? Are you targeting people locally, with keywords such as “Brand Copywriting in California",” or are you open to a worldwide audience?
What is the intent behind your keywords? Are they commercial (leading to a page where you sell your product or service), or informational (leading to blog content like guides and how tos)?
Start by creating a big list of potential keywords around your ideal audience, offers, location, and content types.
3. Analyse Keywords
So now you have a list of keywords, but you don’t know if they’re good keywords. It might be that no one is searching for your chosen keywords, or that they’re too much competition for you to rank for your keyword.
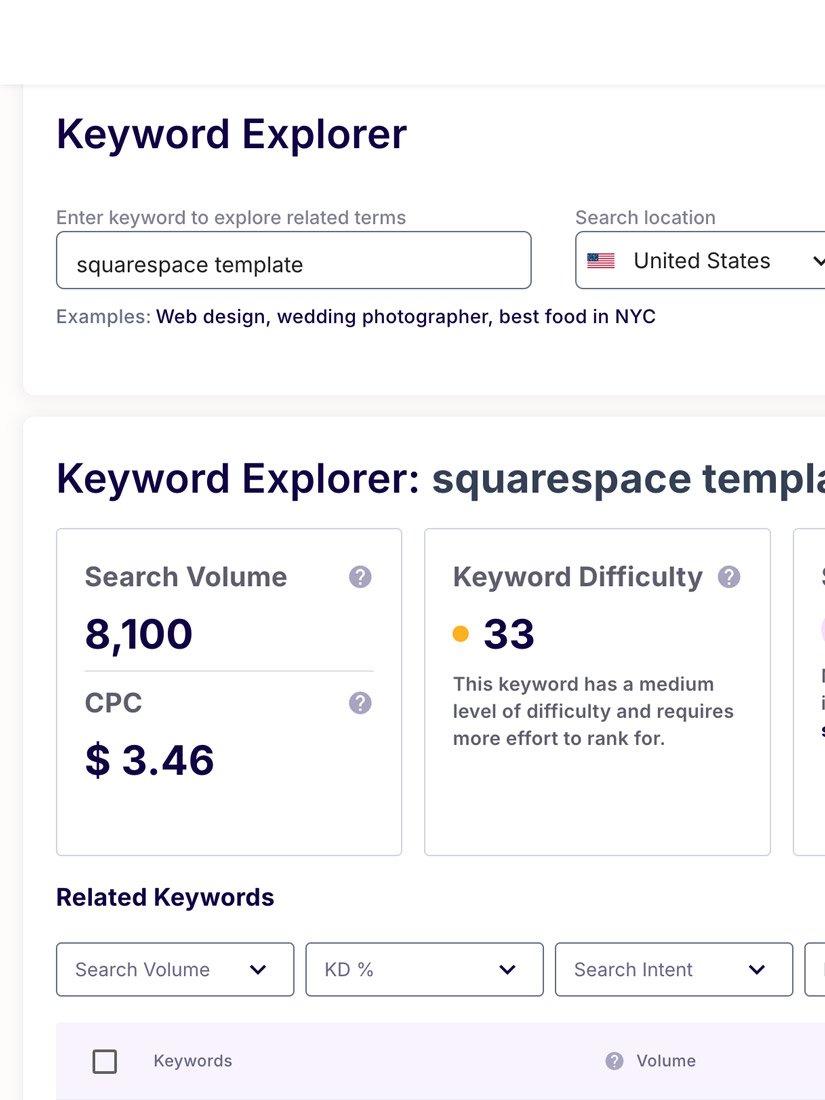
There are many keyword analysis tools. A few that we like to use are Google Keyword Planner (free with a Google Ads account) and SEOSpace* (paid). We particularly like SEOSpace because it’s made for Squarespace, and clearly breaks down your keywords based on search volume (if anyone is actually searching for it), keyword difficulty (how hard it is to rank for your keyword) search intent (whether your keyword is commercial or informational), and your current position (whether you already rank for this keyword). Once you’ve used the keyword explorer tool to find the keywords you want to optimize your site for, you can also use SEOSpace to track your keywords. It will run a weekly or monthly scan to tell you if your ranking for your chosen keywords has changed.
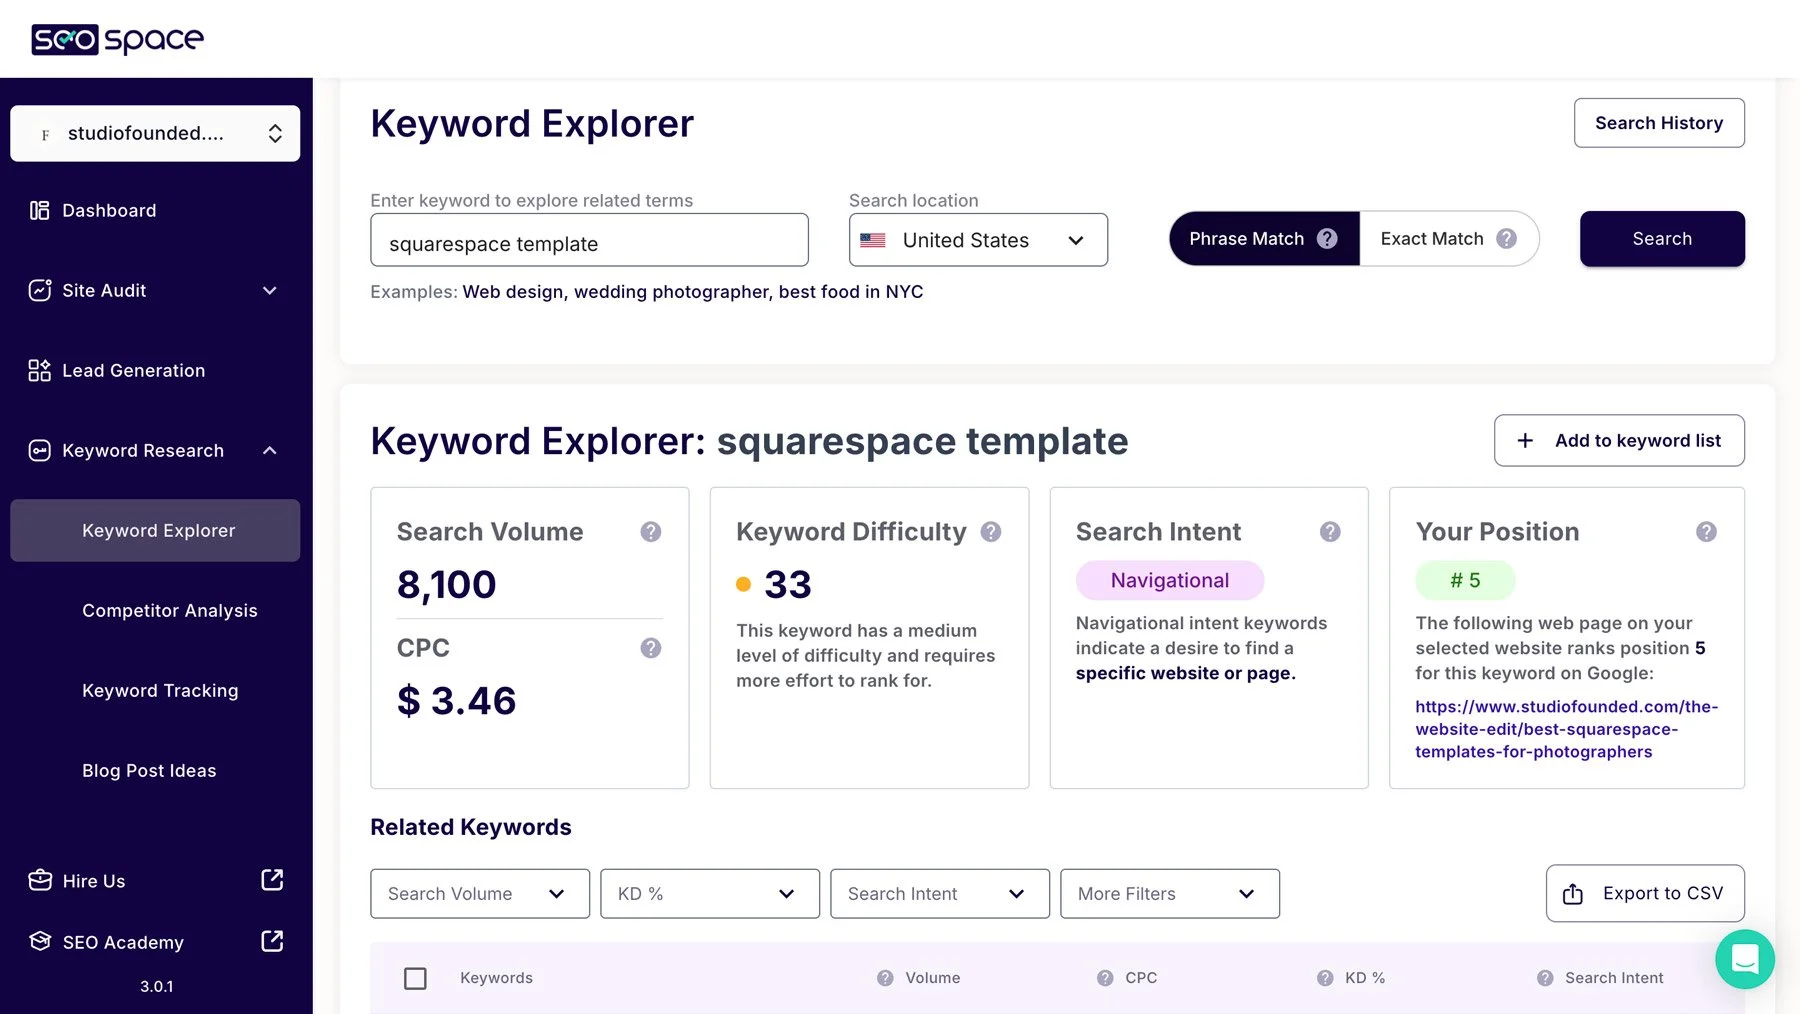
The SEOSpace keyword explorer tool.
4. Add Keywords to Your Pages
Now, you have your list of keywords, and you need to add them to your site. There isn’t a specific order to follow, but we recommend starting with your on-page content, because it will be easier to optimize your meta data when you know what your page is about.
You should never stuff keywords into your page. As a general rule, your primary keyword should be used:
Once in your H1 or title.
Once in a secondary heading (h2, h3, h4).
Once within your first 100 words.
It can also be scattered throughout your content. There is no ideal number of times it should be used, which is why SEOSpace* is particularly helpful. It scans your pages and tells you exactly how many times your keyword should ideally be on the page, and tells you if you’ve used it too many times.
You can also scatter any secondary or related keywords throughout your content. For example, if your primary keyword is “How to Choose a Wedding Photographer,” some related secondary keywords might be" “Questions to ask a Wedding Photographer,” “Documentary Wedding Photography,” “Wedding Photographer Pricing.”
5. Use a Clear Heading Structure
While creating your content and adding keywords, remember to structure your content for search engines. Your pages should contain:
A H1 (your main heading or title).
H2, H3, and H4 headings in sequential, logical flow.
In Squarespace, you can set headings using the text editor. Chose Heading 1, Heading 2, or Heading 3 from the style dropdown when formatting your text.
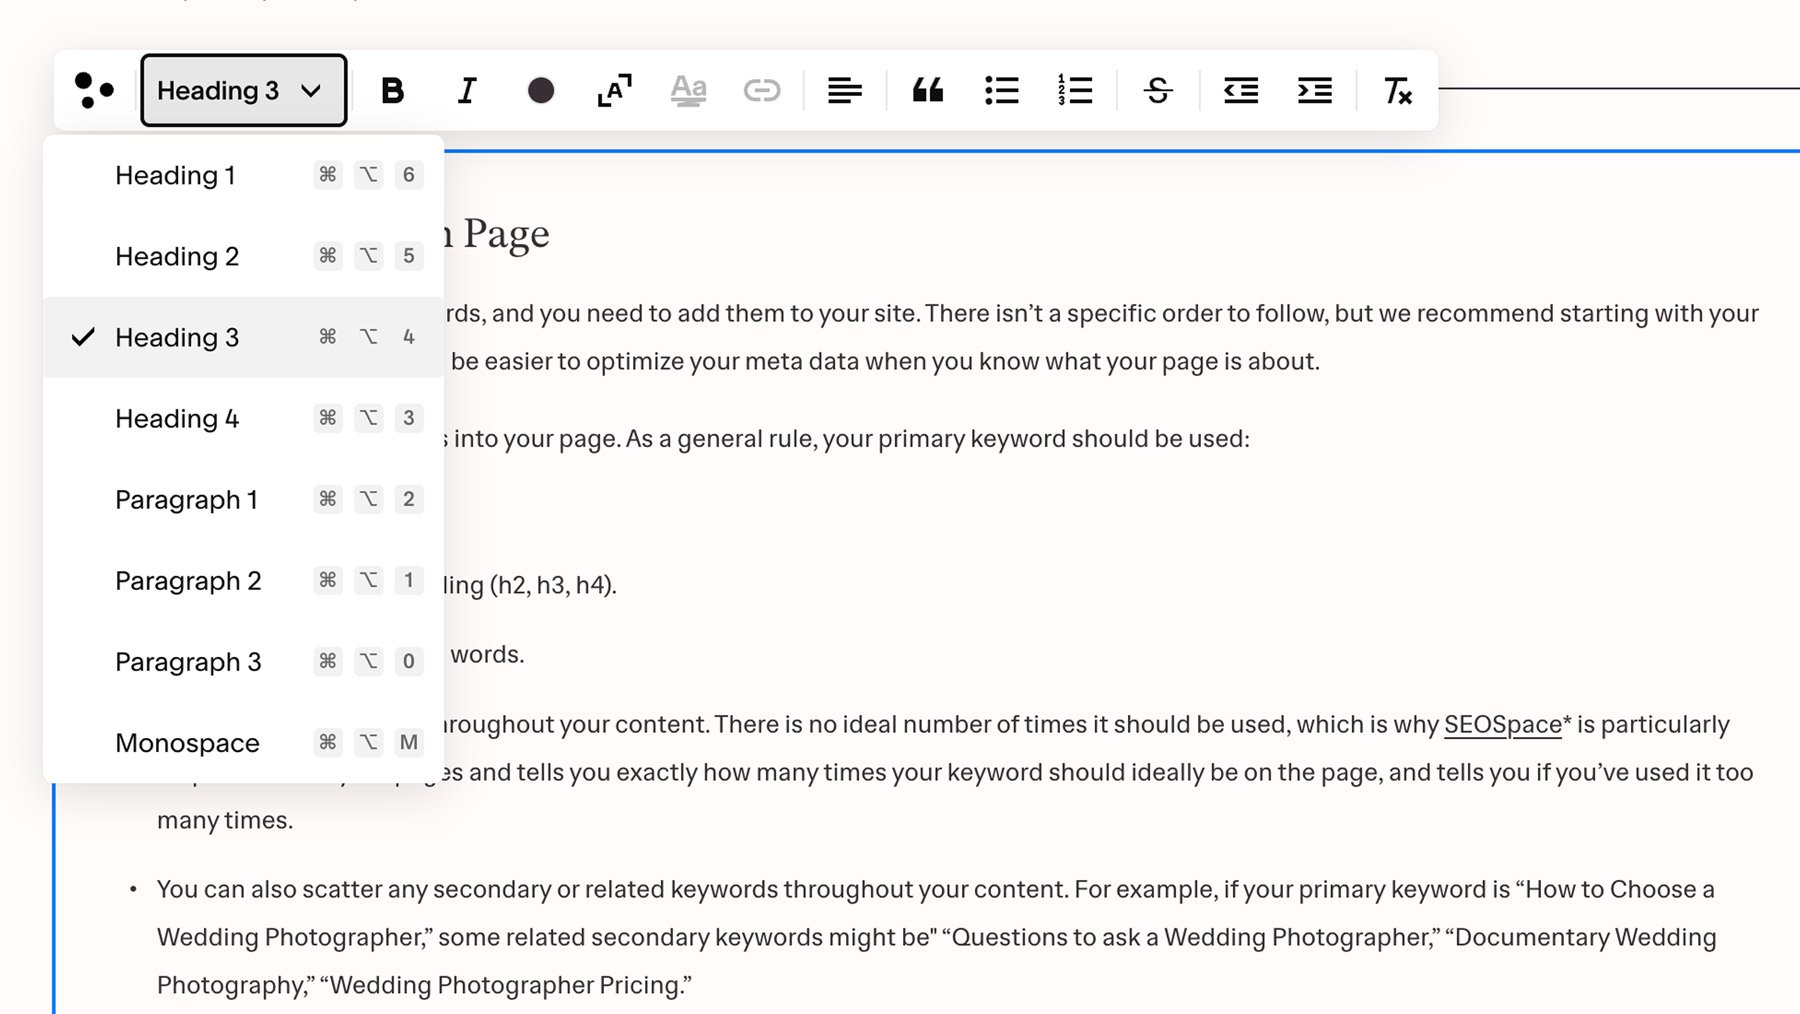
Setting headings in Squarespace using the Text Editor.
6. Optimize Page Meta Titles and Descriptions
Each page on your Squarespace site has two pieces of meta data:
The meta title: A short title (typically 50-60 characters). It appears as the blue headline in Google search results.
The meta description (150-160 characters). This appears as a short paragraph under the title.
Here’s an example of how meta data looks in Google:
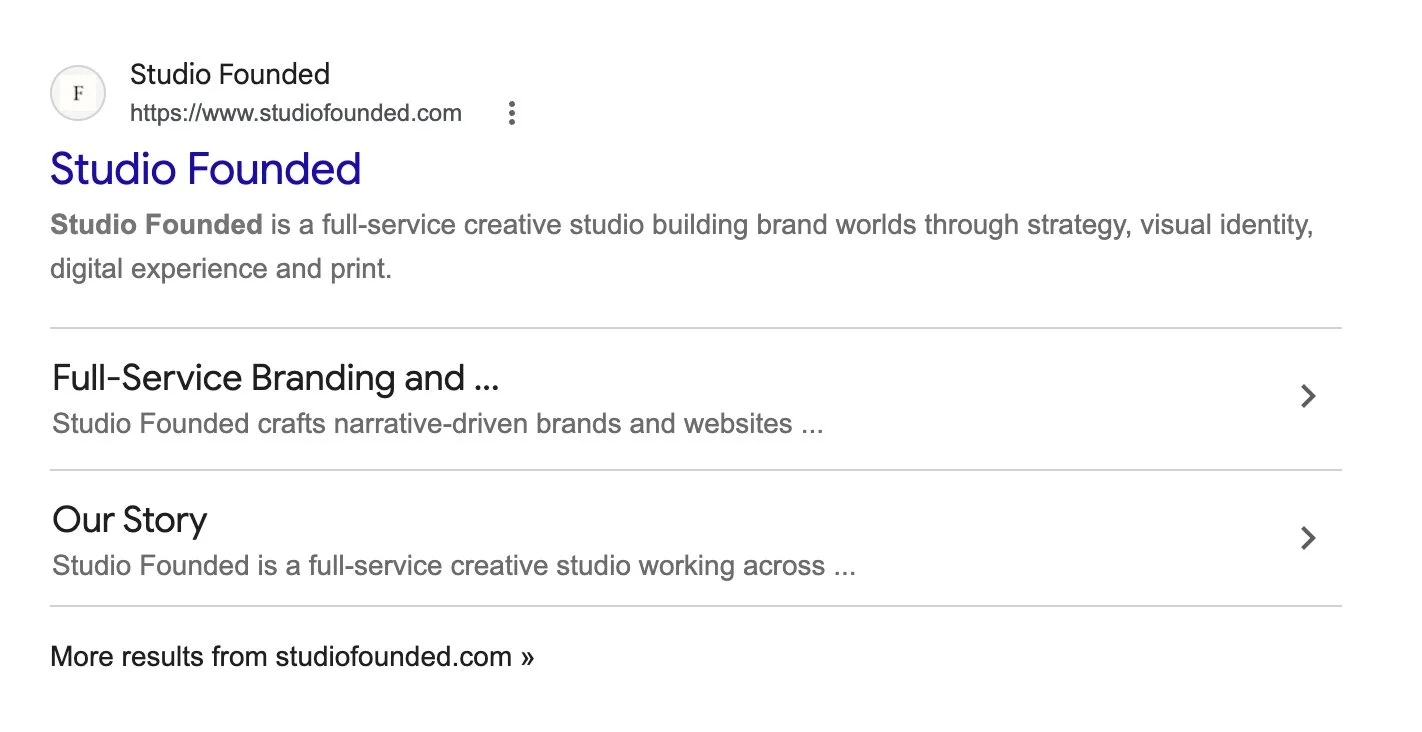
An example of our meta data shown in Google search results.
To edit your meta data you can:
Go to your Squarespace site in Edit Mode.
Visit Pages and find the page where you want to edit the meta data.
Select the cog icon.
Open the SEO tab.
Type your meta data into the relevant fields.
Each piece of meta data should be unique to that page, and should include your primary keyword.
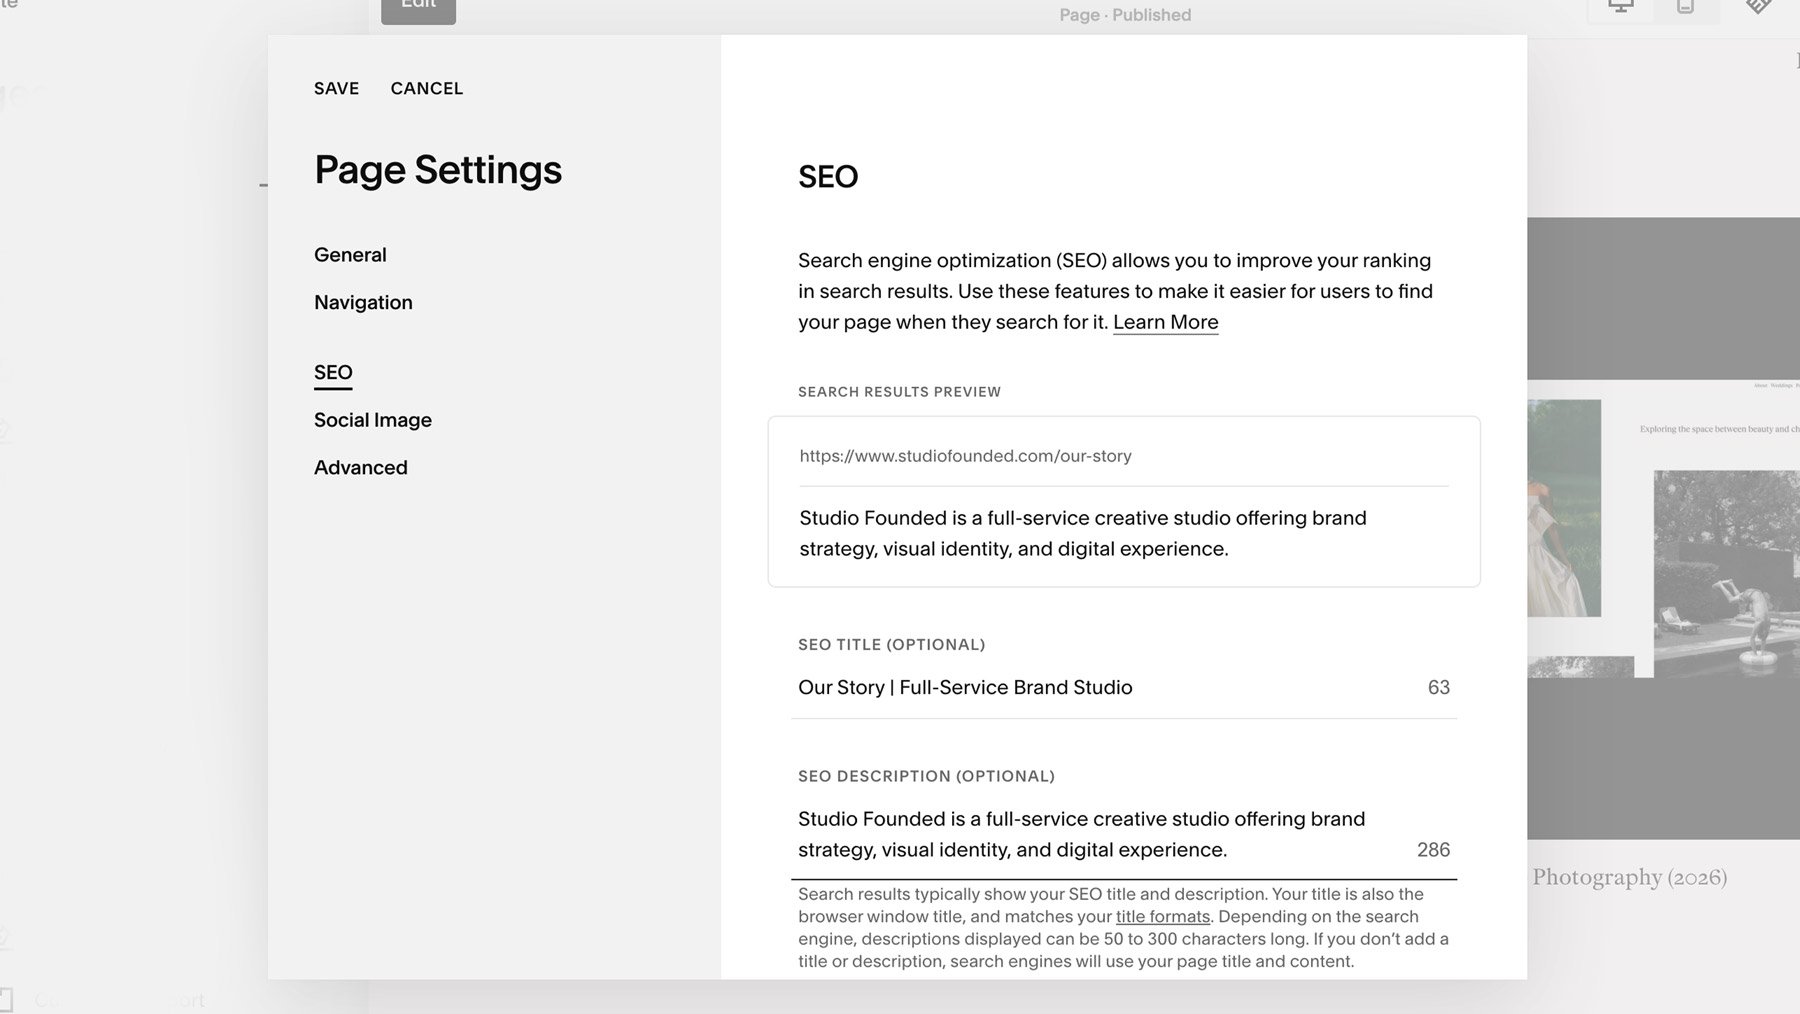
Editing meta data in the Squarespace SEO tab.
7. Add Image Alt Text
Alt text is short descriptive text used to describe each image for accessibility and SEO. It should use plain language and be specific and contextual. Keywords can be added naturally, but avoid keyword stuffing.
You can edit alt text in Squarespace by entering Edit Mode, double-clicking on an Image Block, and scrolling down to the Image Alt Text area. From there, you can write your alt text. This process may differ for List Sections and Galleries, but generally, you’ll see a space to add alt text near the image.

8. Add Internal Links
Internal links are links made between pages on your website. They help visitors move between different pages and content, and help search engines understand how your content connects.
For example, if you write a blog post on a particular topic and also offer a PDF workbook on the same topic, linking between those two pages would help Google understand that they’re connected. It also encourages visitors to keep exploring and spend more time on the site.
You can also build topic authority, by creating lots of posts on the same or related content and linking to each piece, showing that you’ve covered that topic in a breath of content and have authority in that area.
You can add links in Squarespace using:
The link tool in the Text Editor
Button Blocks
9. Submit Your Squarespace Sitemap to Google Search Console and Bing Webmaster
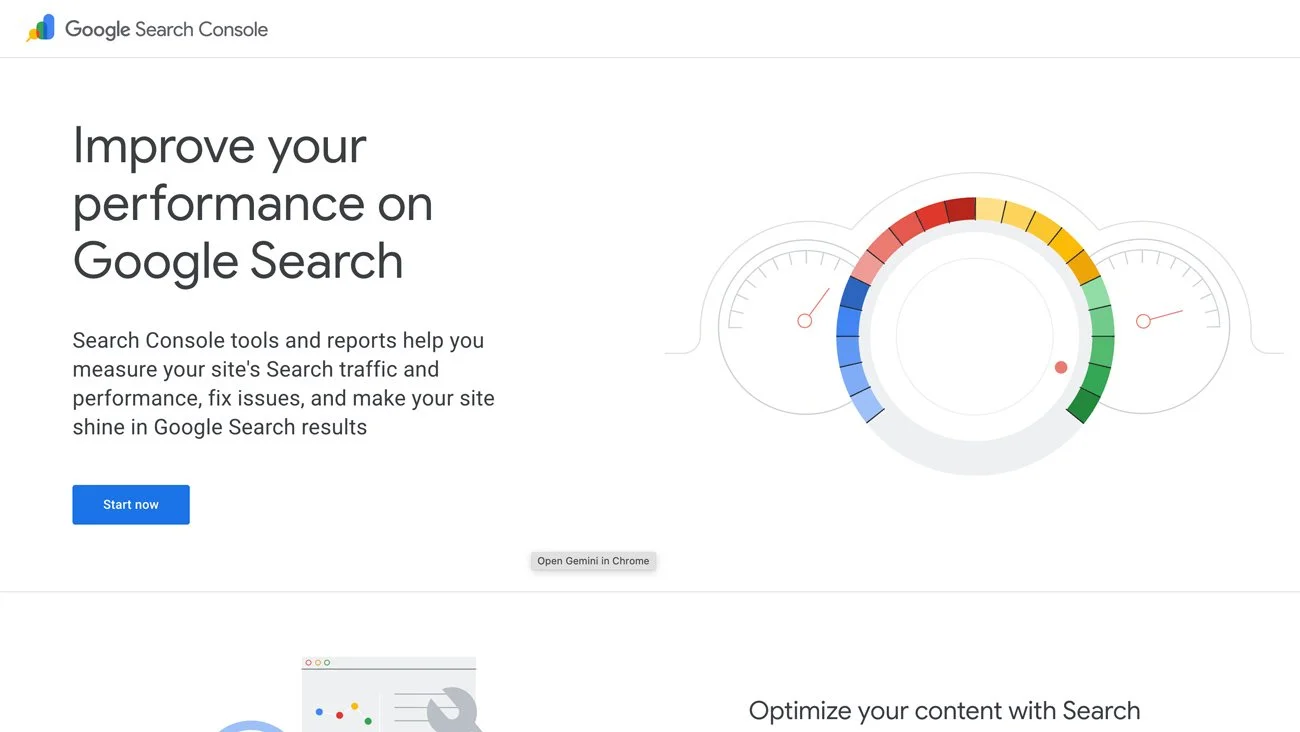
As mentioned above, Squarespace auto-generates your sitemap. You’ll need to share it with Google by submitting it via Google Search Console. You can do this by:
Visit Google Search Console
Go to “Sitemaps”
Submit your sitemap url (www.yoursite.com/sitemap.xml)
If it’s submitted successfully you’ll see the status read as “Success”
You can also submit your sitemap to Bing Webmaster for additional coverage.
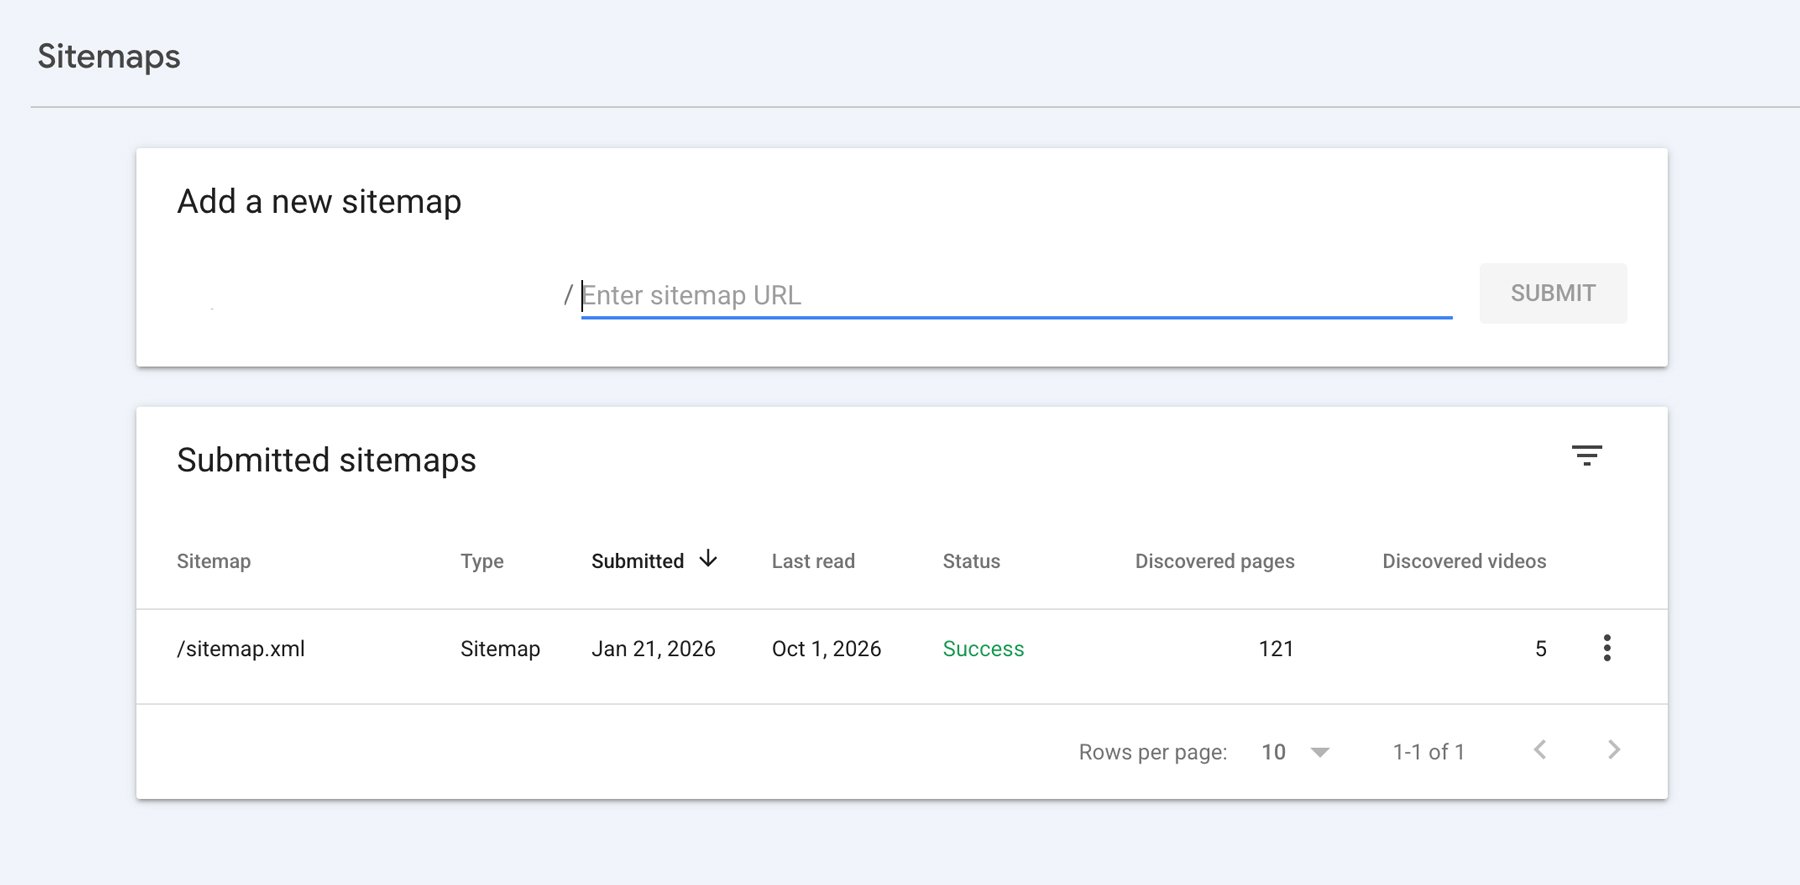
Submitting a sitemap to Google Search Console.
10. Fix Technical SEO Errors
Technical errors on your site can negatively affect SEO. There are a few steps you can take to check for errors.
The first step we recommend is checking for broken links using a site like Broken Link Check. Broken links mean that people can’t find your content, and they can also impact your search rankings.
You can also work on improving your Squarespace site speed. Site speed affects user experience, because if a site loads slowly, visitors are likely to leave before it fully loads. This can affect Core Web Vitals and visibility in search. To help your pages run faster, you can:
Compress your images before uploading them, using tools like Adobe Photoshop CC, Tiny PNG, or Free Convert
Reduce the number of fonts used on the site and self-host them where possible
Limit the number of scripts and third-party plugins
Be selective with animations
11. Add Schema Markup
Structured data or schema markup is a piece of code that acts like a map for search engines. It can also lead to Google displaying rich snippets such as star ratings and price details.
To create schema, you can use generators such as Google’s Structured Data Markup Helper.
In Squarespace, you can then add your schema to a page via Page Settings > Advanced > Code Injection, or you can use the Site-wide Code Injection for global schema. After adding schema, test it using Google’s Rich Results Test to ensure it’s valid.
12. Ongoing Maintenance
Unfortunately, SEO isn’t a one and done task, and needs to be revisited regularly. We recommend running monthly checks with an SEO tool and checking your analytics and Google Search Console. Make sure that you fix any errors, like broken links, missing alt text or meta data, and thin content. This is yet another reason why we love SEOSpace, because it automatically scans your site weekly or monthly and lets you know of any errors that need fixing.
You should also add to your website regularly. Search engines prioritize sites that are active and engaged, and regularly create fresh content. This might mean updating copy to make sure its current, adding new pages, or creating blog posts and content. After updating a page, remember to re-index it with Google Search Console.
If this all sounds overwhelming and you’d like support improving your SEO, we can support you with your Squarespace SEO setup in a one-day intensive. We’ll optimize your site, and give you a targeted list of actions you can take to continue improving your search visibility. Please get in touch to discuss your project.