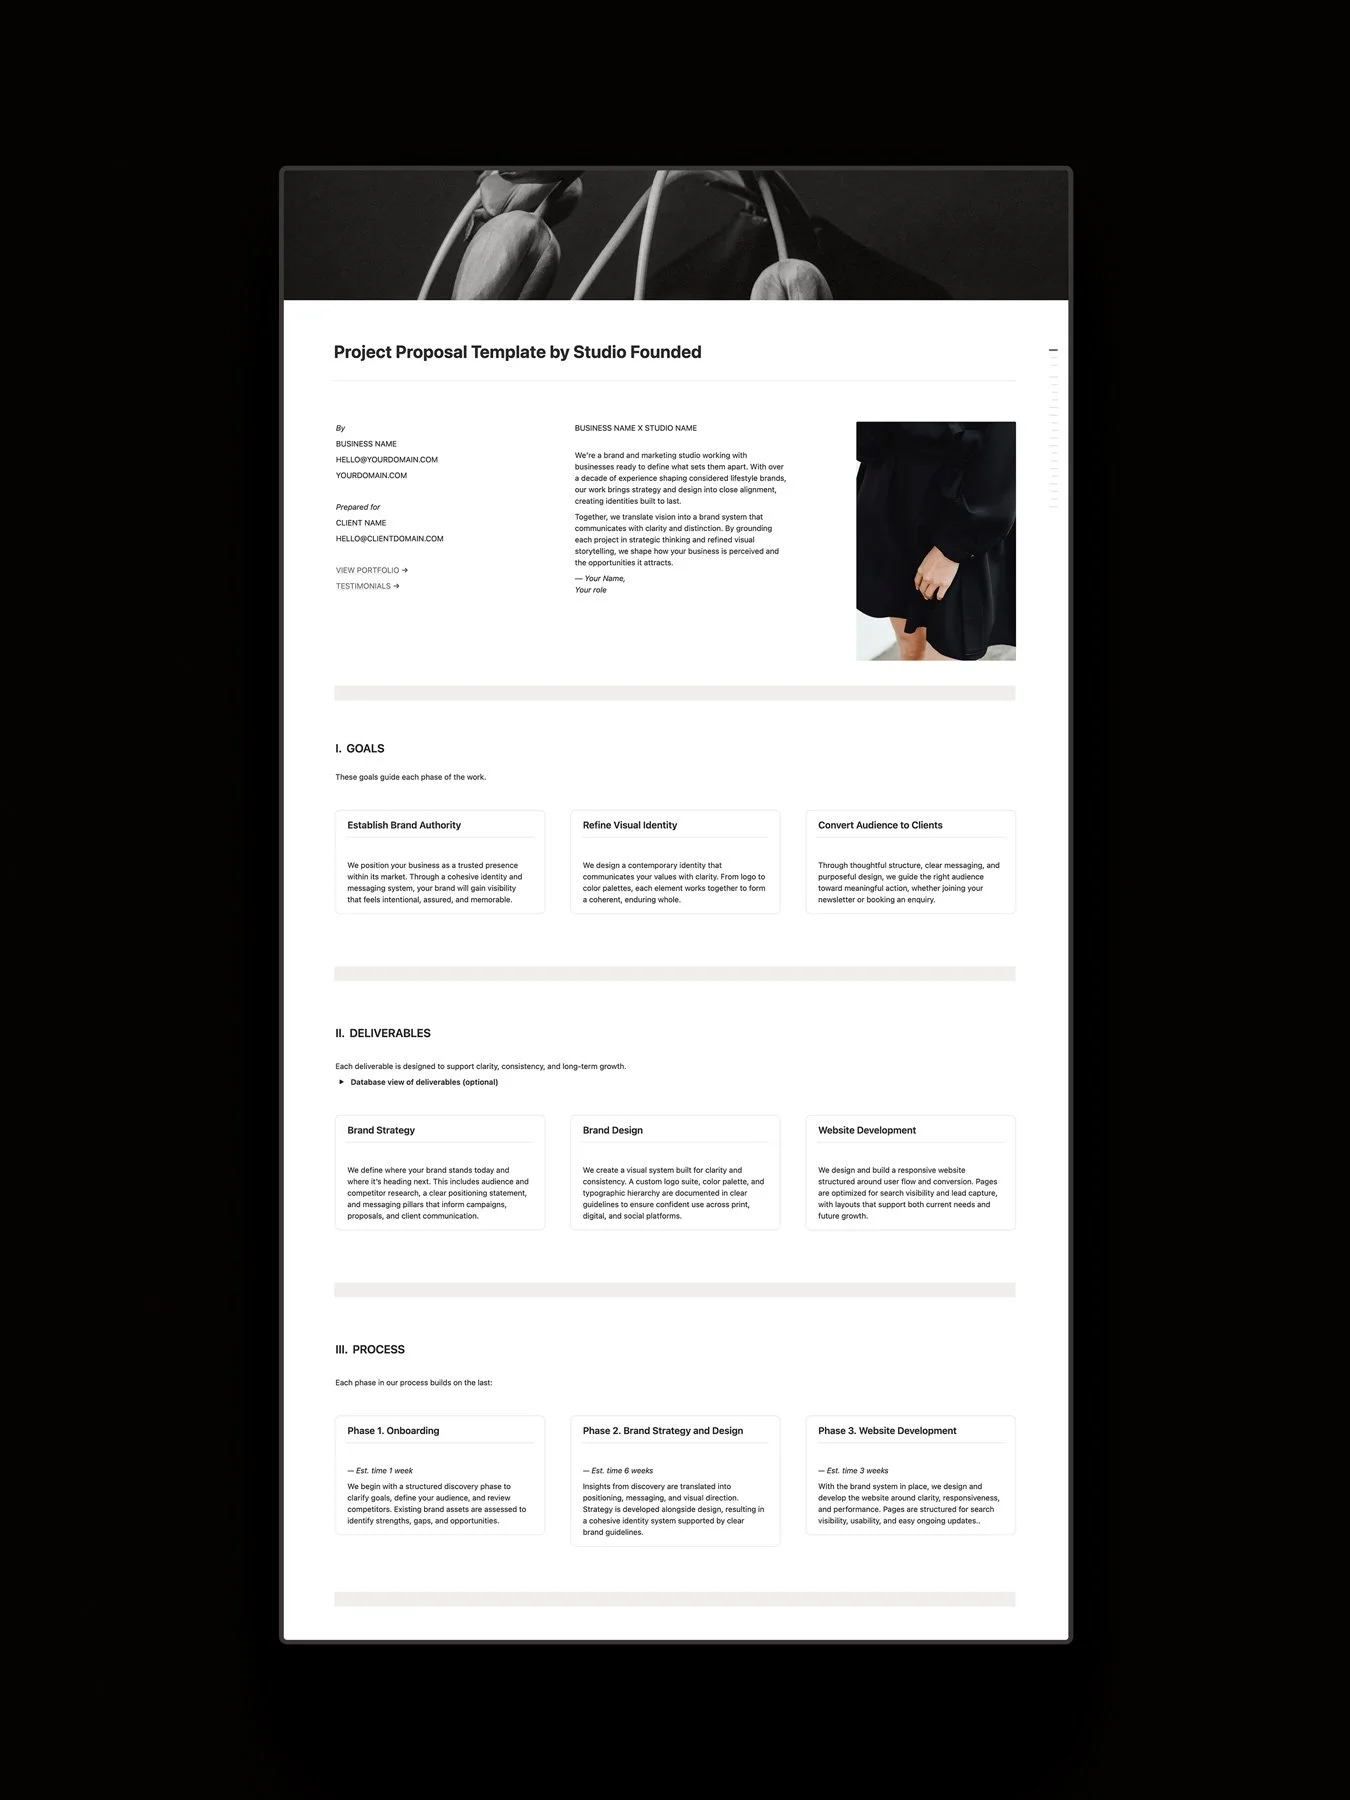
How to Start a Blog on Squarespace in 6 Steps
We recommend a blog to almost any business that wants to sell or book clients online, because it’s one of the best ways to improve your search engine visibility and build connection with your audience. We love Squarespace* for blogging because as an all-in-one platform, blogs are built right into your site. This avoids needing to manage an extra platform like WordPress to run your blog.
Learn how to start a blog on Squarespace with this 6-step guide, from choosing your Squarespace template to creating your first posts and optimizing them for SEO.
Affiliate disclosure: Some of the links in this article are affiliate links, marked with an asterisk (*). Studio Founded may receive a commission from qualifying purchases made through these links, at no additional cost to you. You can read our full affiliate disclosure here.
What Are the Benefits of Blogging?
Almost any kind of business can benefit from creating content and using it to share their experience, offerings, and expertise with their audience. When you start a blog on Squarespace, it can be used to:
Build your brand identity
Your content is part of your brand, and it can be used to share things that help cement your brand identity. If you have a mission or a set of values, share them in your blog posts. Write about how you bring the sustainable practices you talk about on your About page into practice through eco-friendly packaging and processes. Talk about the causes you stand for and support, and how. It shares a deeper insight into who you are and builds connection with audiences who care about the same things.
Answer client objections
Are there questions that clients or customers always ask you, or common reasons why they decide not to purchase? A blog can be a space to preemptively answer their questions and objections, with space for FAQs, product details, and testimonials. You can also document your client projects, the steps you take, and the outcomes so potential clients can gain an in-depth sense of what it feels like to work with you.
Share your offers
You can write about each of your products and offers, sharing images, reviews, and a breakdown of information that’s more detailed than you might typically see on a product page. It helps potential clients/customers to understand your offers, but also gives them another way to find you through SEO.
Build organic traffic
Organic traffic through search engines can be a source of fresh clients, and blog posts are a great way to rank for keywords your audience is searching for. You can also build content pillars around your areas of experience to show Google your authority in that area.
Why Should You Start a Blog on Squarespace?
We love Squarespace* because it’s an all-in-one platform, and it saves you from having to manage another third-party platform to manage your blog. Website maintenance can be a lot of work, and we like to keep it as simple as possible so it doesn’t eat into too much time.
Besides ease of use, Squarespace has several benefits for bloggers:
Squarespace templates
Squarespace has a range of built-in templates that are fully customizable with the drag-and-drop editor, making it easy to design and build your blog. If you’d like a designer-made option, there’s also tons of premium Squarespace templates out there. If you’d like to learn more, you can check out our post on when you should choose a free vs premium template, and our curated roundup of the 12 best places to buy Squarespace templates.
SEO features
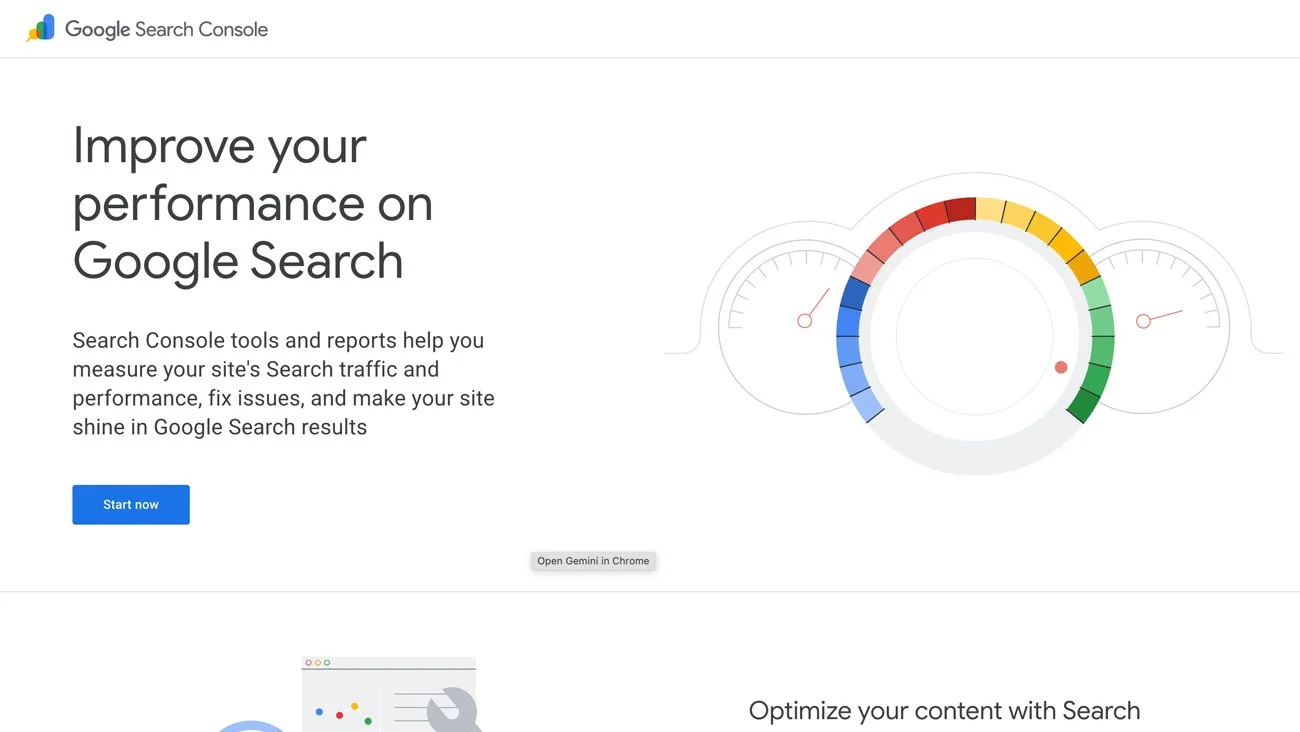
Squarespace has a lot of built-in tools to support your blog’s SEO so it can be found in search, from page metadata to image alt text and custom URL slugs. It auto-generates an XML sitemap that you can submit to Google Search Console and Bing Webmaster, and adds structured data (schema) to your blog posts to help Google understand your content. If you’d like to learn how to optimize your blog, take a look at our Squarespace SEO checklist.
Analytics
Analytics are built into Squarespace, so you don’t need to use a third-party tool to know how many visitors are coming to your blog posts. You can also connect Google Search Console to Squarespace to see the keyword you’re ranking for directly in your site, which can be helpful for optimizing your content.
Newsletters
Email Campaigns* are Squarespace’s built-in newsletter feature (available to add-on to your Squarespace plan). Newsletters are a great way to grow a following for your blog and keep readers coming back, with updates on your latest posts and more personal, 1:1 messages. Like Squarespace websites, the newsletters are easy to edit and customize and pull from your website’s styling so your emails can stay on brand. Email Campaigns includes real-time analytics, segmentation, automations, and more.
Support
One of our favorite things about Squarespace is its support options. Email support is available 24/7, and live chat is available on weekdays. There’s also a dedicated Help Center, so you can always find support when you need it. We run our website on Squarespace, but also design custom Squarespace sites for our clients, and love knowing that they’ll be able to get help if they ever run into any issues.
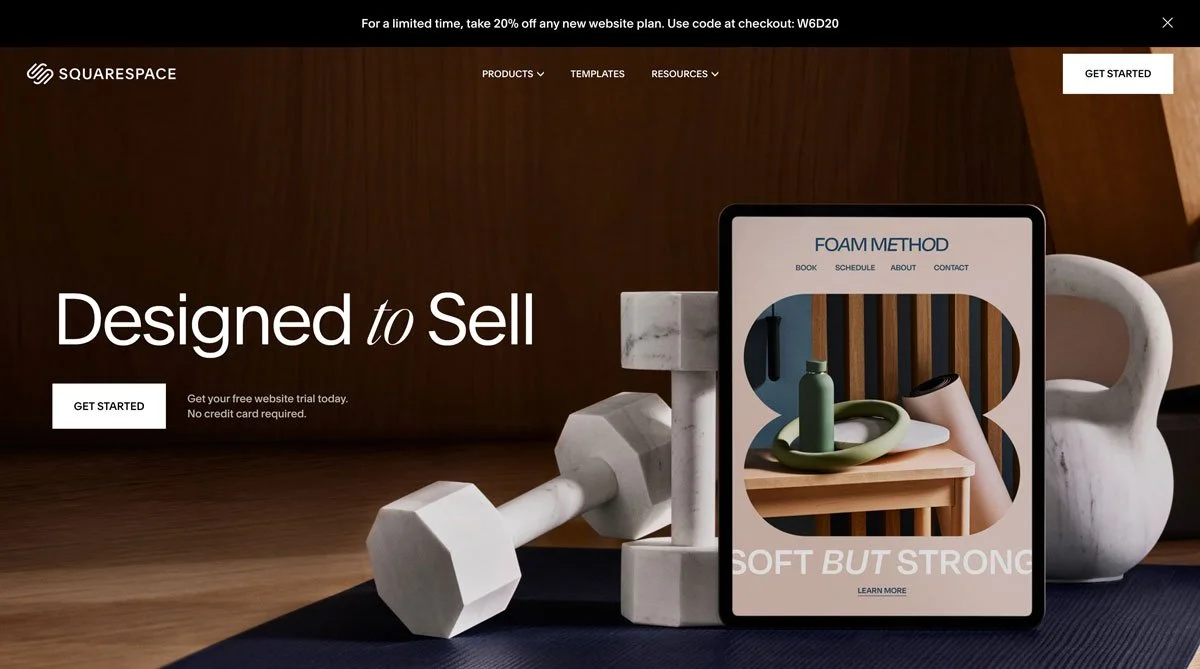
Next, we’ll break down how to start a blog on Squarespace step-by-step.
1. Choose Your Squarespace Template
If you’re starting your website from scratch, the first step is to choose your Squarespace template. (if you already have a Squarespace site, you can skip this section and go straight to setting up your blog). You can choose a built-in (free) template, or a designer-made option. You can learn more about the differences in our guide to free vs premium templates.
A Squarespace blog can be added to any site, so you don’t need to choose a template designed for blogging, although it can be helpful to use pre-made layouts designed for blogs.
2. Choose Your Squarespace Plan
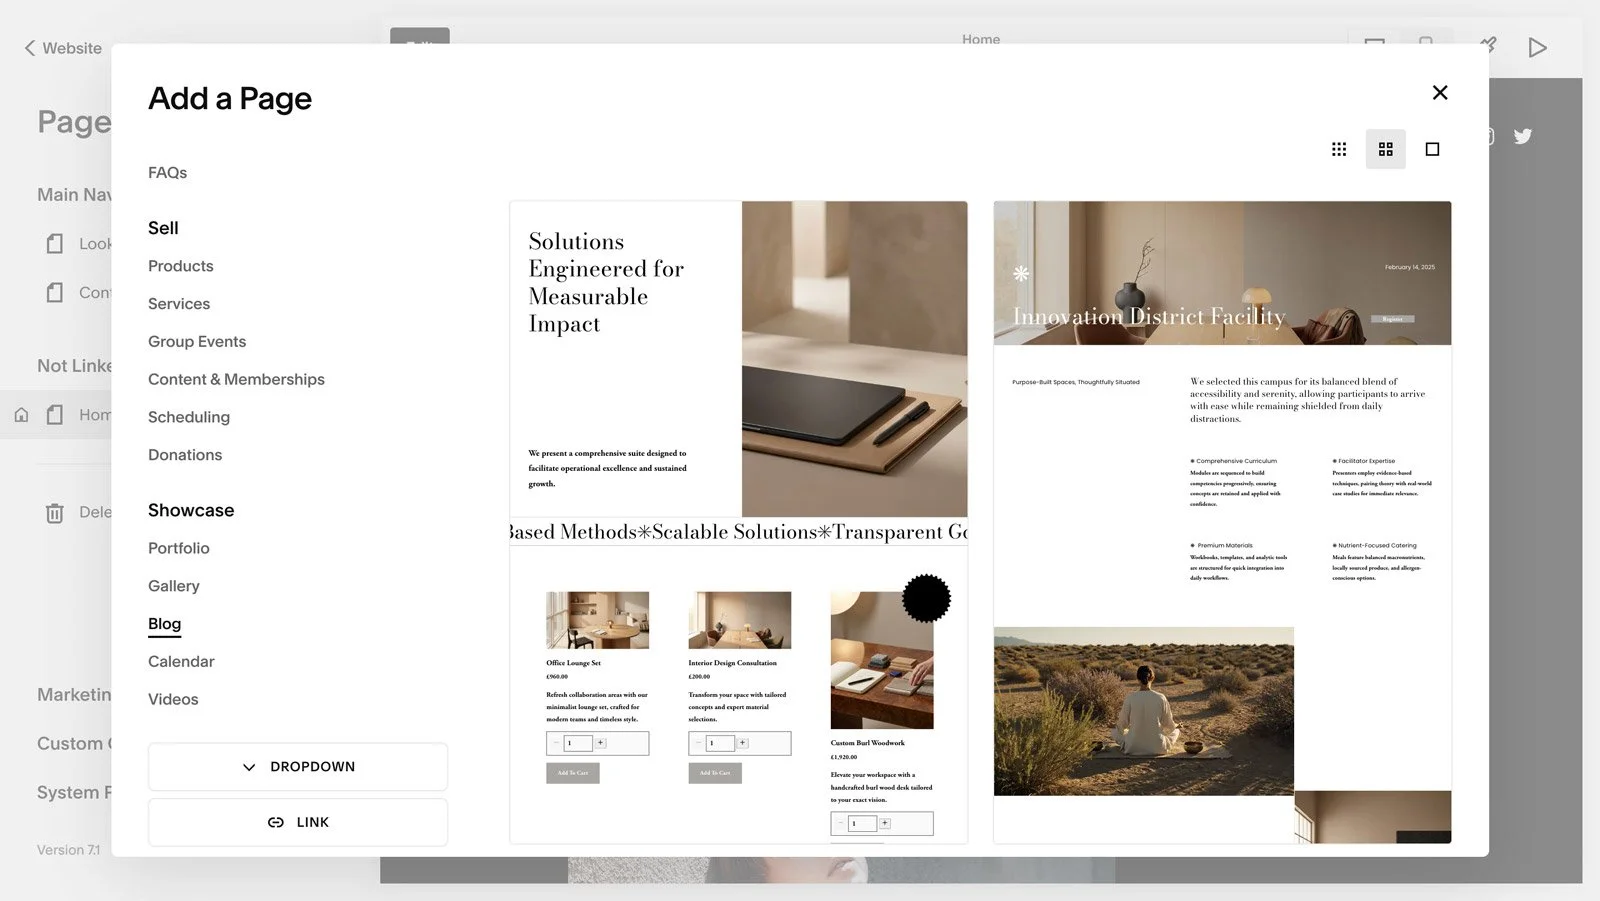
The next step is to choose your Squarespace plan*. Blogging functionality is included with all plan options. You can save 10% using the code STUDIO10.
3. Create Your Blog Collection
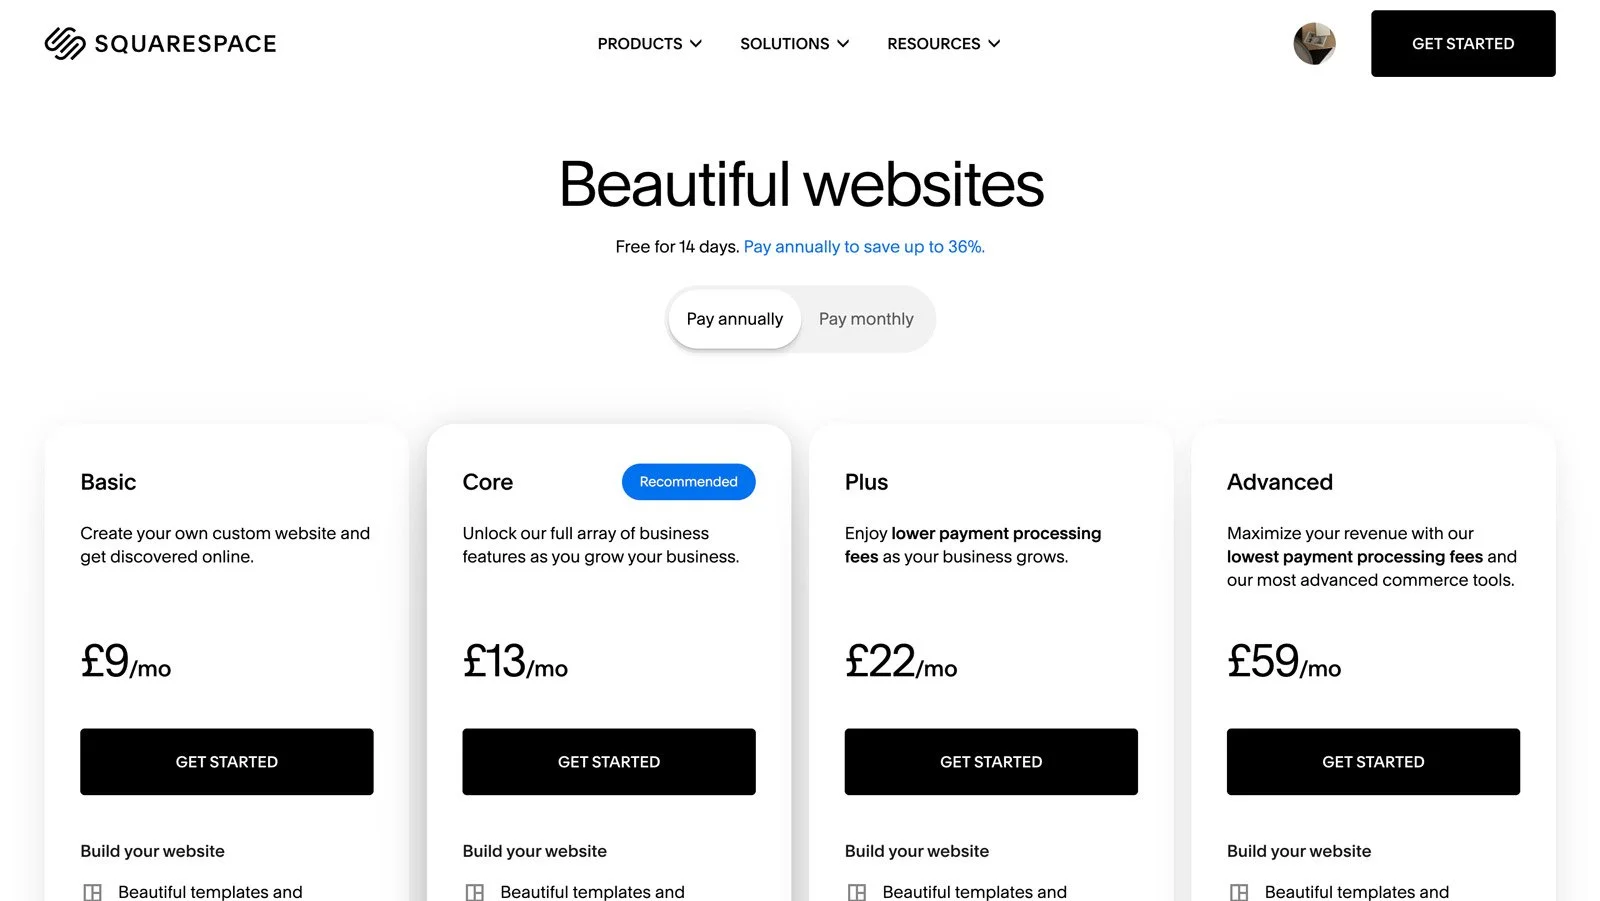
The next step in setting up your Squarespace blog is to create your Blog Collection page. You can do this by visiting your pages and navigating to Pages in the left-hand panel. Then select the + icon and choose Blog. This adds a Blog Collection, which houses your blog posts.
4. Configure Blog Settings
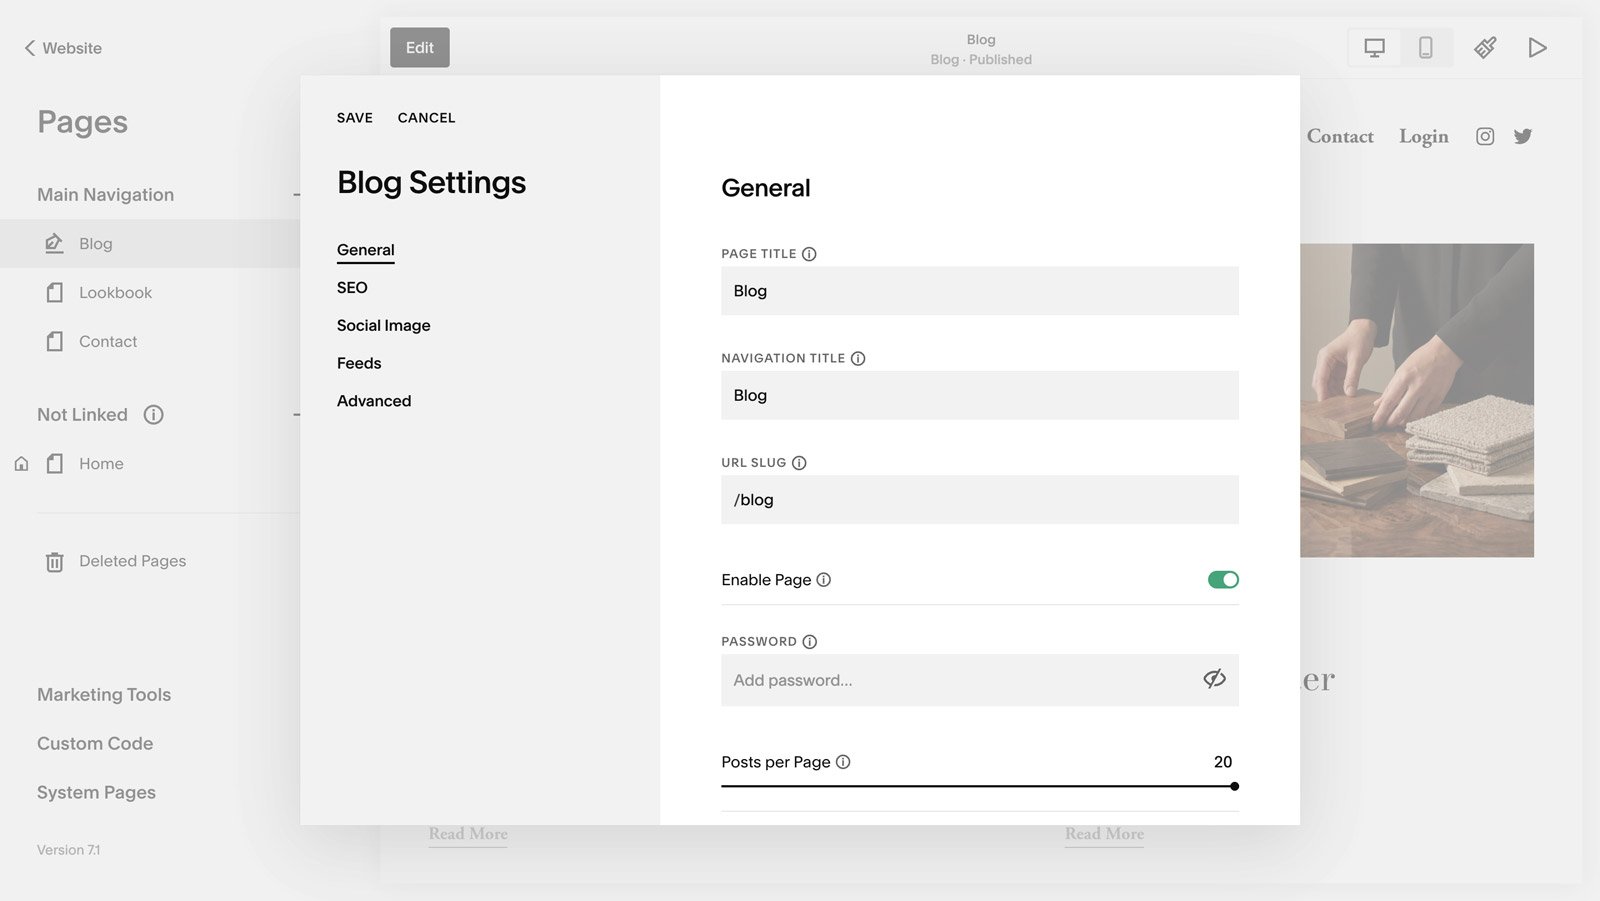
The next step is to configure your blog’s settings. Click the cog icon next to your Blog Collection in Pages to open its settings, and add the following:
Page Title
Give your Blog Collection a page title. It can be something simple like Blog or Journal, or you can give your blog a name like “Field Notes” or “Anthology” -— whatever fits your brand.
Navigation Title
You can add a Navigation Title if you’d like your blog to use a different title in your navigation. For example, you might want to give your blog a branded name like “Field Notes”, but call it “Blog” or “Journal” within your navigation to make it clear what it is at a glance.
URL Slug
Give your blog a custom URL slug, typically something that matches your Title, like /blog or /journal.
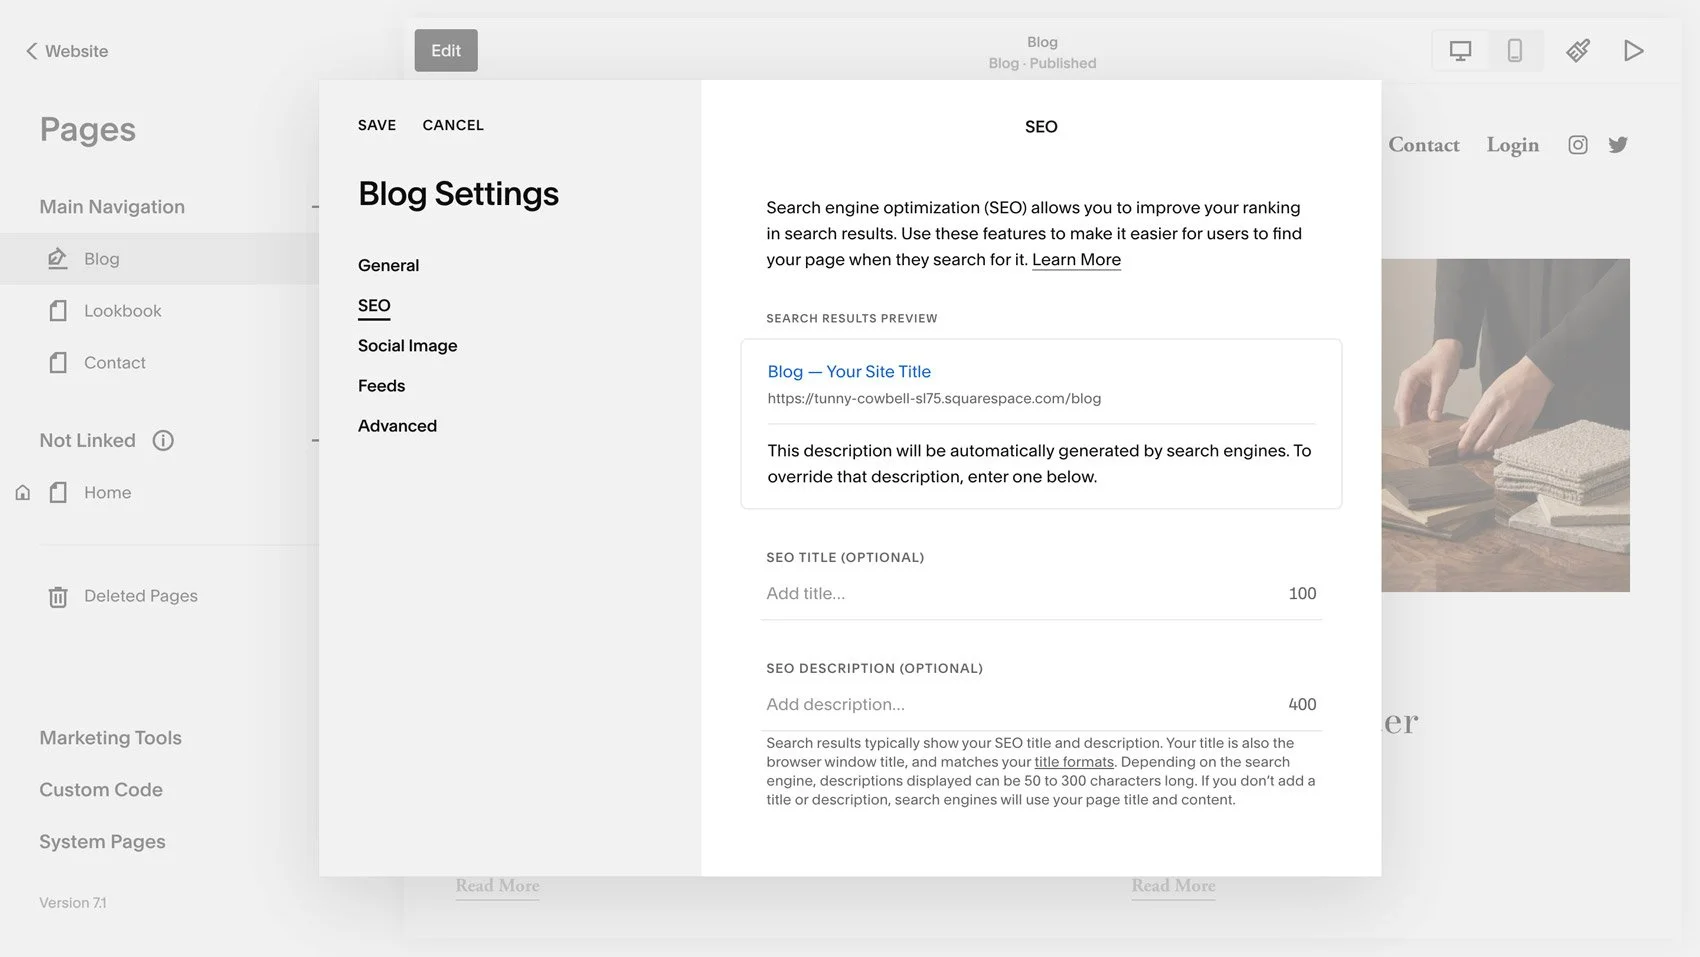
SEO Settings
After customizing your General page settings, you can then navigate to the SEO tab and give your blog and SEO Title and SEO Description. For more information on optimizing your Squarespace site for SEO, take a look at our complete Squarespace SEO checklist.
5. Add a Blog Post
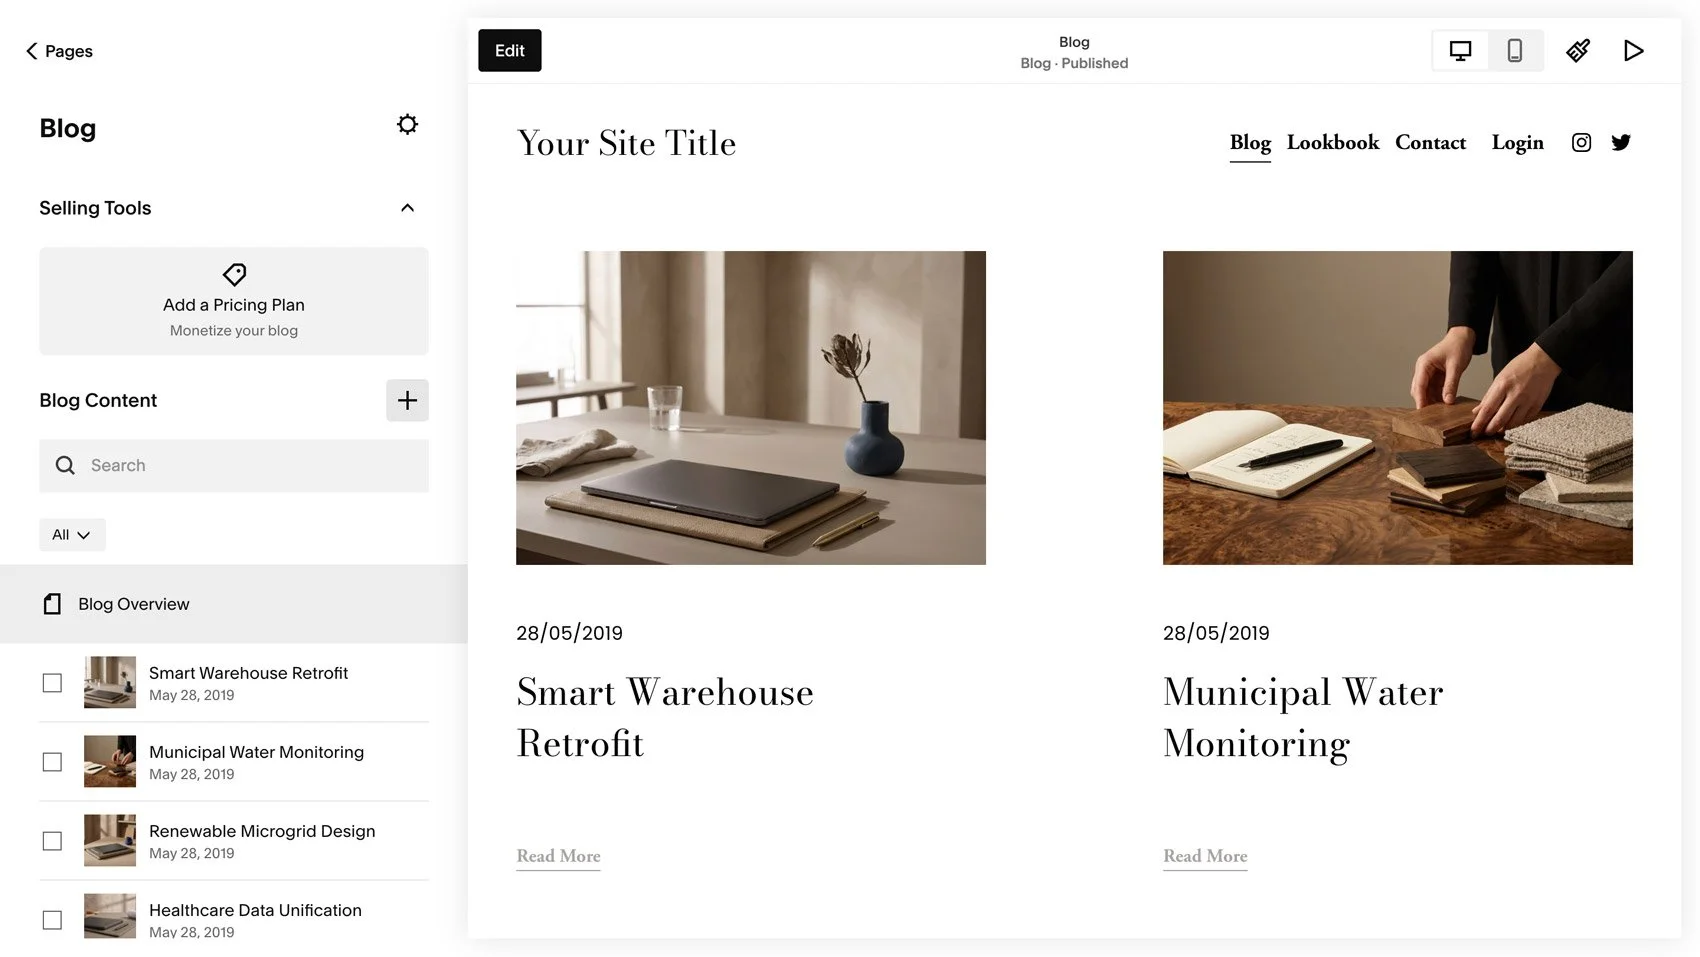
Create Your Post
Next, you can dive in and add your first blog post. Press the large + icon next to Blog Content to create a new post.
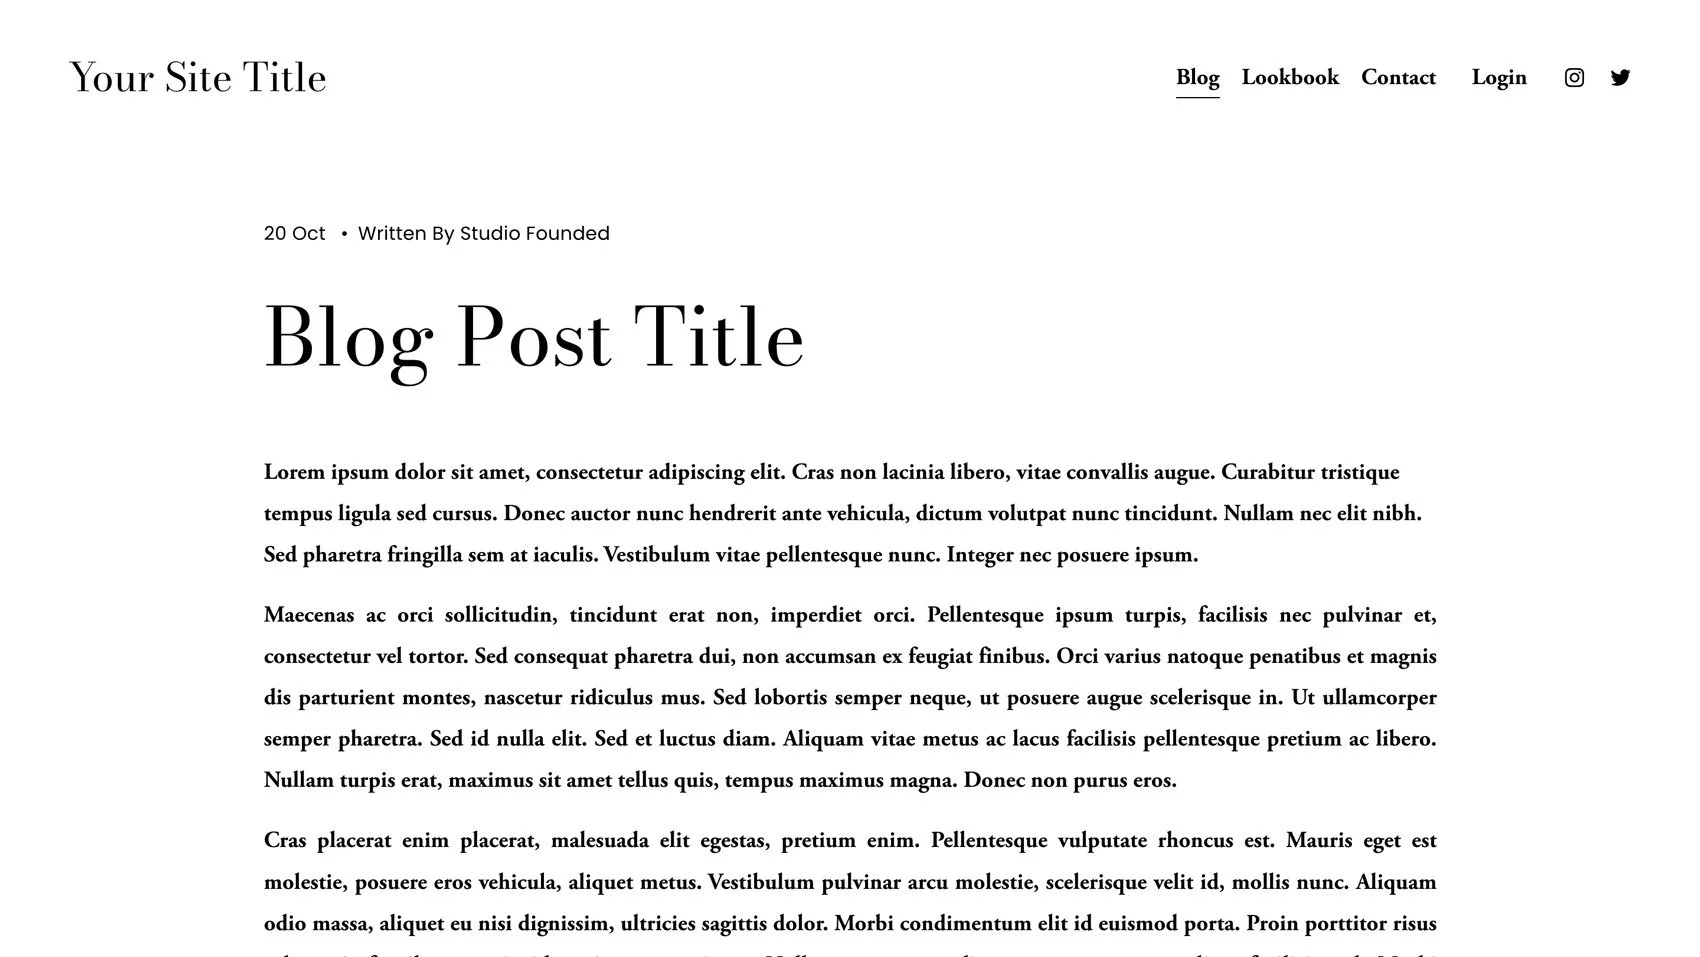
Add Content to Your Post
Now you can build out your post with content by clicking into the page and typing a post title and body text. You can add headings, images, galleries, videos, buttons, and more.
Post Settings
Press the three dots icon next to your blog post in the left-hand panel, and click on Settings to open Blog Post Settings.
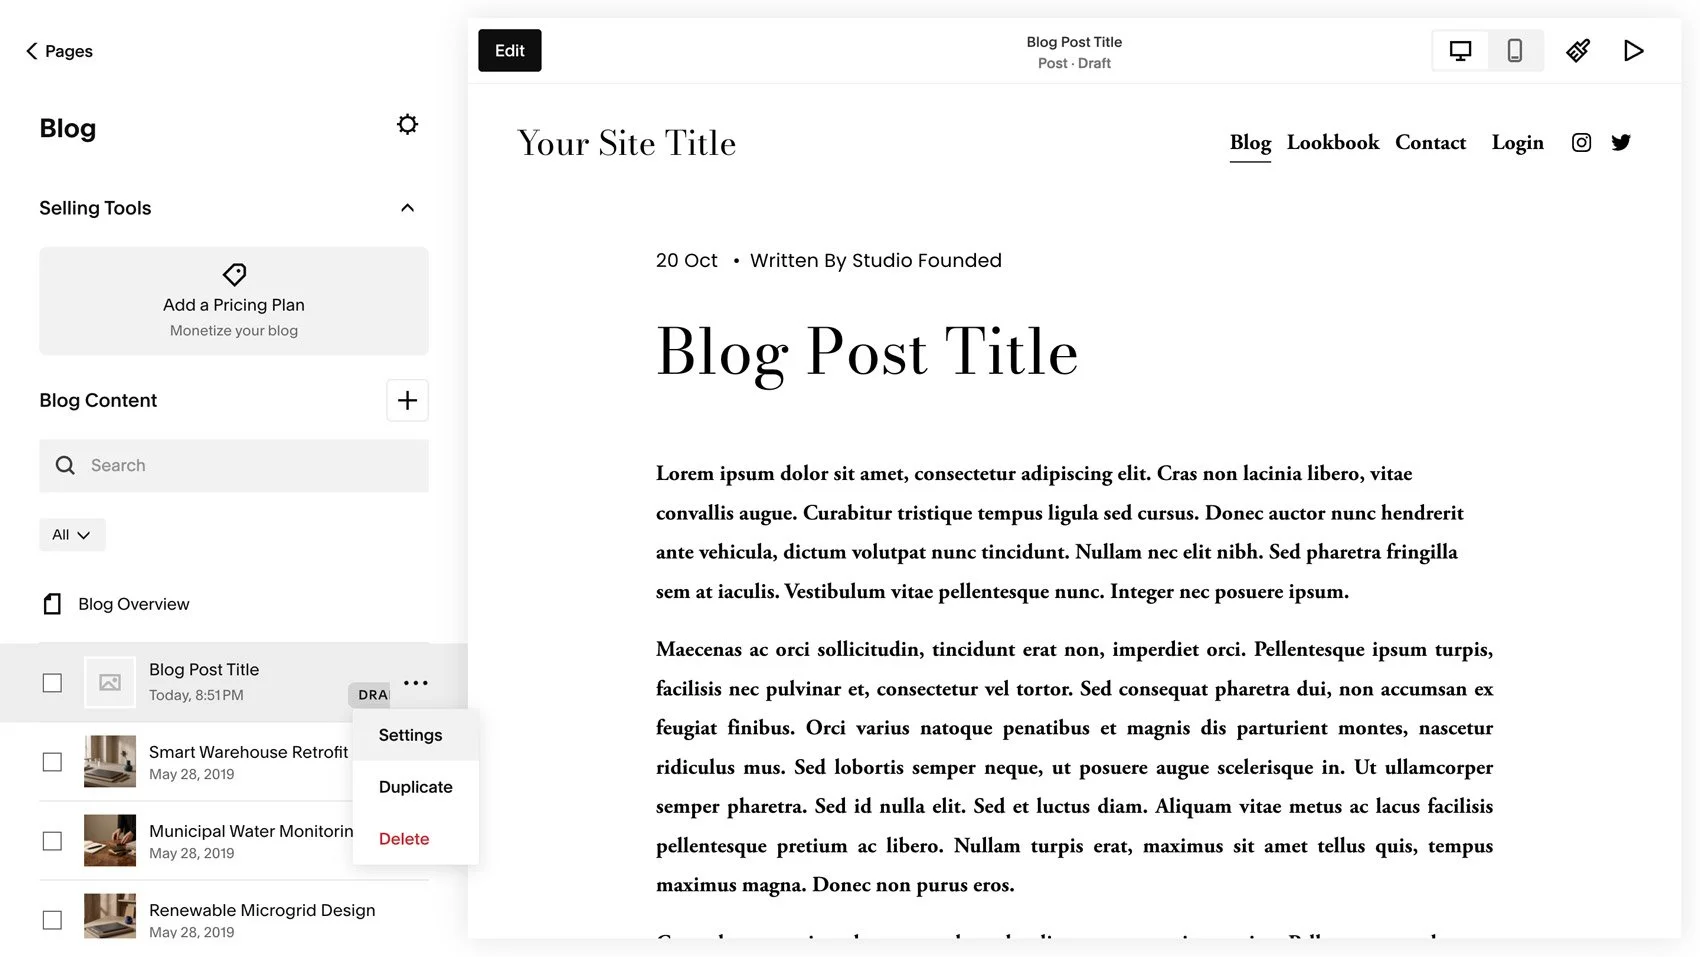
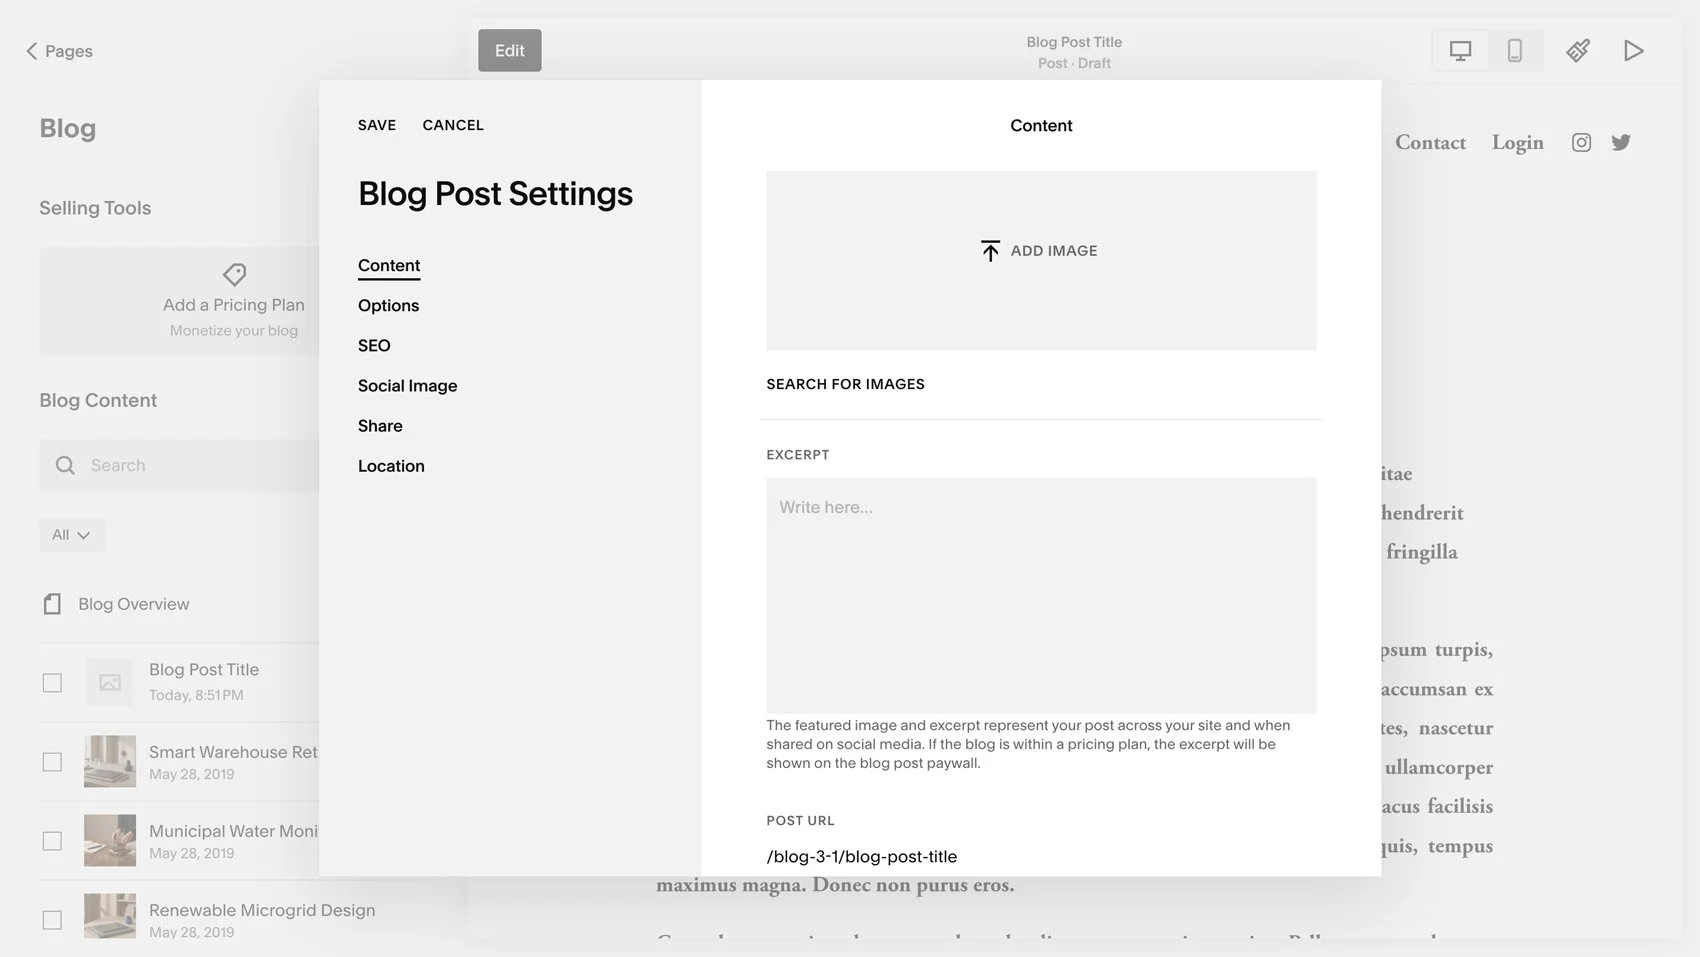
From the Blog Post Settings area, you can add:
A post thumbnail
An excerpt
A customized URL Slug
You can also open the SEO tab to add a post SEO Title and SEO description.
Publish Your Post
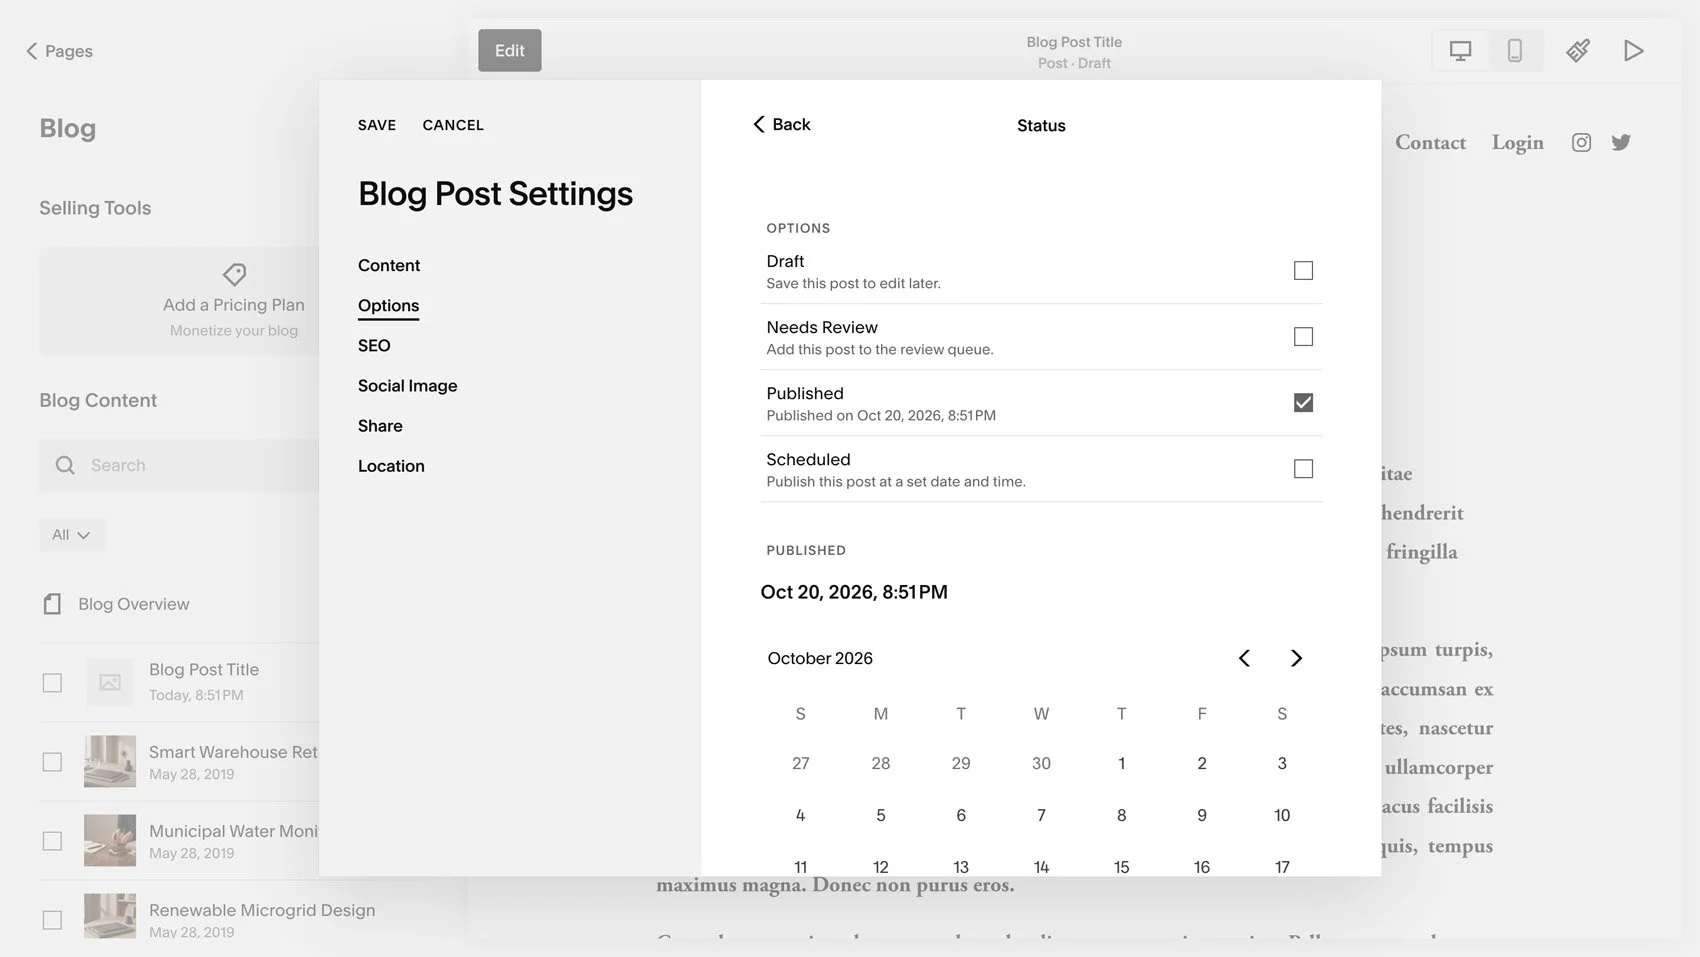
Lastly, publish your post by hitting the Publish button in the top left-hand of the screen while editing your blog post, or return to Blog Post Settings, go to the Options tab, and switch from draft to Published. You can also use this area to schedule a post for a future date and time.
6. Optional Settings
Add a Post Author
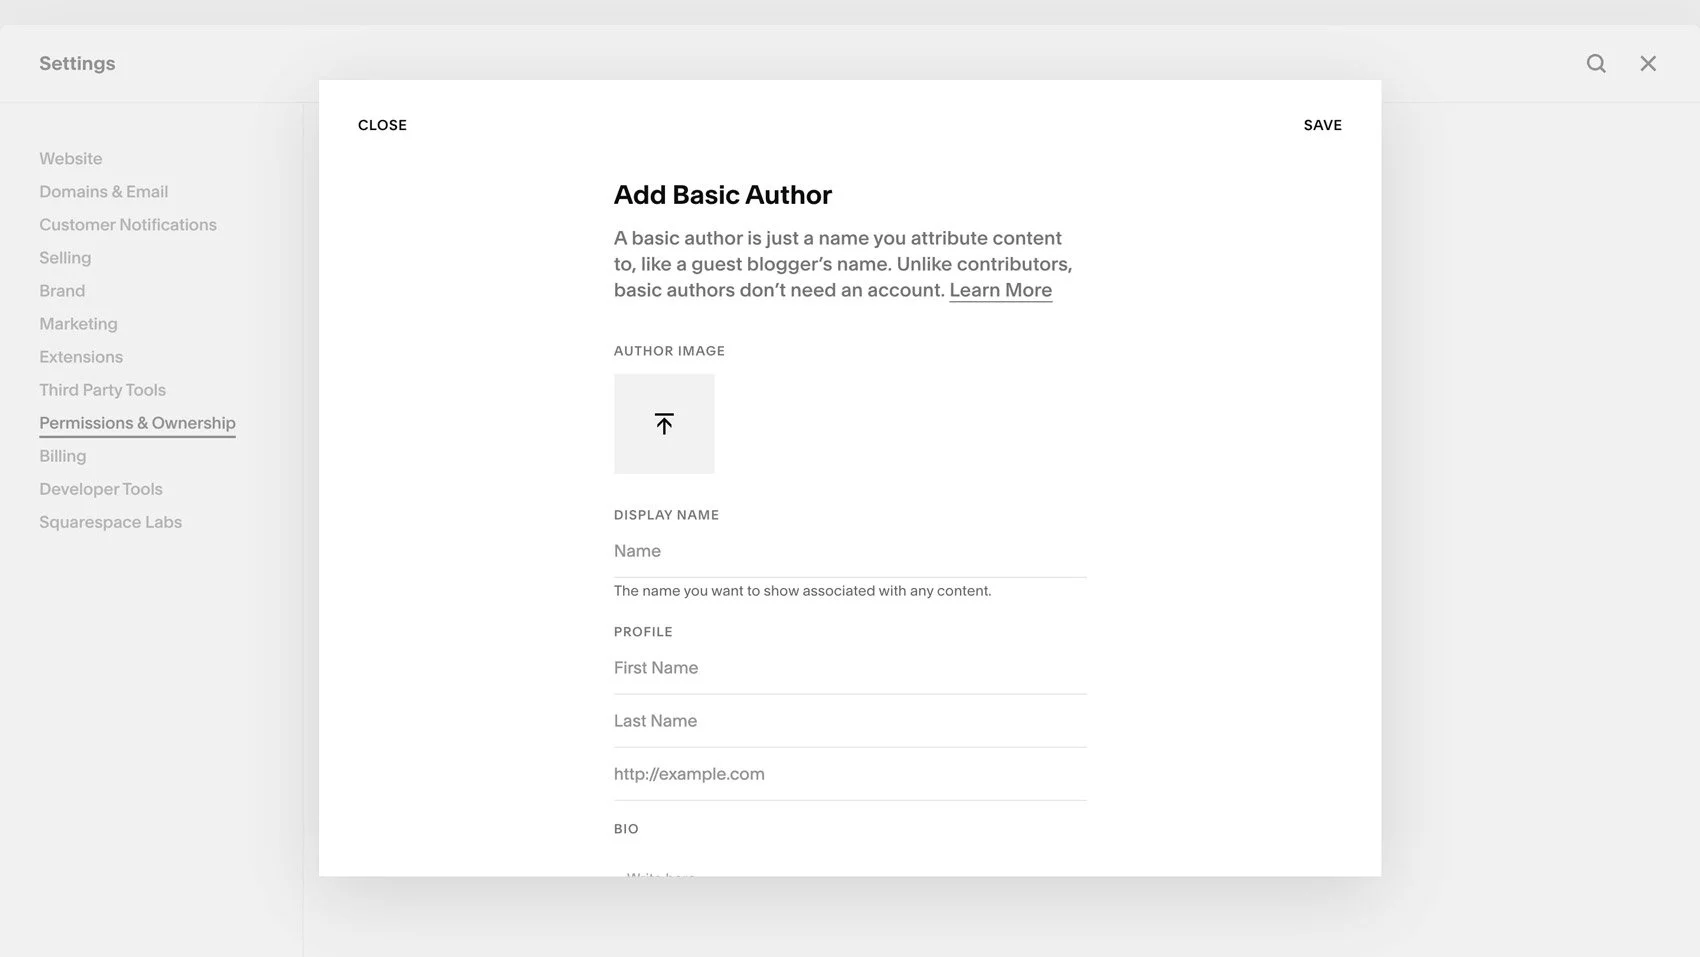
To add a Post Author, you first need to set one up via Settings > Permissions and Ownership > Add Basic Author (if you have trouble finding it, you can also use the search bar in the left-hand panel).
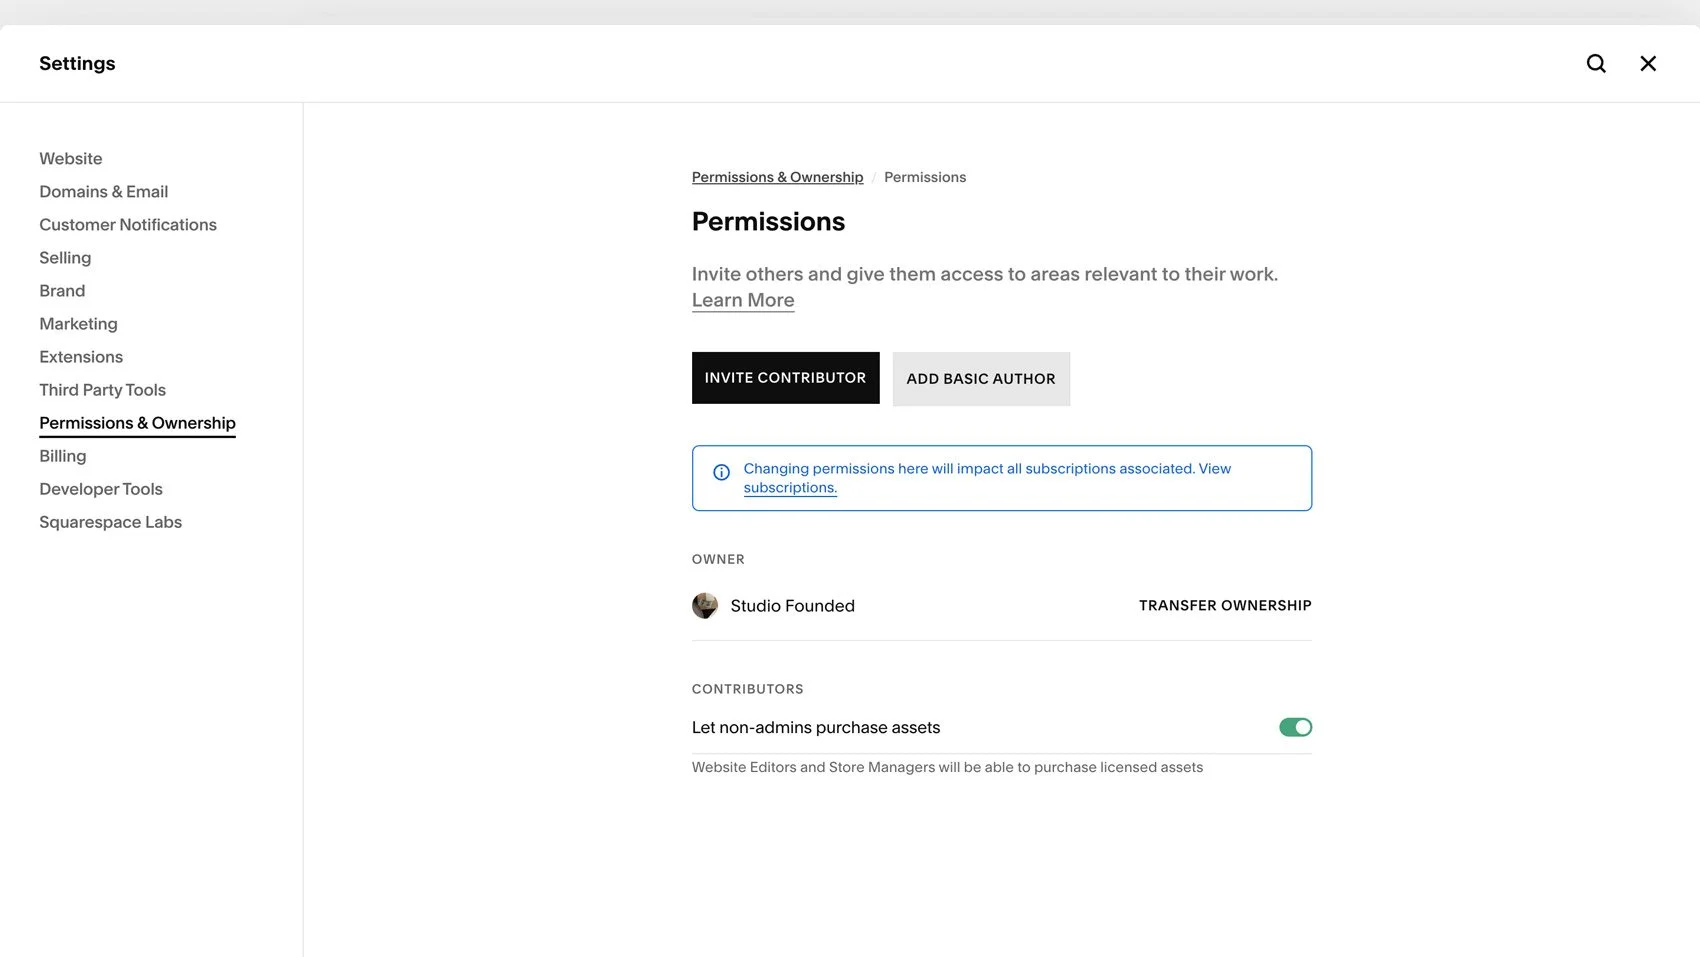
You can customize your author information by adding an Author Image, Display Name, website URL, and a short Bio, then click Save.
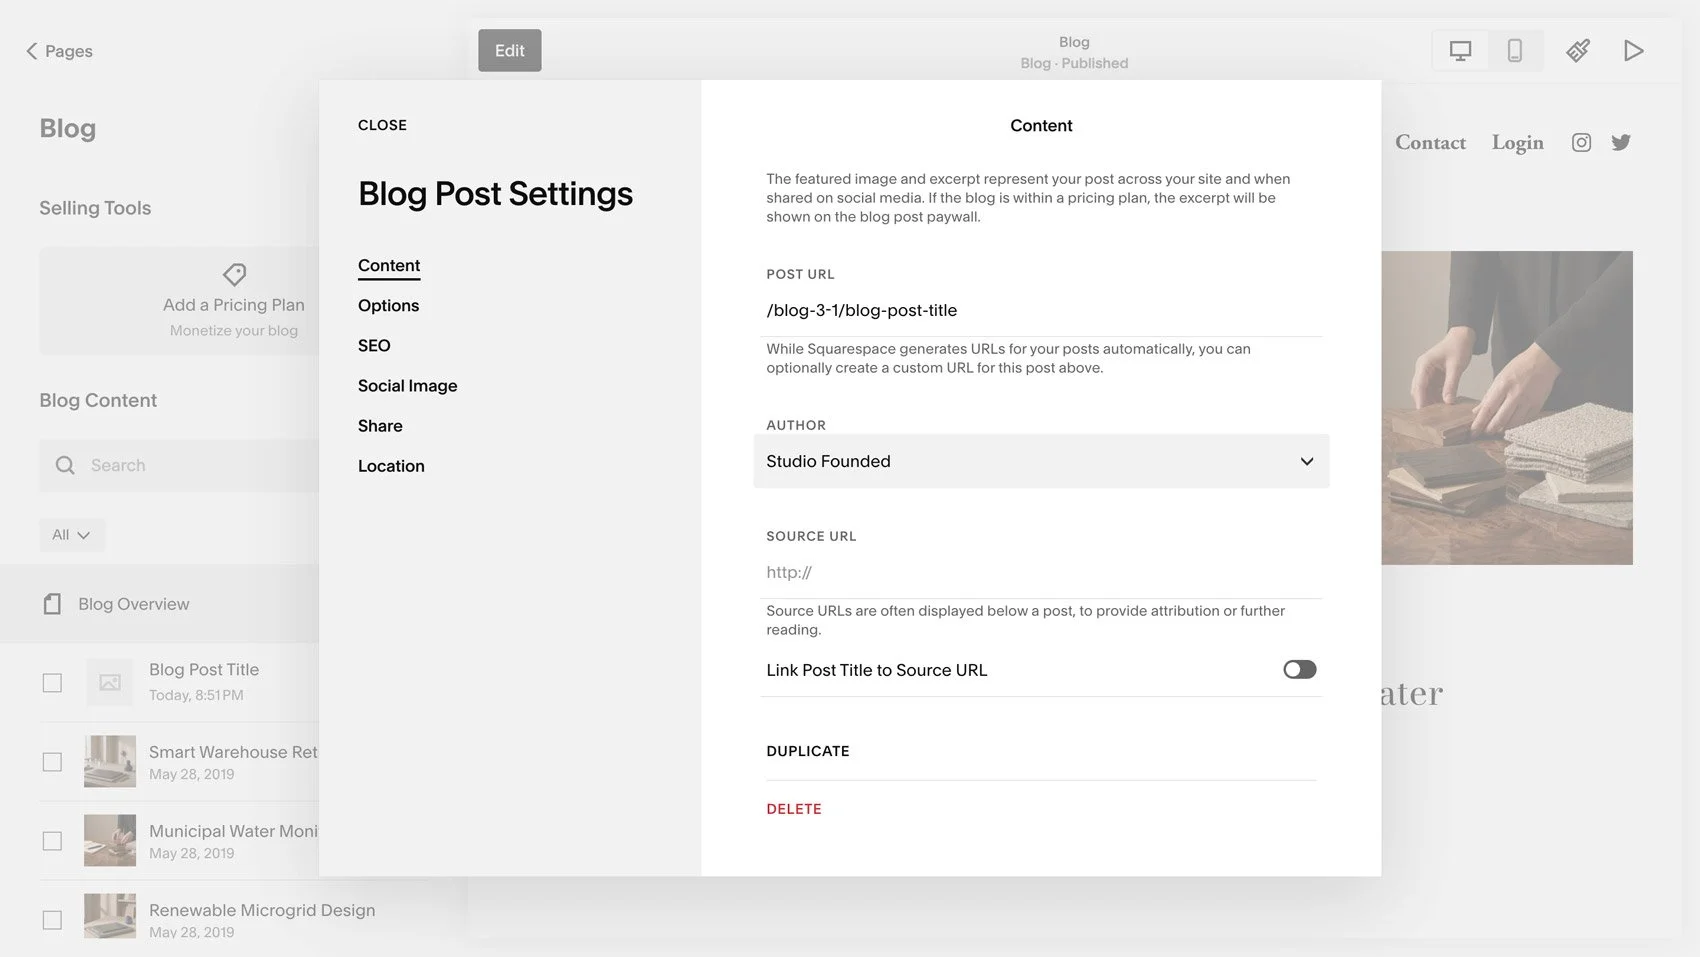
Now return to the blog post where you’d like to add an author, click the cog icon next to the post to open Blog Post Settings, and under Content, use the dropdown to select an author for the post.
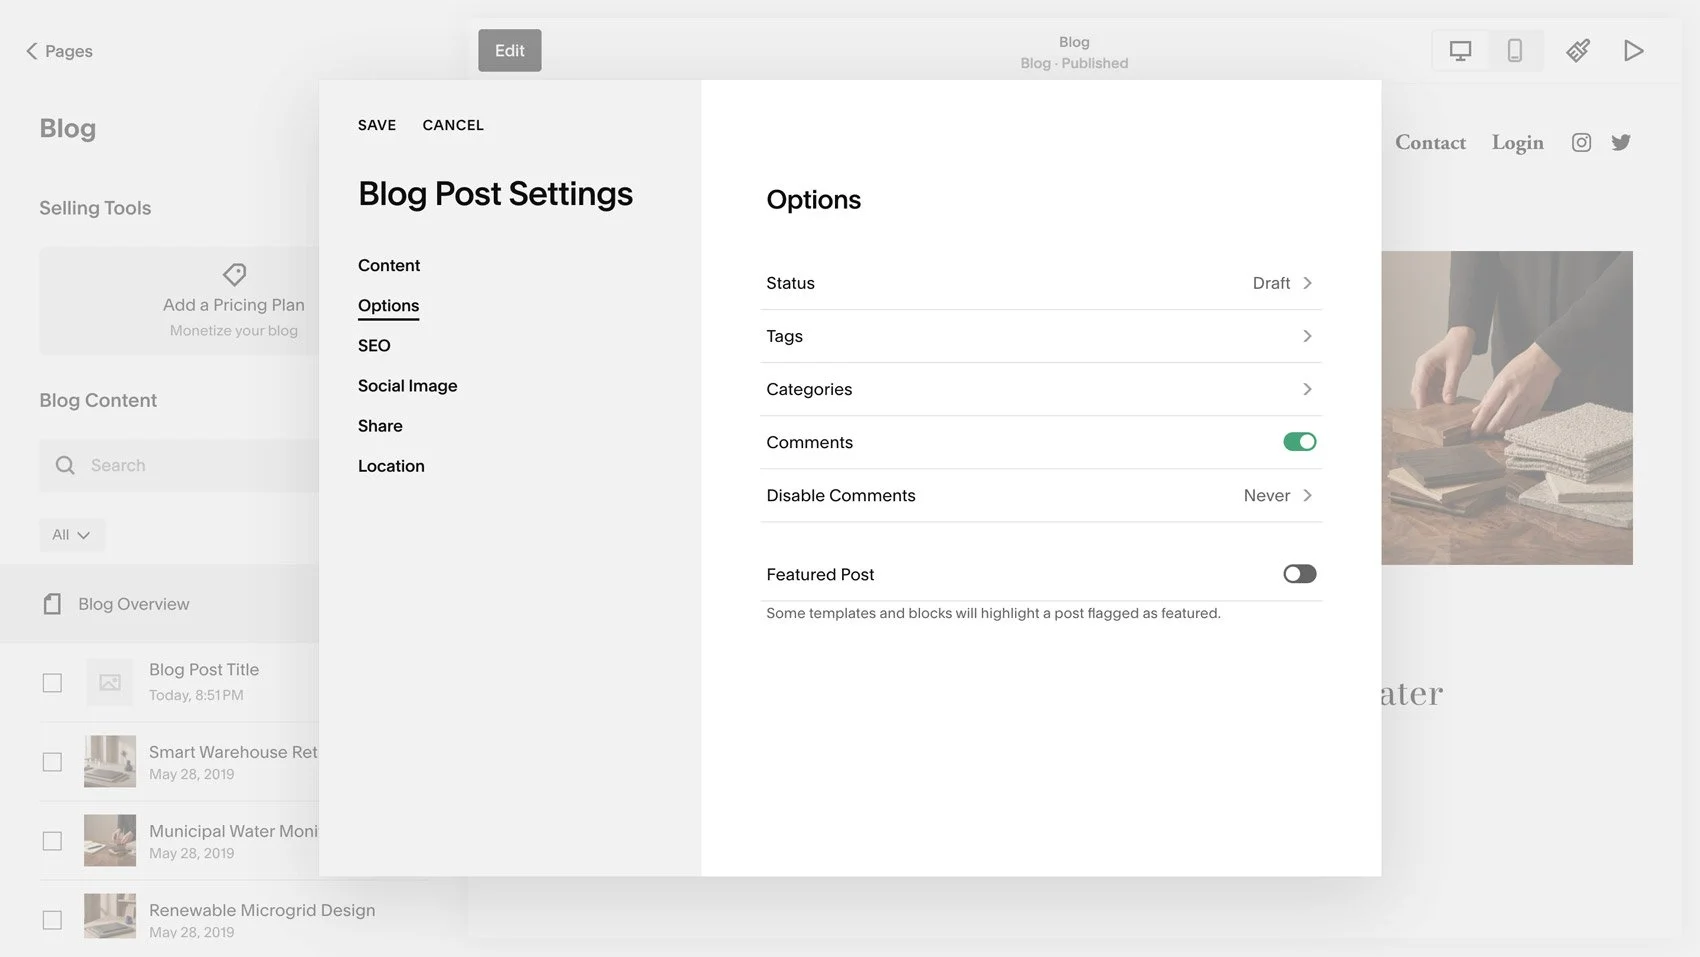
Comments
If you’d like to enable comments on your post, you can do so by returning to Blog Post Settings, opening the Options tab, and toggling on comments.
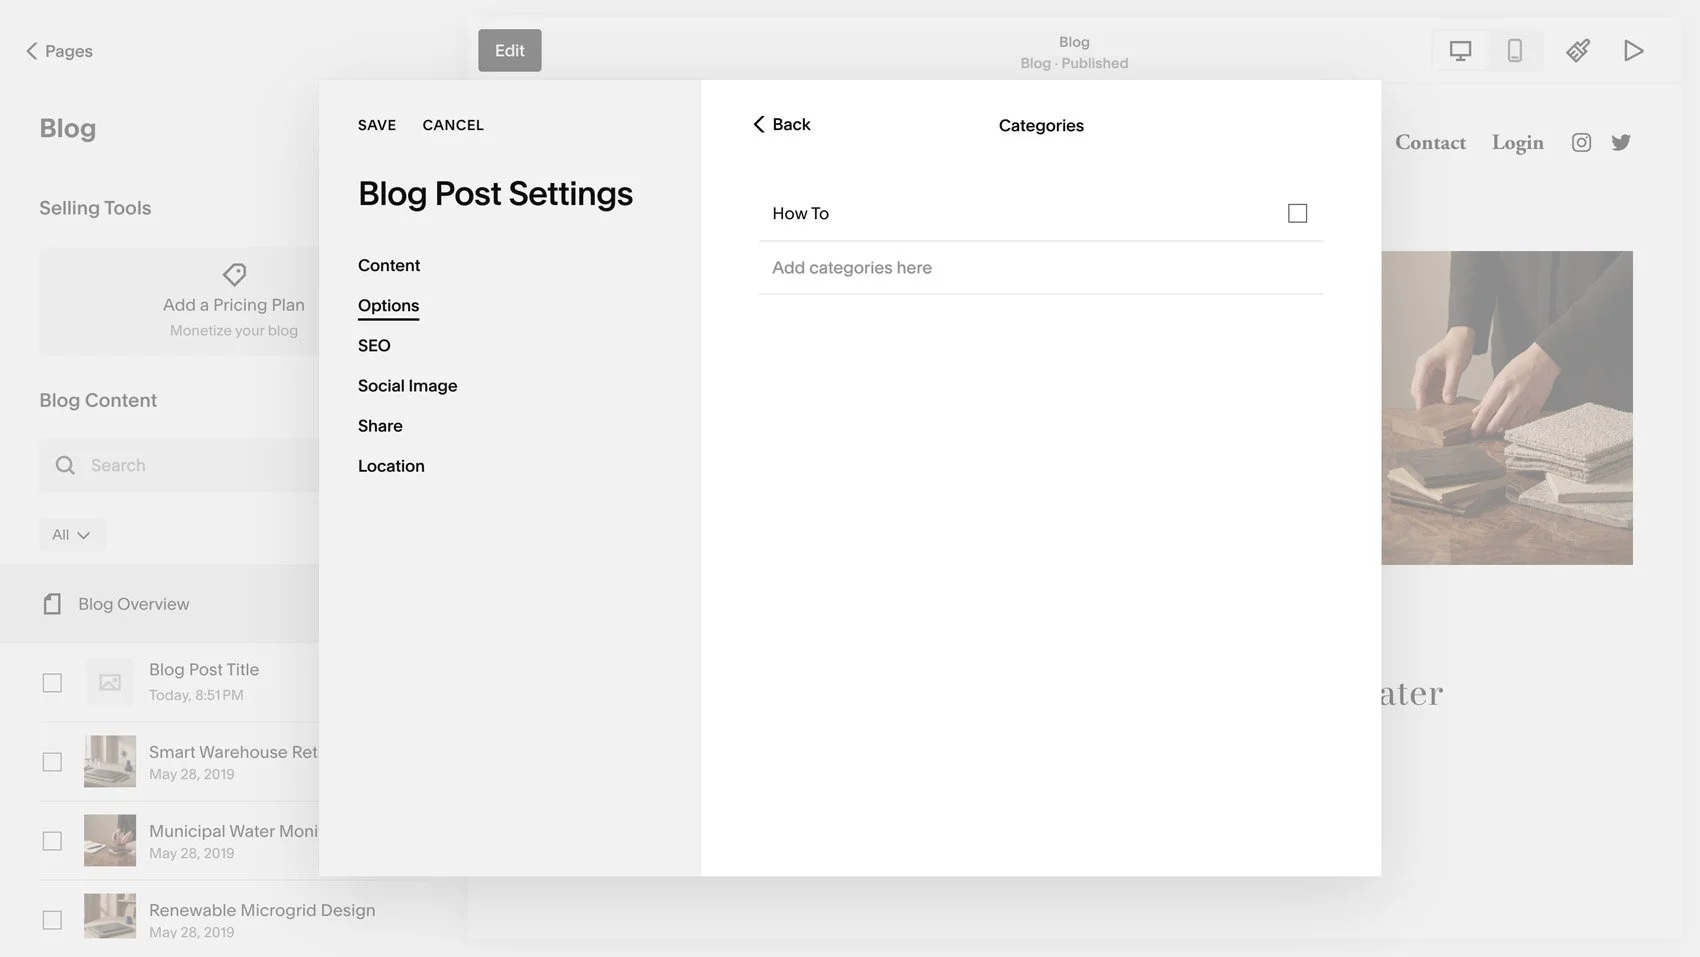
Add Categories
You can add post categories under Blog Post Settings and the Options tab. Type into the Categories area to add your post categories.
Add a Social Image
If you’d like to customize the image that displays when you share your post on social, you can do so by visiting Blog Post Settings, navigating to the Social Image tab, and uploading your image.
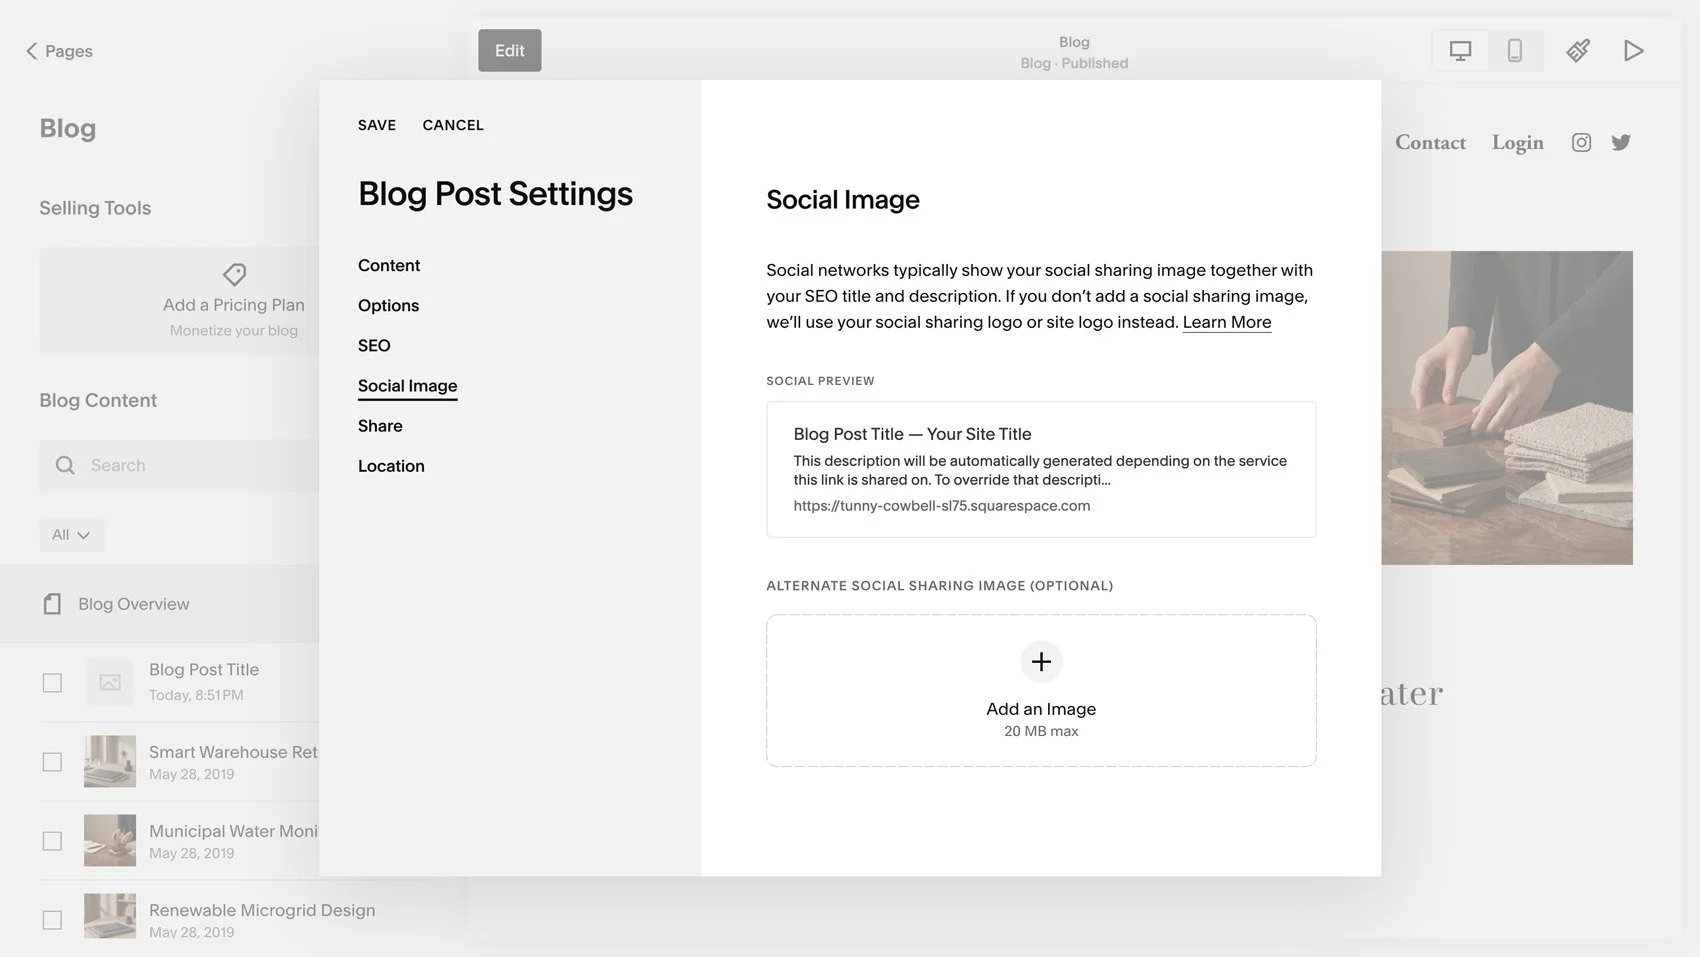
Sharing
Under the Share tab in Blog Post Settings, you can share your post by pushing it to your connected social media accounts, or by using it to create an email (note: you need to connect Squarespace Email Campaigns as an add-on subscription to your Squarespace plan).
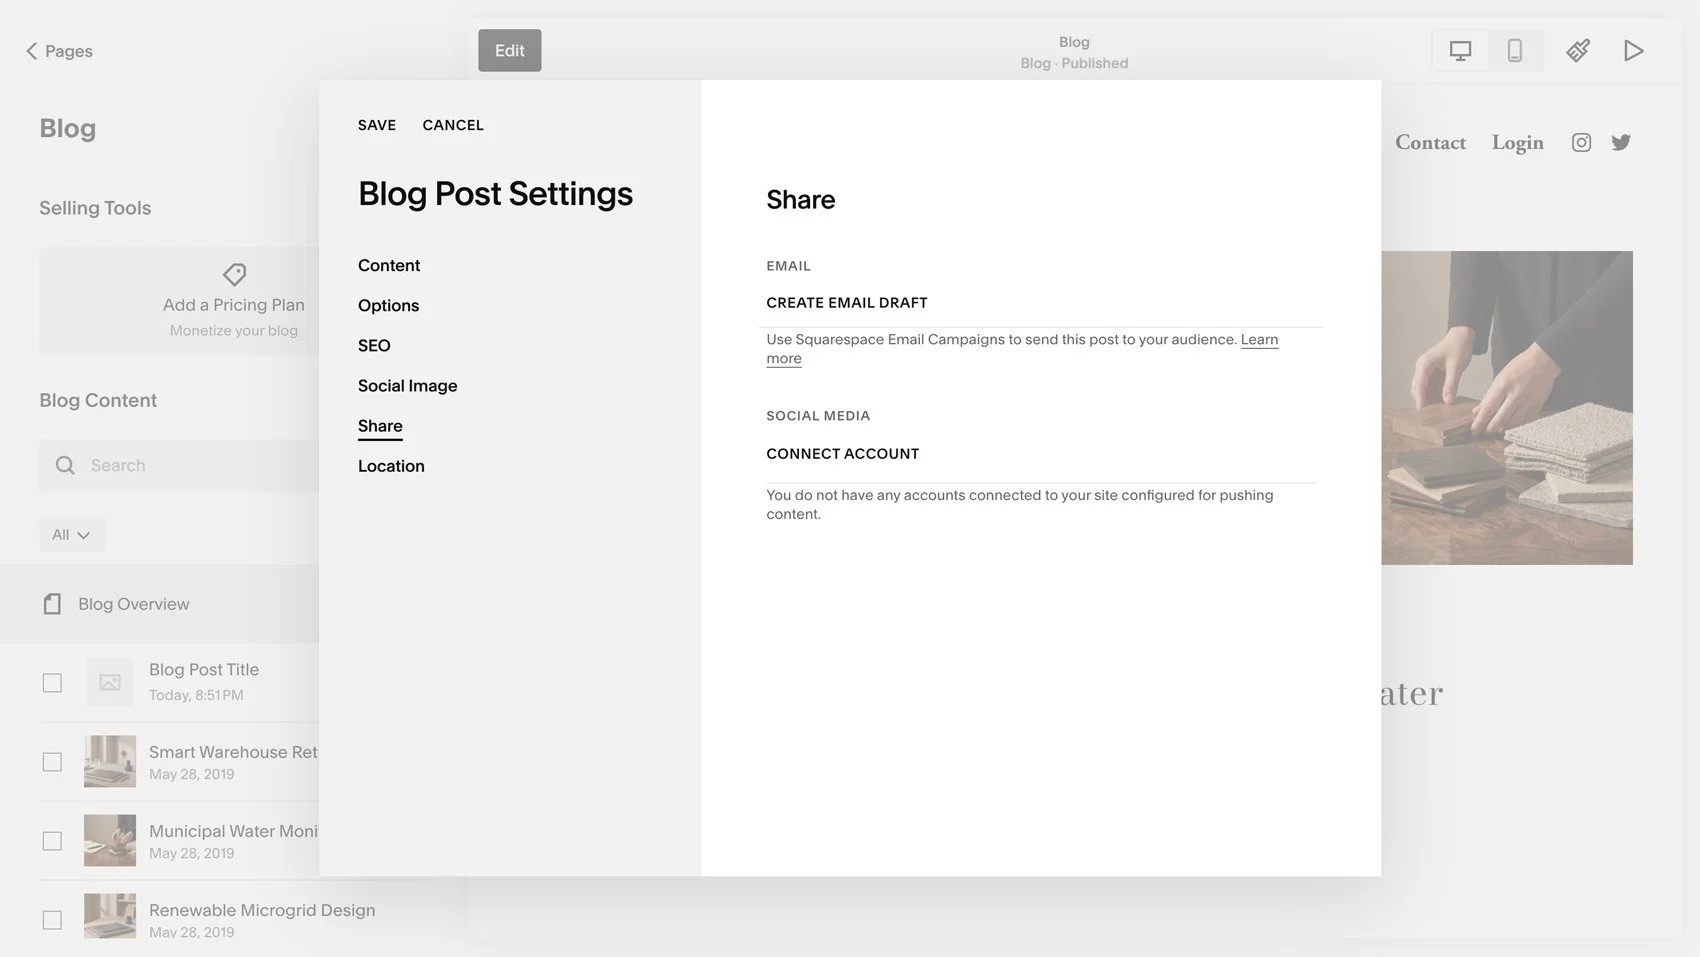
Customizing the Design of Your Squarespace Blog Collection
Layouts
When you start a blog on Squarespace, there are several built-in Squarespace blog layouts to choose from, including Grid, Side-by-Side, and Masonry. You can switch between them at any time by navigating to your Blog Collection page, clicking the Edit button in the top left-hand corner to enter Edit Mode, and hover in the page until you see the Edit Section button. Under Format > Layout you can use the dropdown to choose your layout.
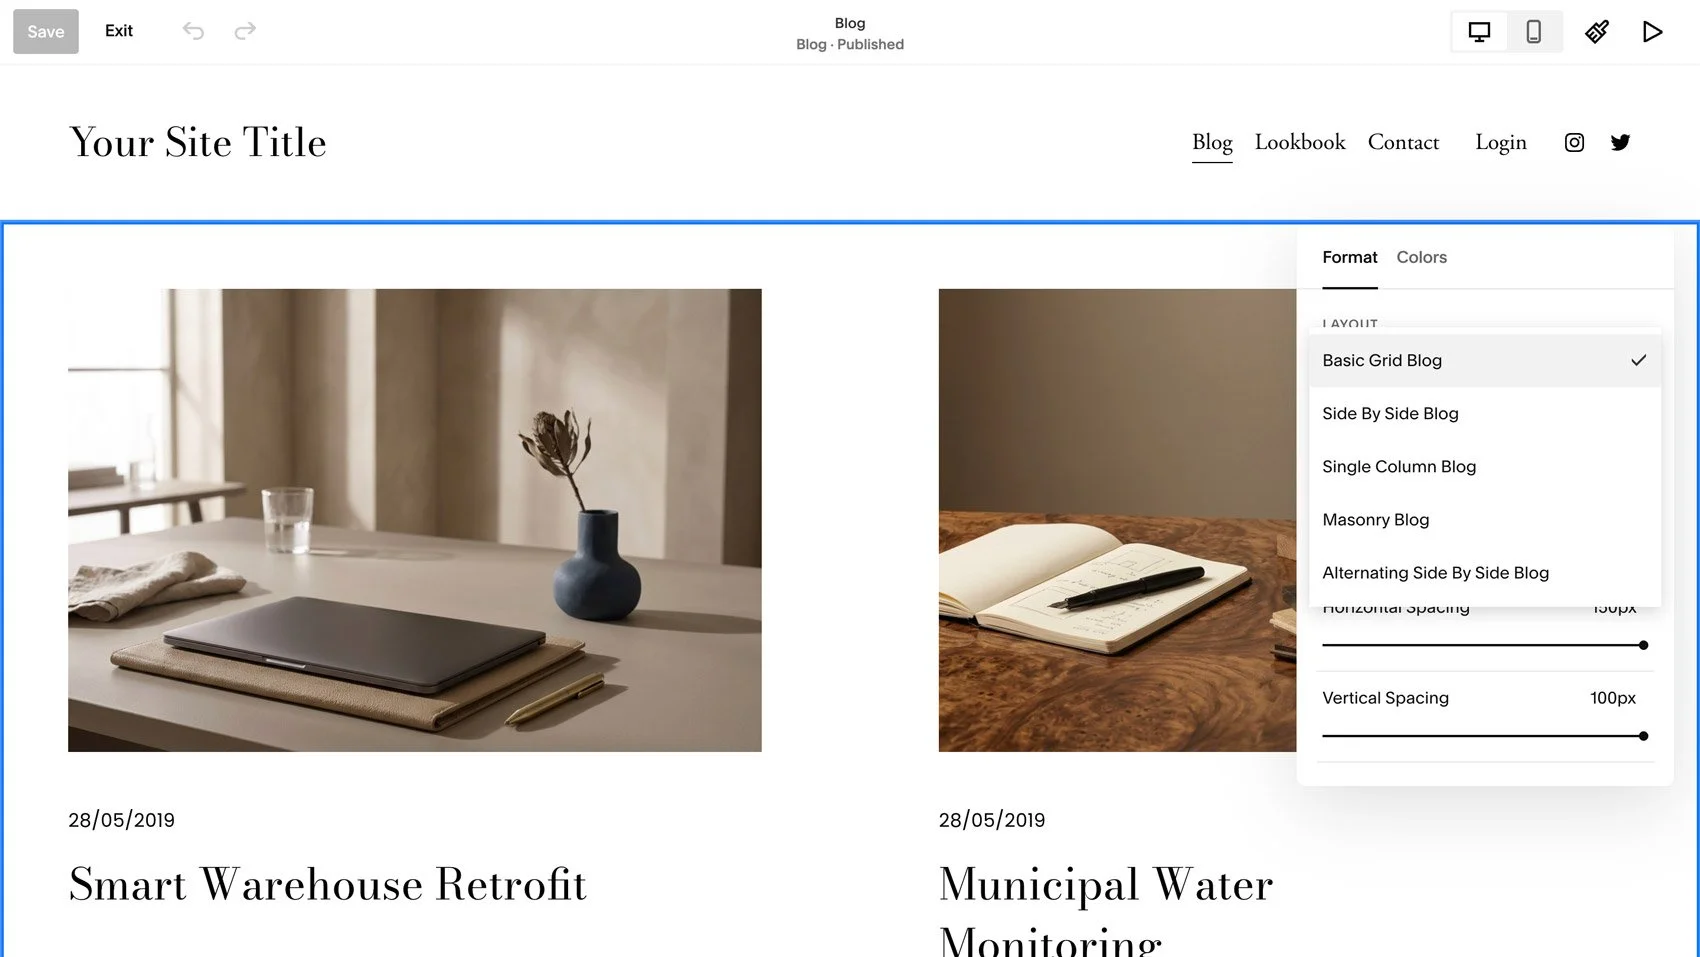
Format
Via the Format tab, you can also make customizations such as choosing the number of columns, changing spacing, deciding what content to show/hide, and more.
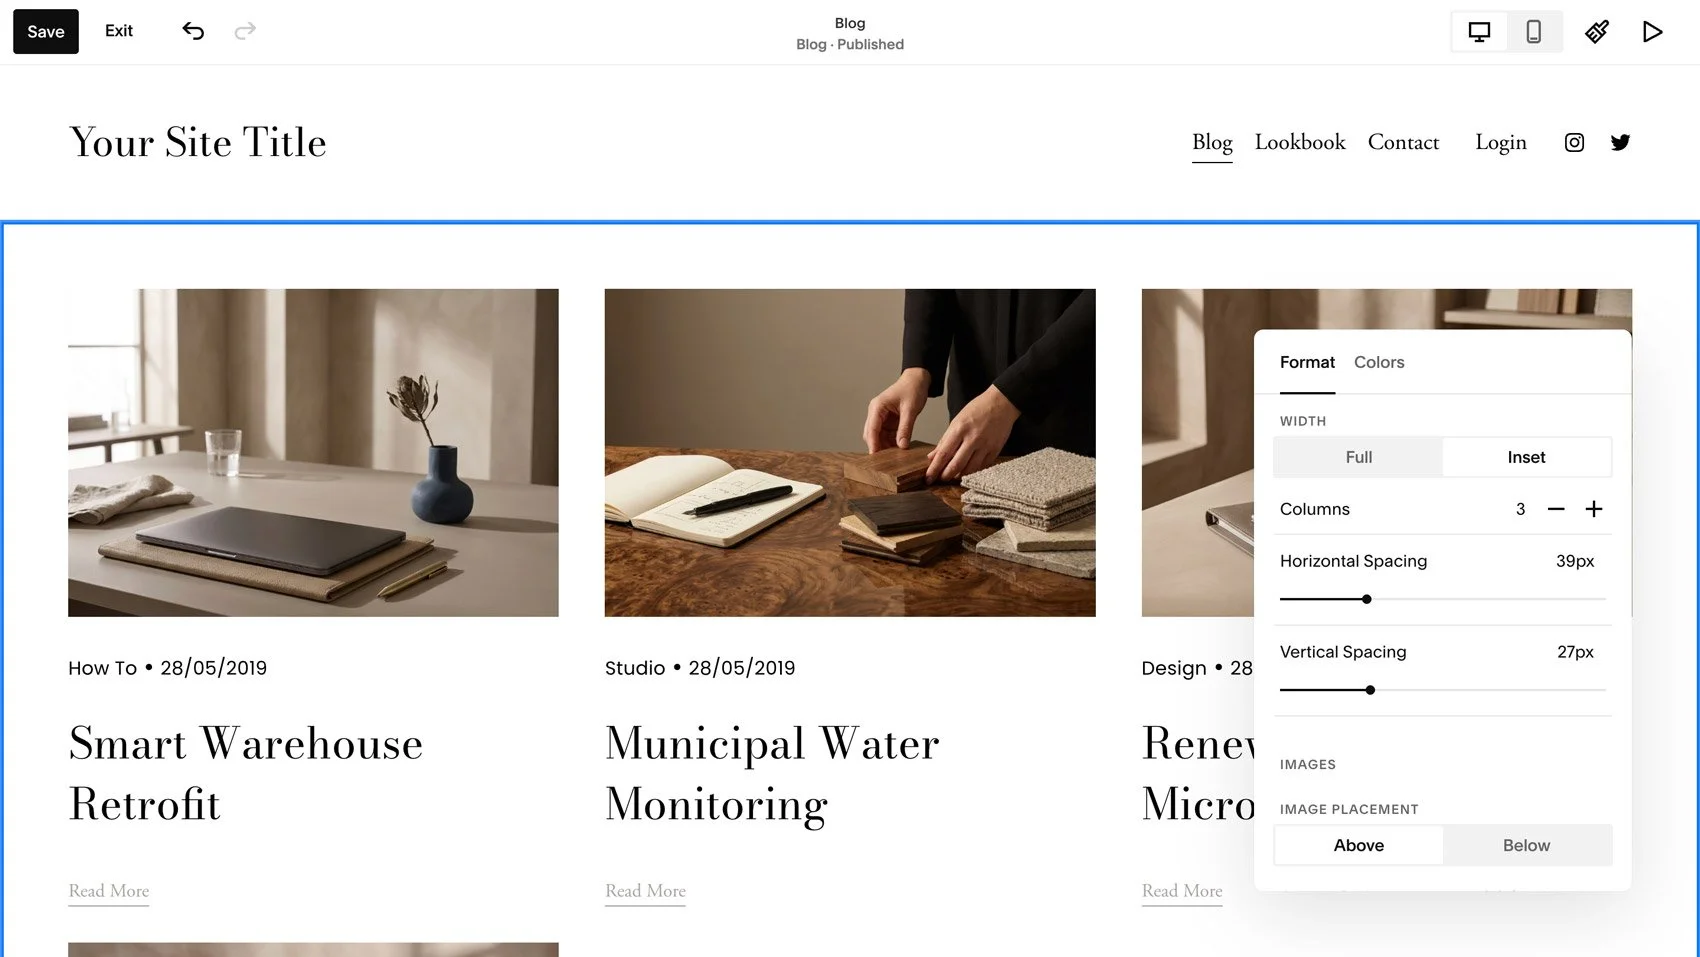
Categories
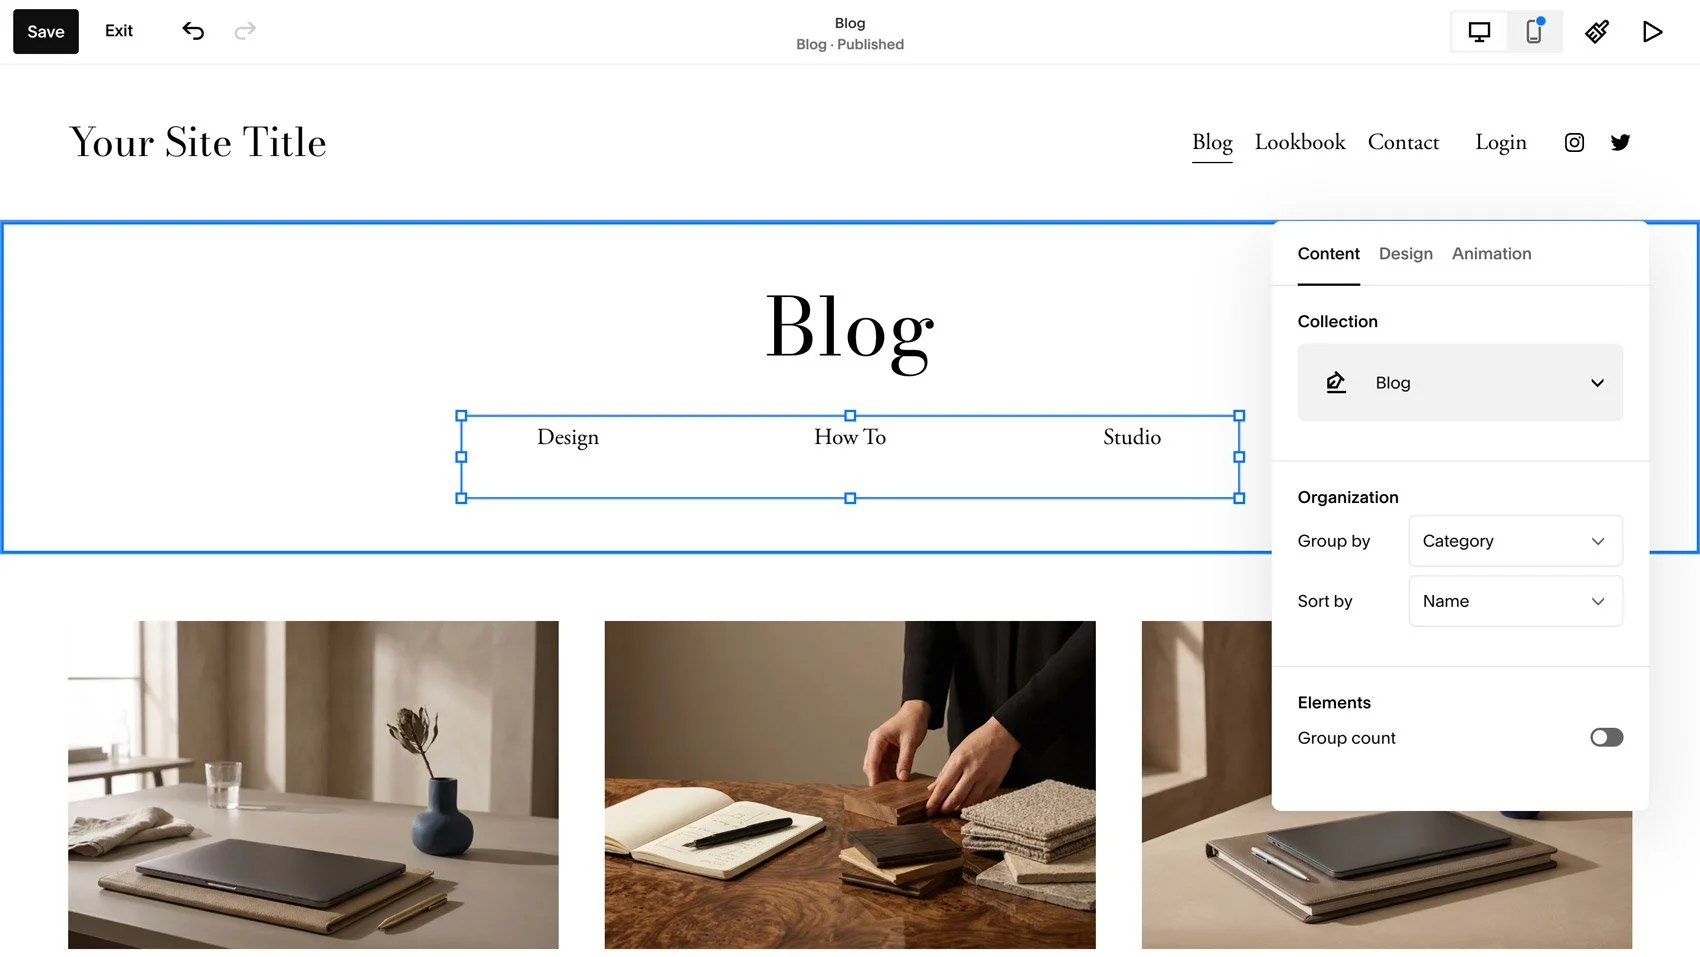
To display a list of filterable categories on your Blog Collection page, you can use the Archive Block. Add it by adding a new section above your blog posts, then hover into the section until you see Add Block button, and select the Archive Block. We like to set it to List grouped by Category.
Search Bar
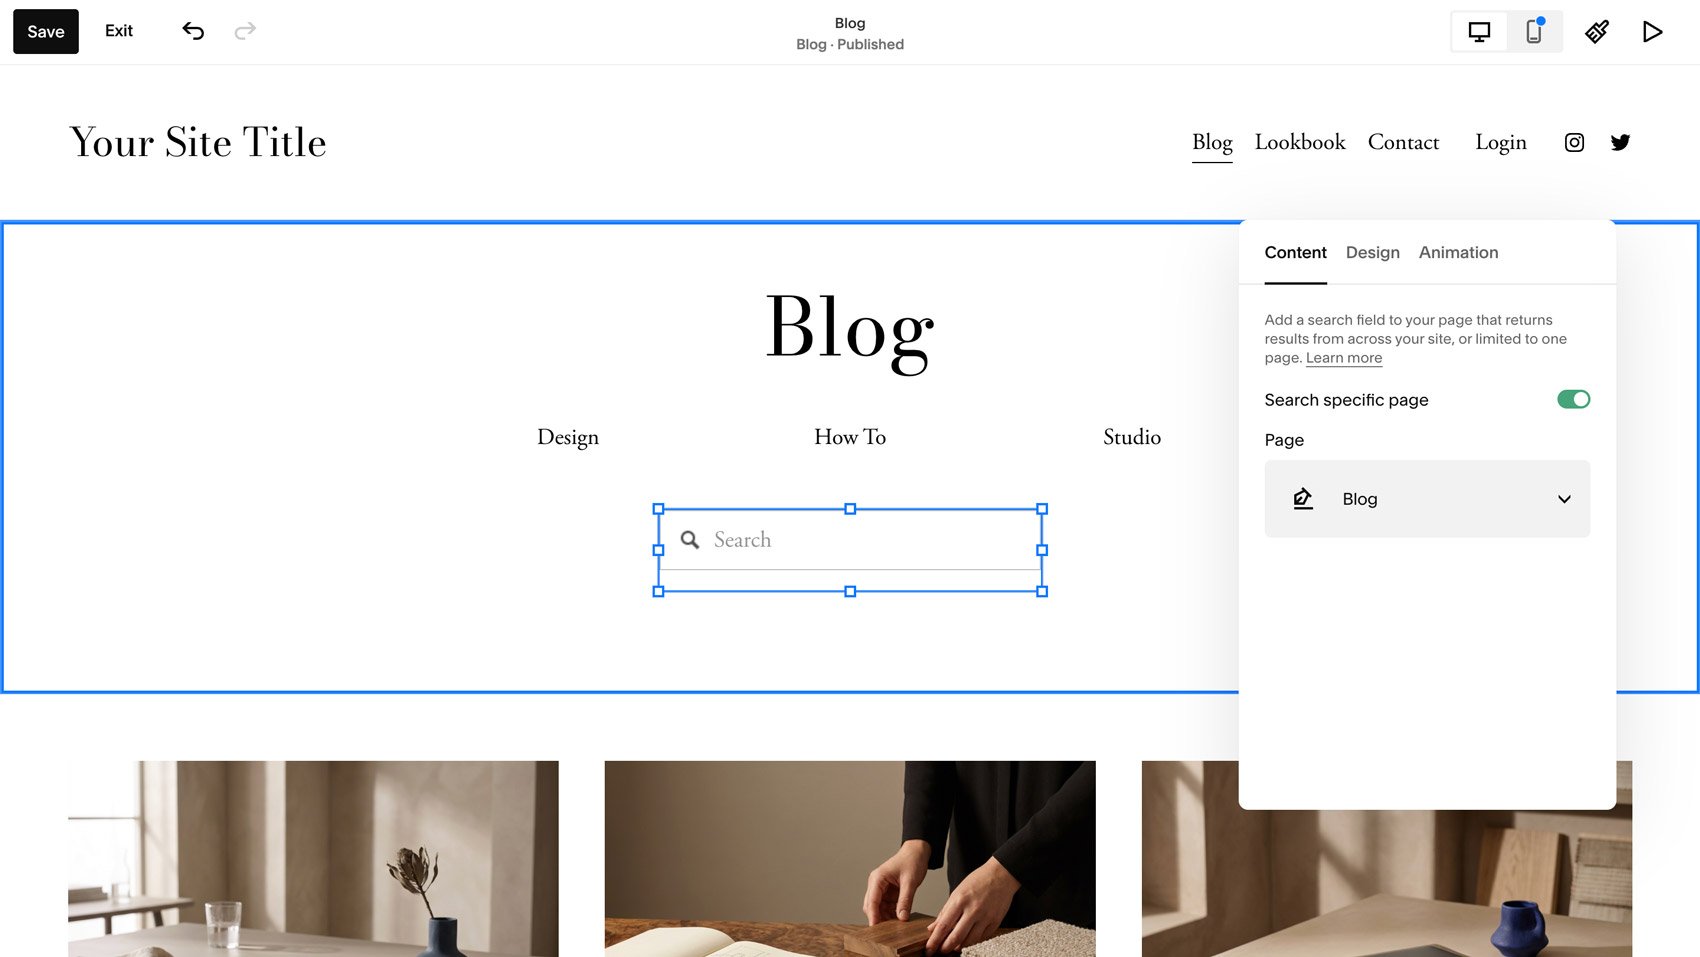
To add a search bar, hover into the section where you’d like to add the search bar (or create a new section), until you see Add Block button, and select the Search Field block. You can set it to search a specific page and choose your blog page, if you’d like to only show results from your blog.
Plugins
While optional, plugins can bring extra styles and functionality to your blog. A few of our favorites for Blog Collections are:
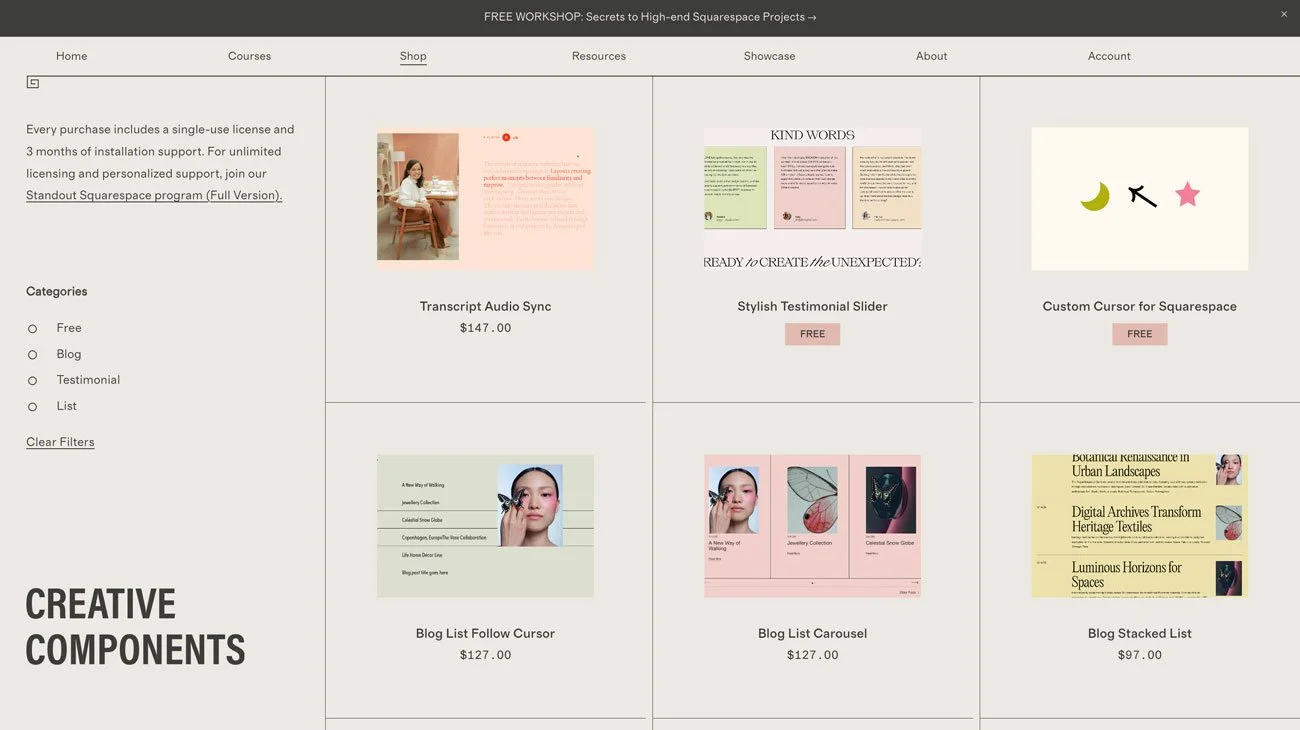
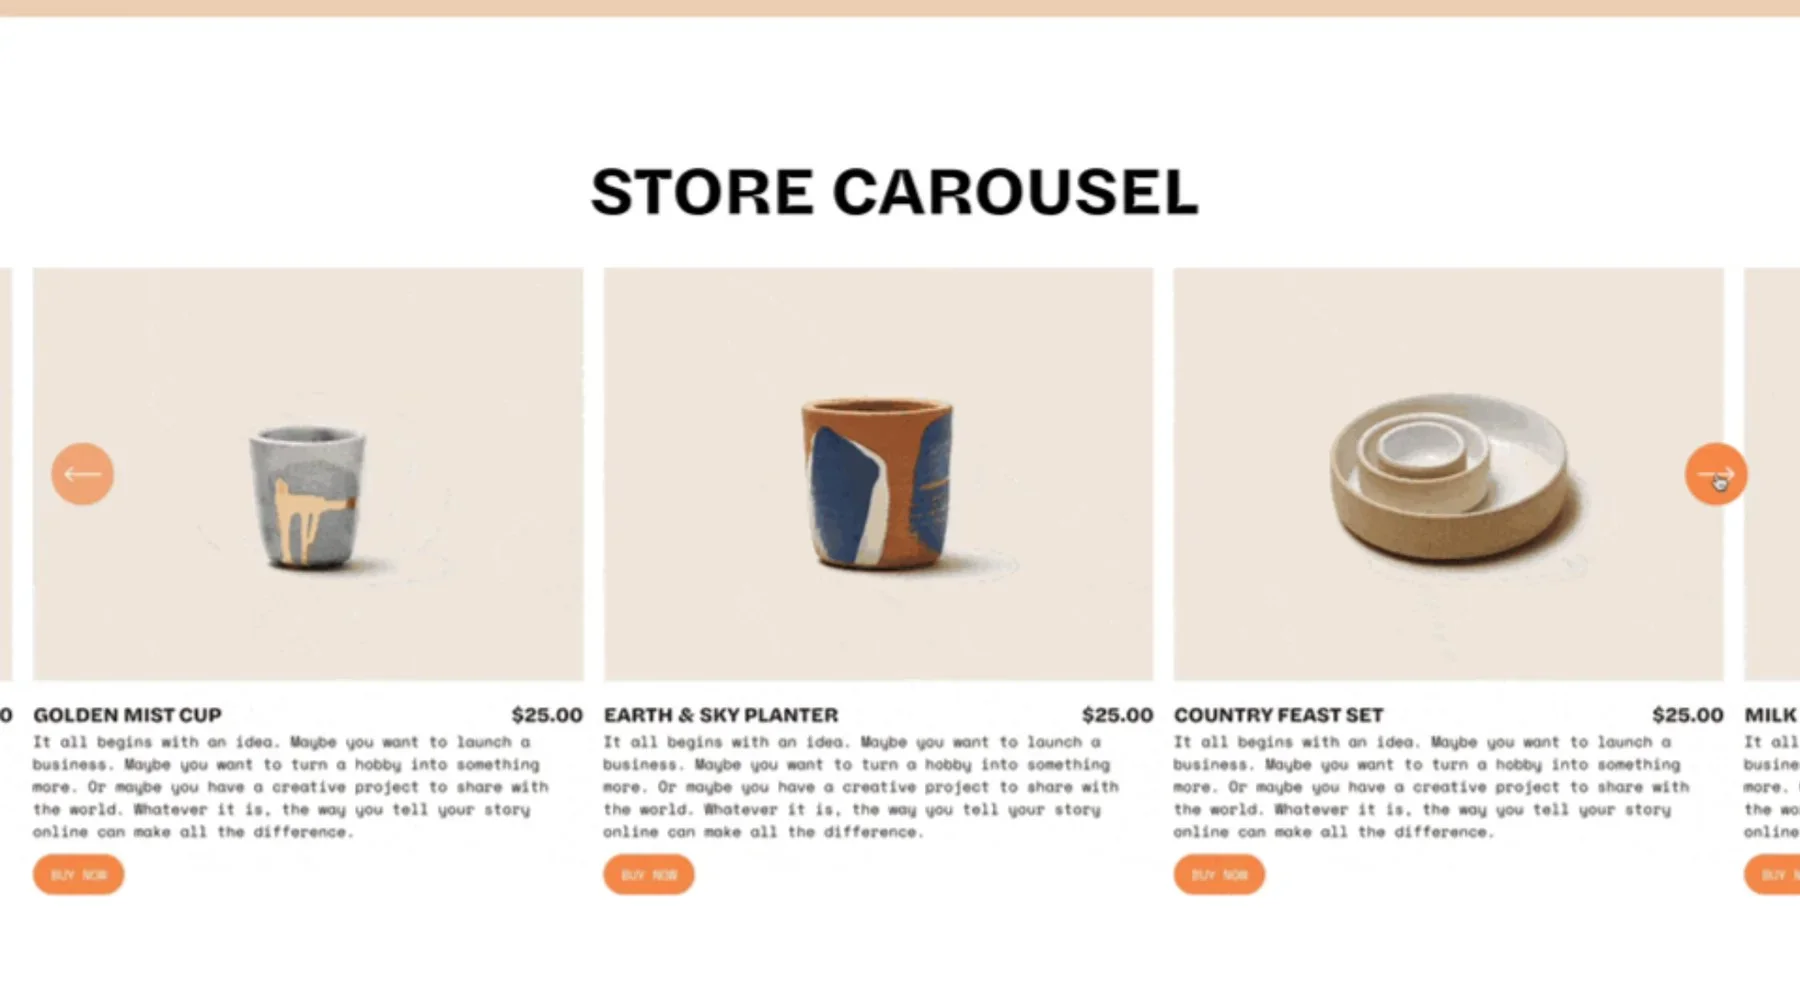
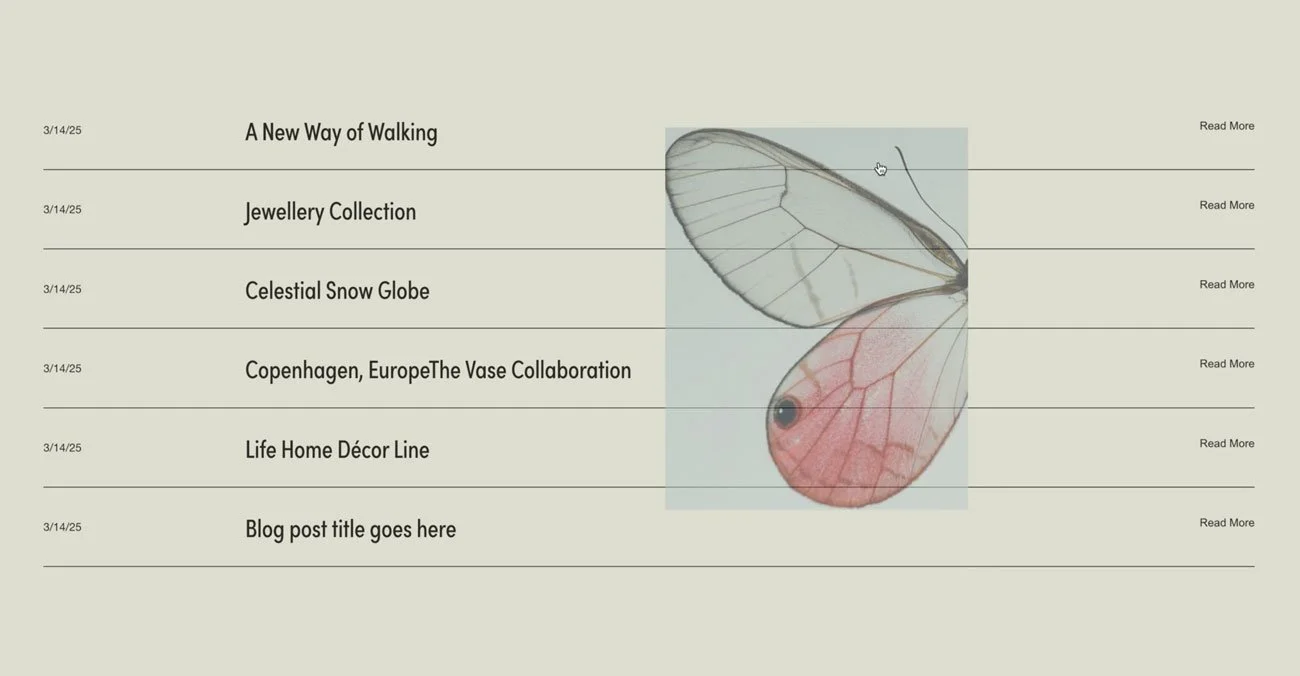
Blog List Follow Cursor: This plugin turns a blog into an editorial style index where images appear and follow your cursor when you hover on a post title.
Blog Stacked List Plugin: Turns your blog into an editorial list layout, with large typography and stylish borders.
Universal Filter*: This is a versatile plugin that improves the filtering system so you can add a number of custom categories and a more advanced search function to your blog.
You can visit our post for our complete list of the best Squarespace blog plugins.
Customizing the Design of Your Squarespace Blog Posts
Width & Spacing
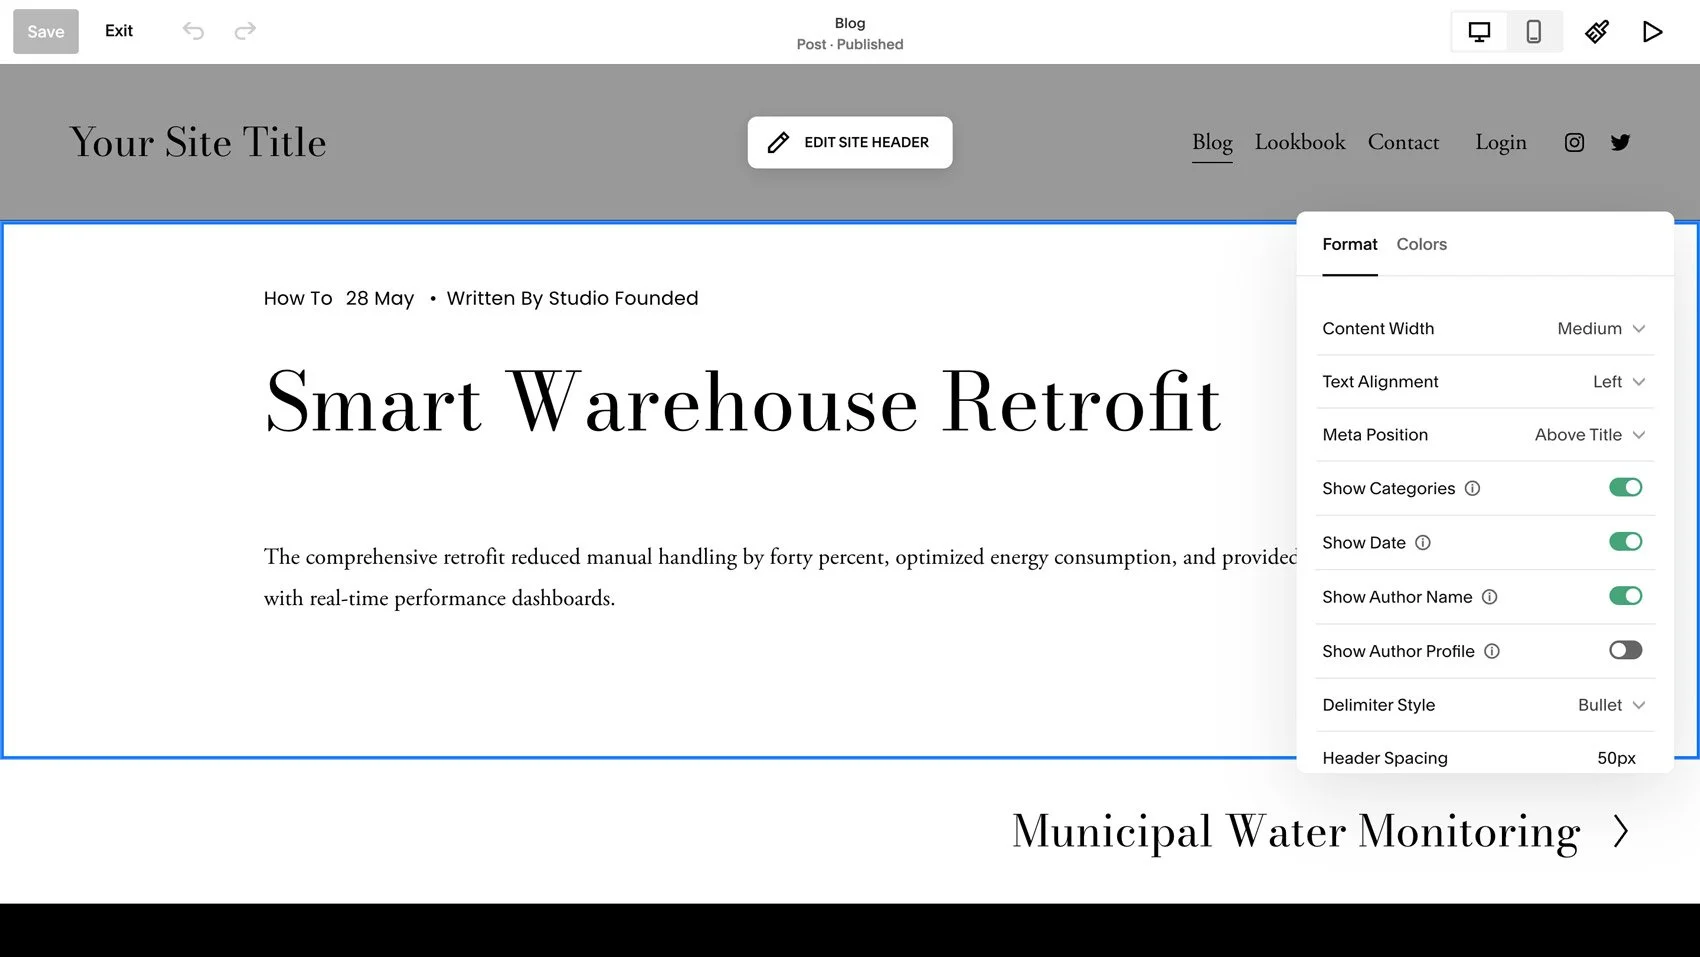
Open a blog post and click Edit in the top left-hand corner to enter Edit Mode, then hover into the page until you see the Edit Section button. Use the settings under the Format tab to customize the:
Content width
Text alignment
Meta position
Heading spacing
The types of content that are displayed (Categories, Date, Author Profile)
Plugins
When you start a blog on Squarespace, you can also use plugins to add custom design features and functionality to your blog posts. A few that we find the most useful are:
Squarespace Sidebar Plugin*: This plugin allows you to design in a sidebar and display it as a live sidebar in your blog posts.
Squarespace Related Posts Plugin*: Automatically share related posts at the end of every blog post, without the need to add manual links.
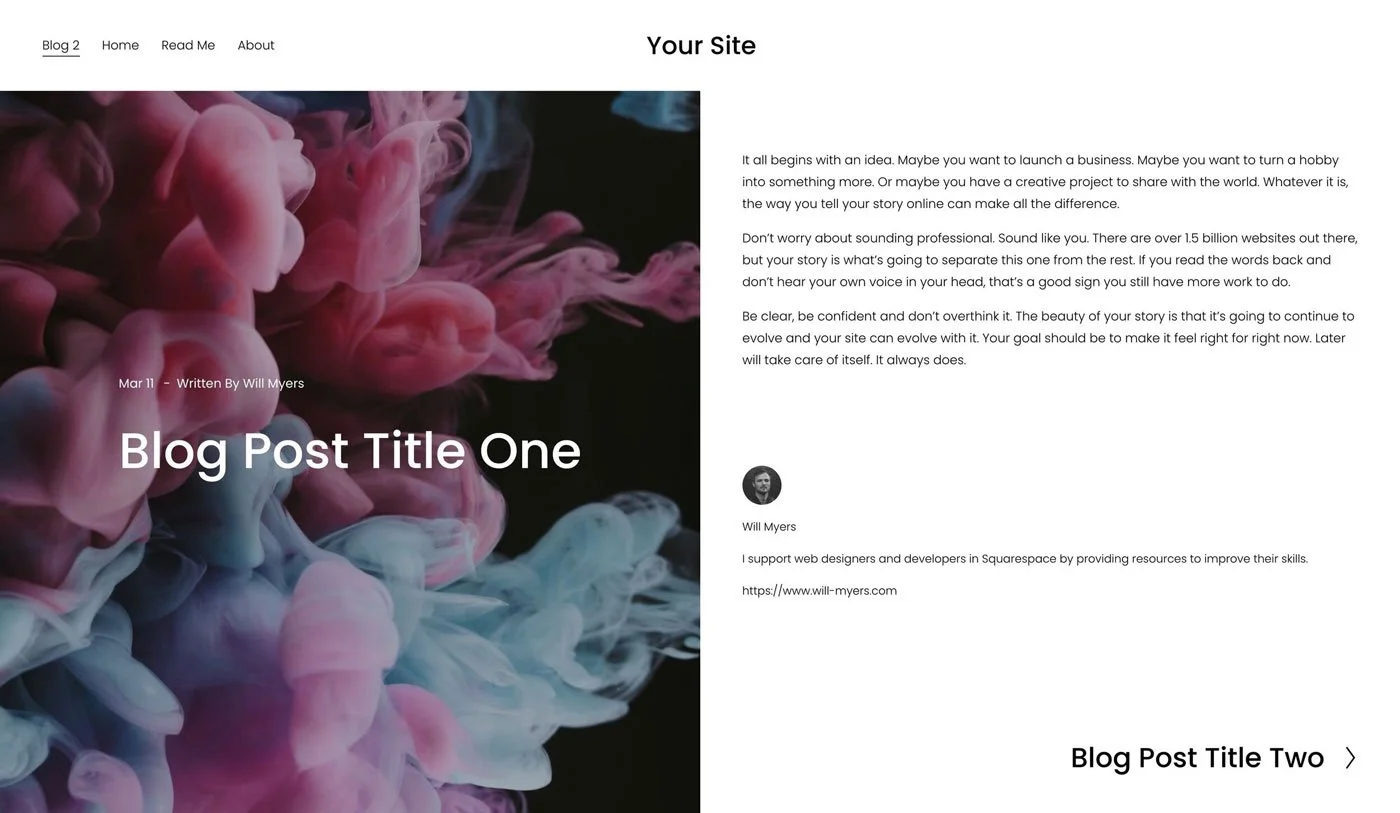
Blog Post Banner Styles*: This plugin gives you 6 blog post banner layouts to choose from, from full width top banners to split layouts.
FAQs
Can I import content from another platform?
Yes, when you start a blog on Squarespace you can import blog content from Wordpress, Blogger and Tumblr.
Can I add custom features to my blog?
Yes! We’ve created a curated list of the best Squarespace blog plugins, from sidebars to breadcrumbs and custom styling.
How do I optimize my Squarespace blog for SEO?
There are a number of steps you can take, from adding keywords to writing metadata. We’ve created a Squarespace SEO checklist which you can follow step-by-step.
Is there a Squarespace SEO plugin?
We recommend SEOSpace*, which scans your website and gives you a personalized list of steps you can take to optimize your site for SEO. You can also use it for keyword research, competitor analysis, backlink checks, and local SEO.
Squarespace Blog Templates
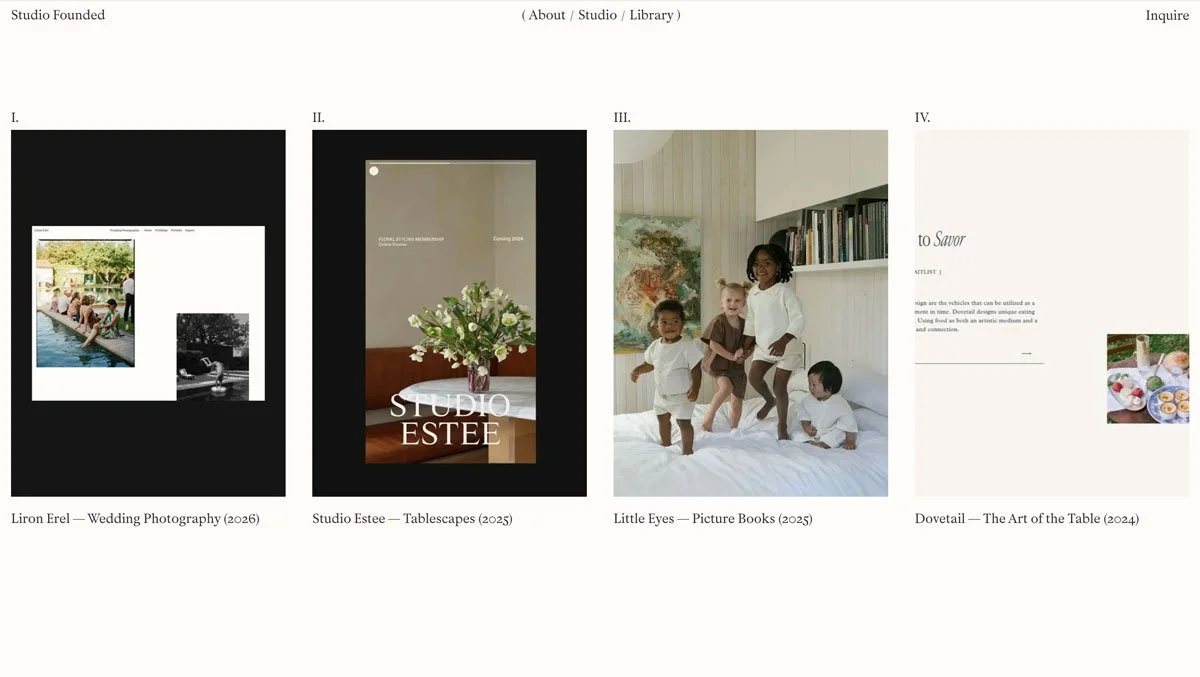
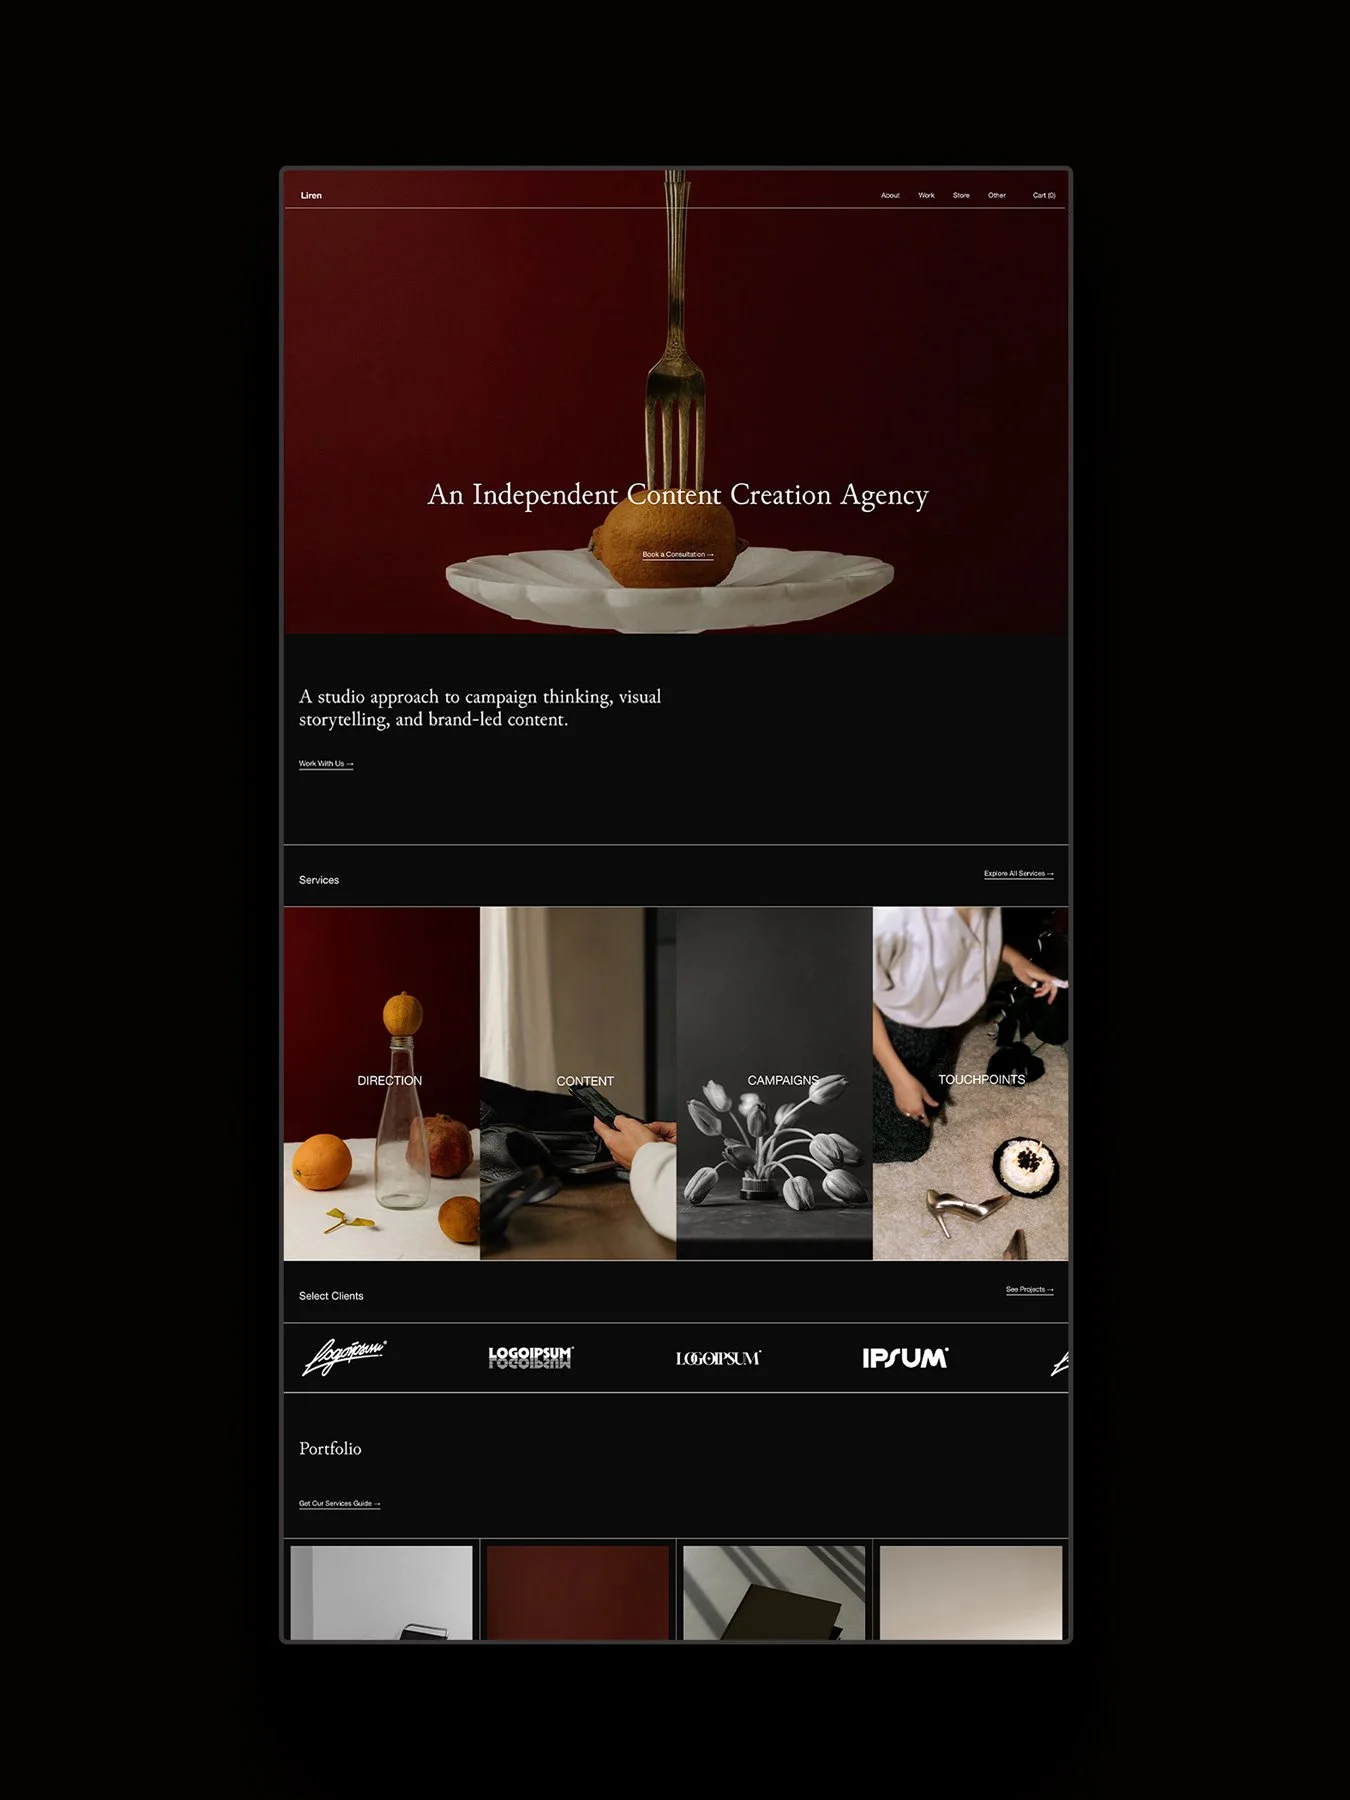
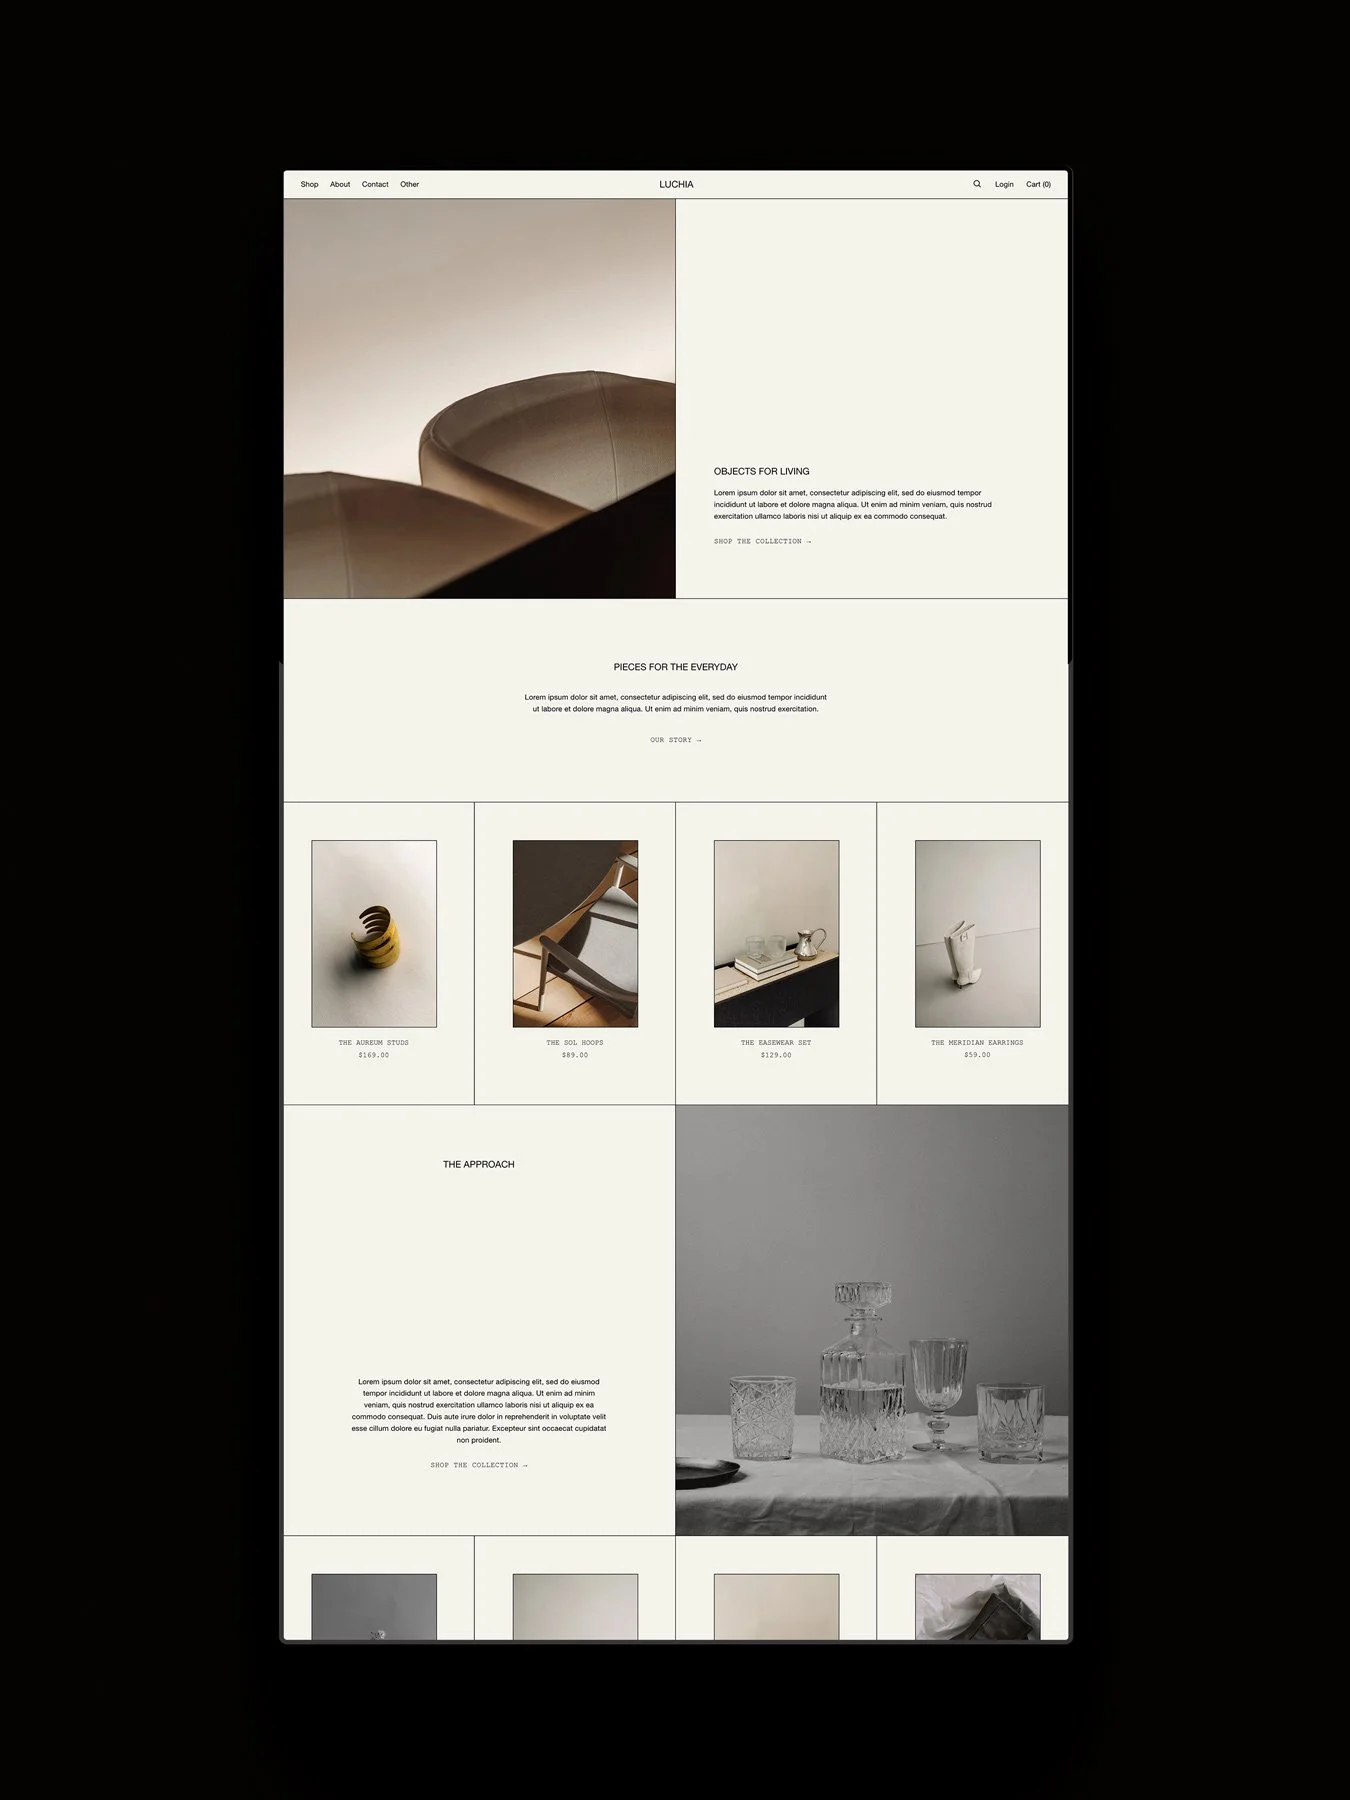
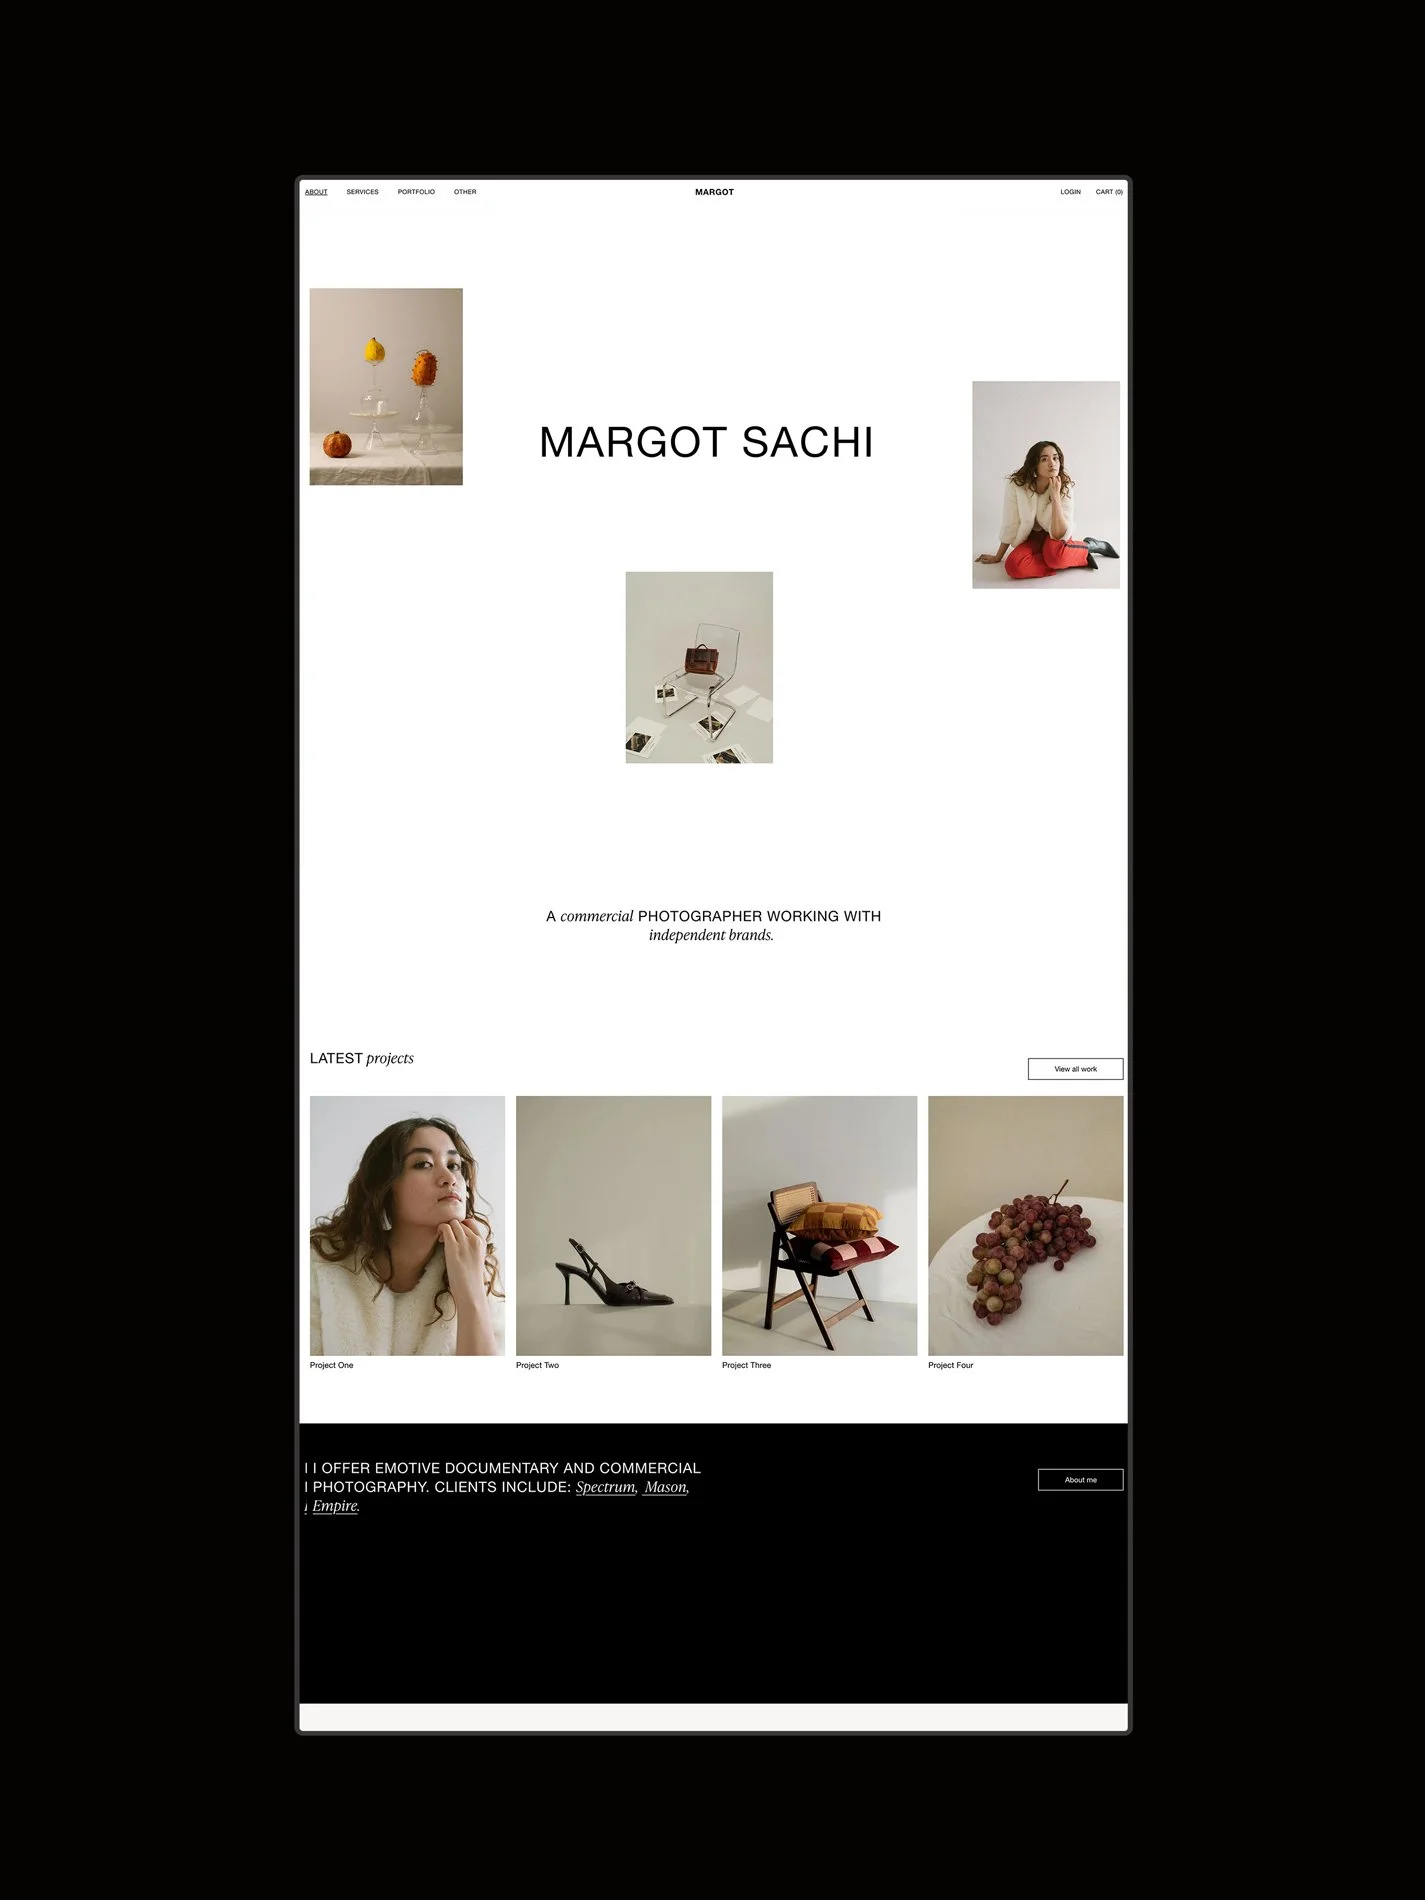
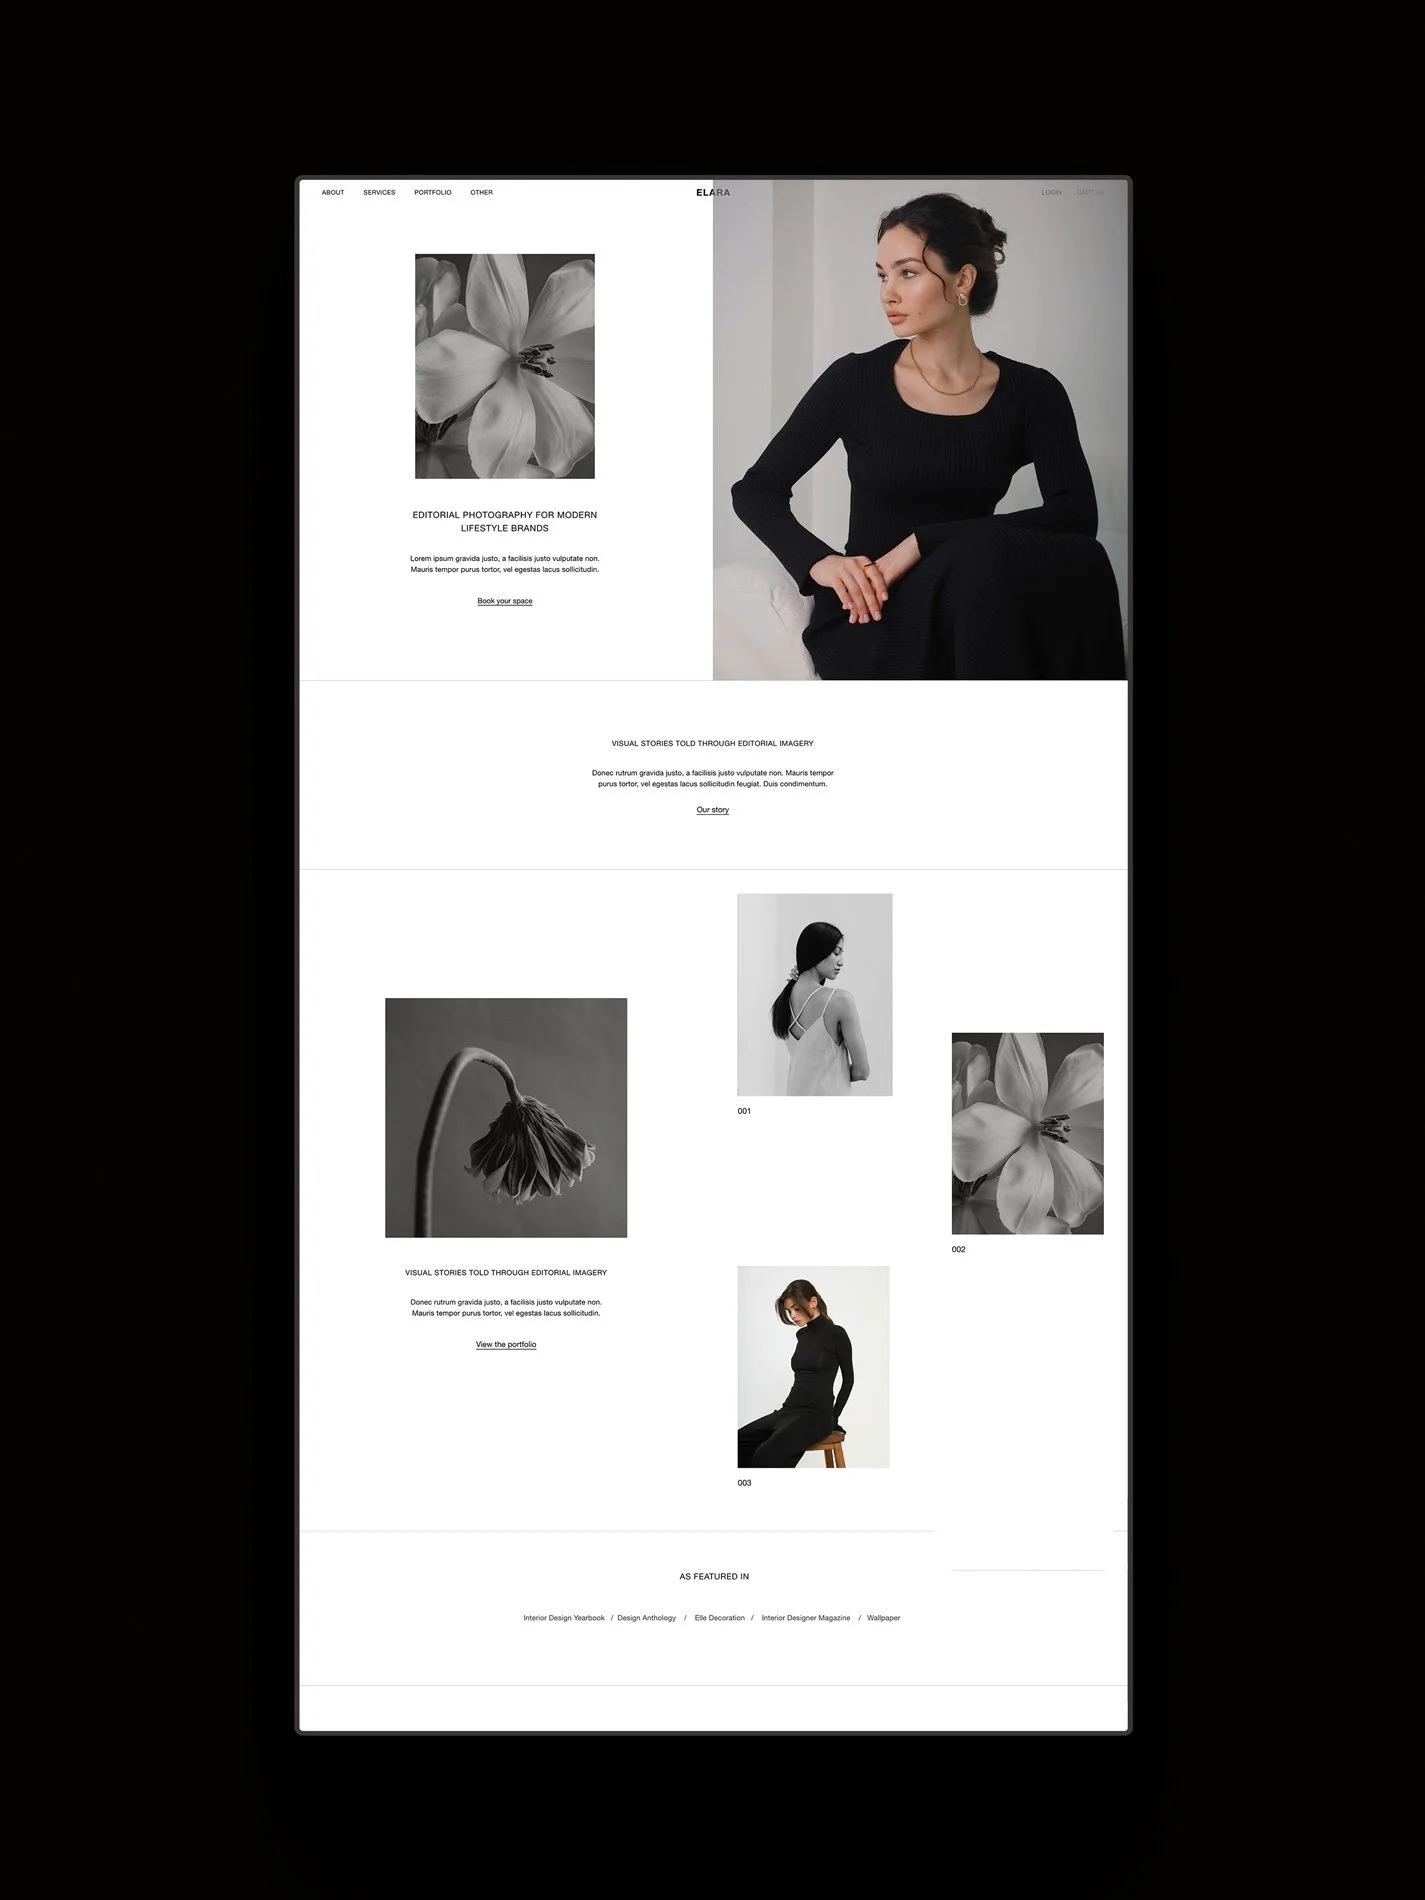
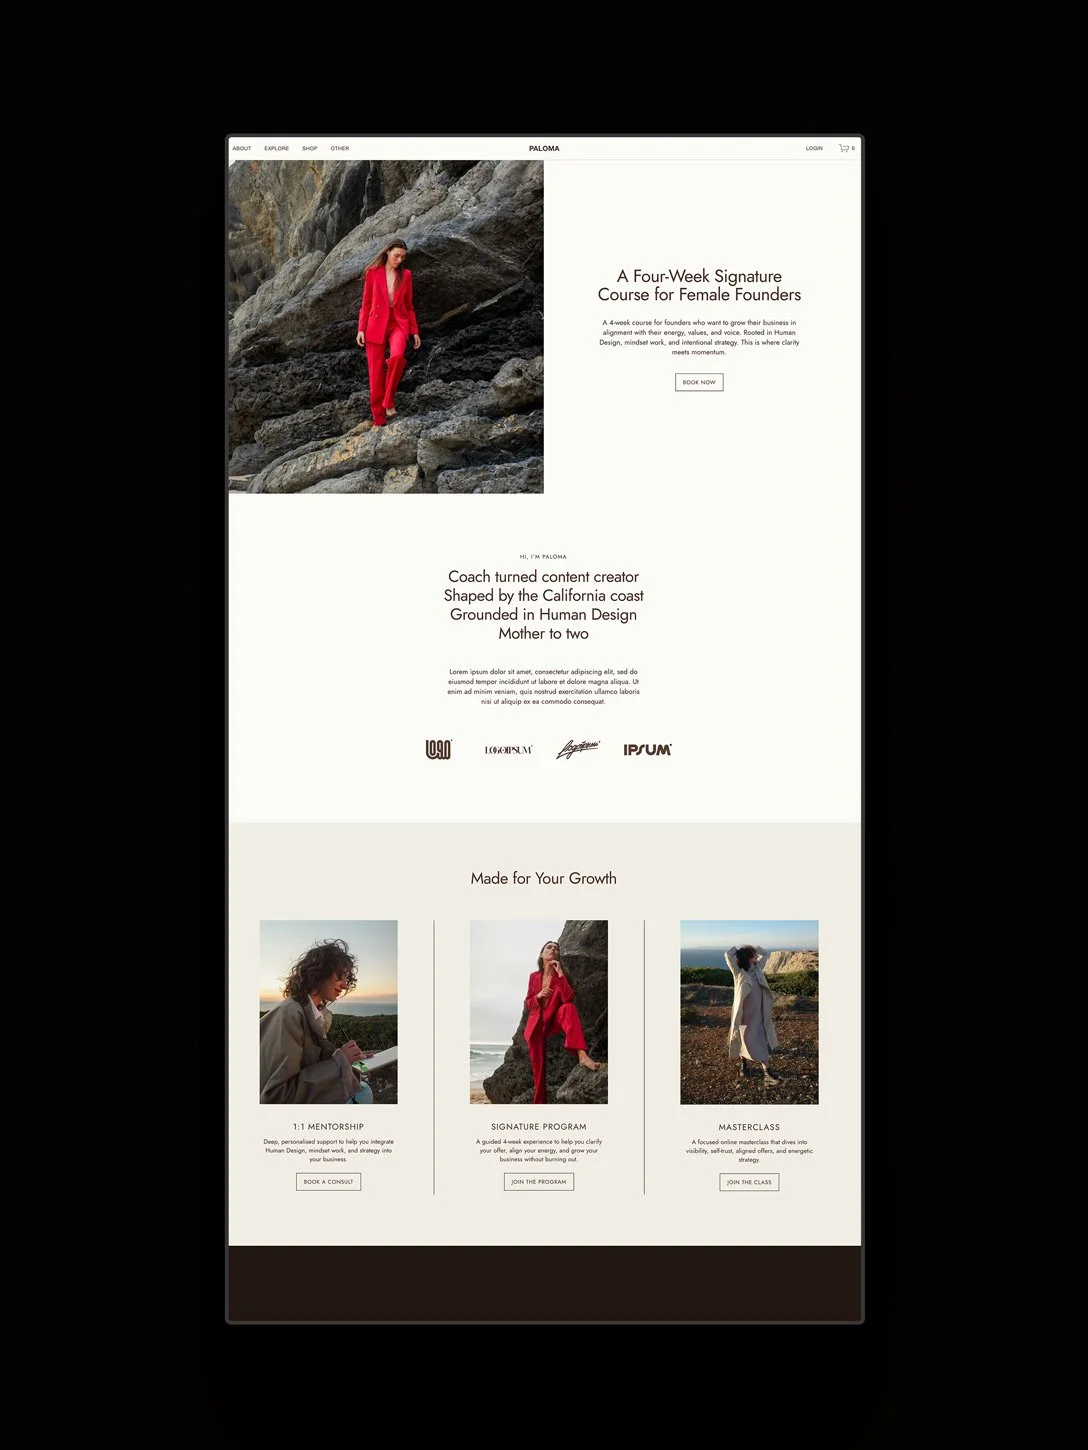
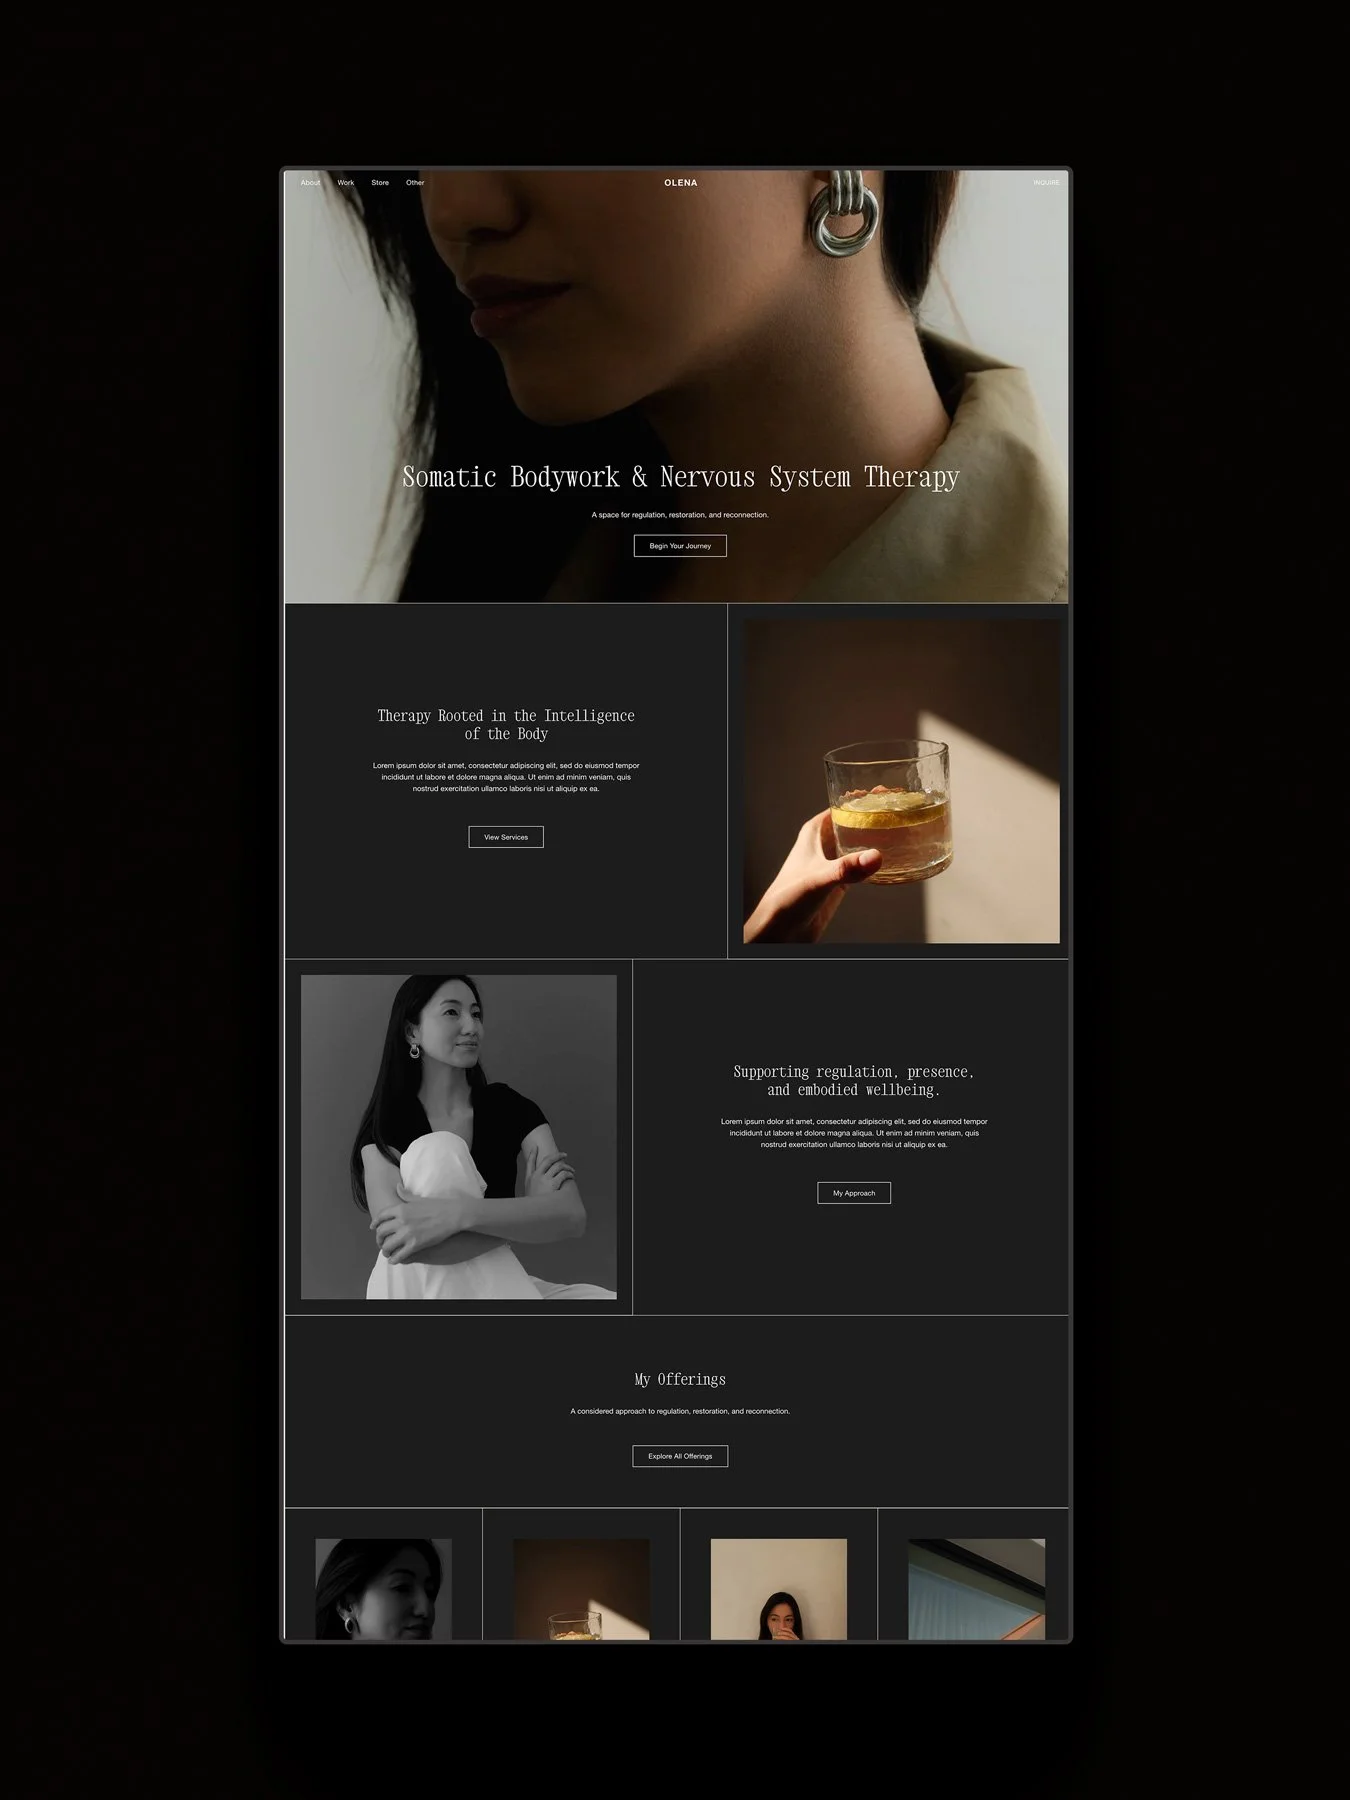
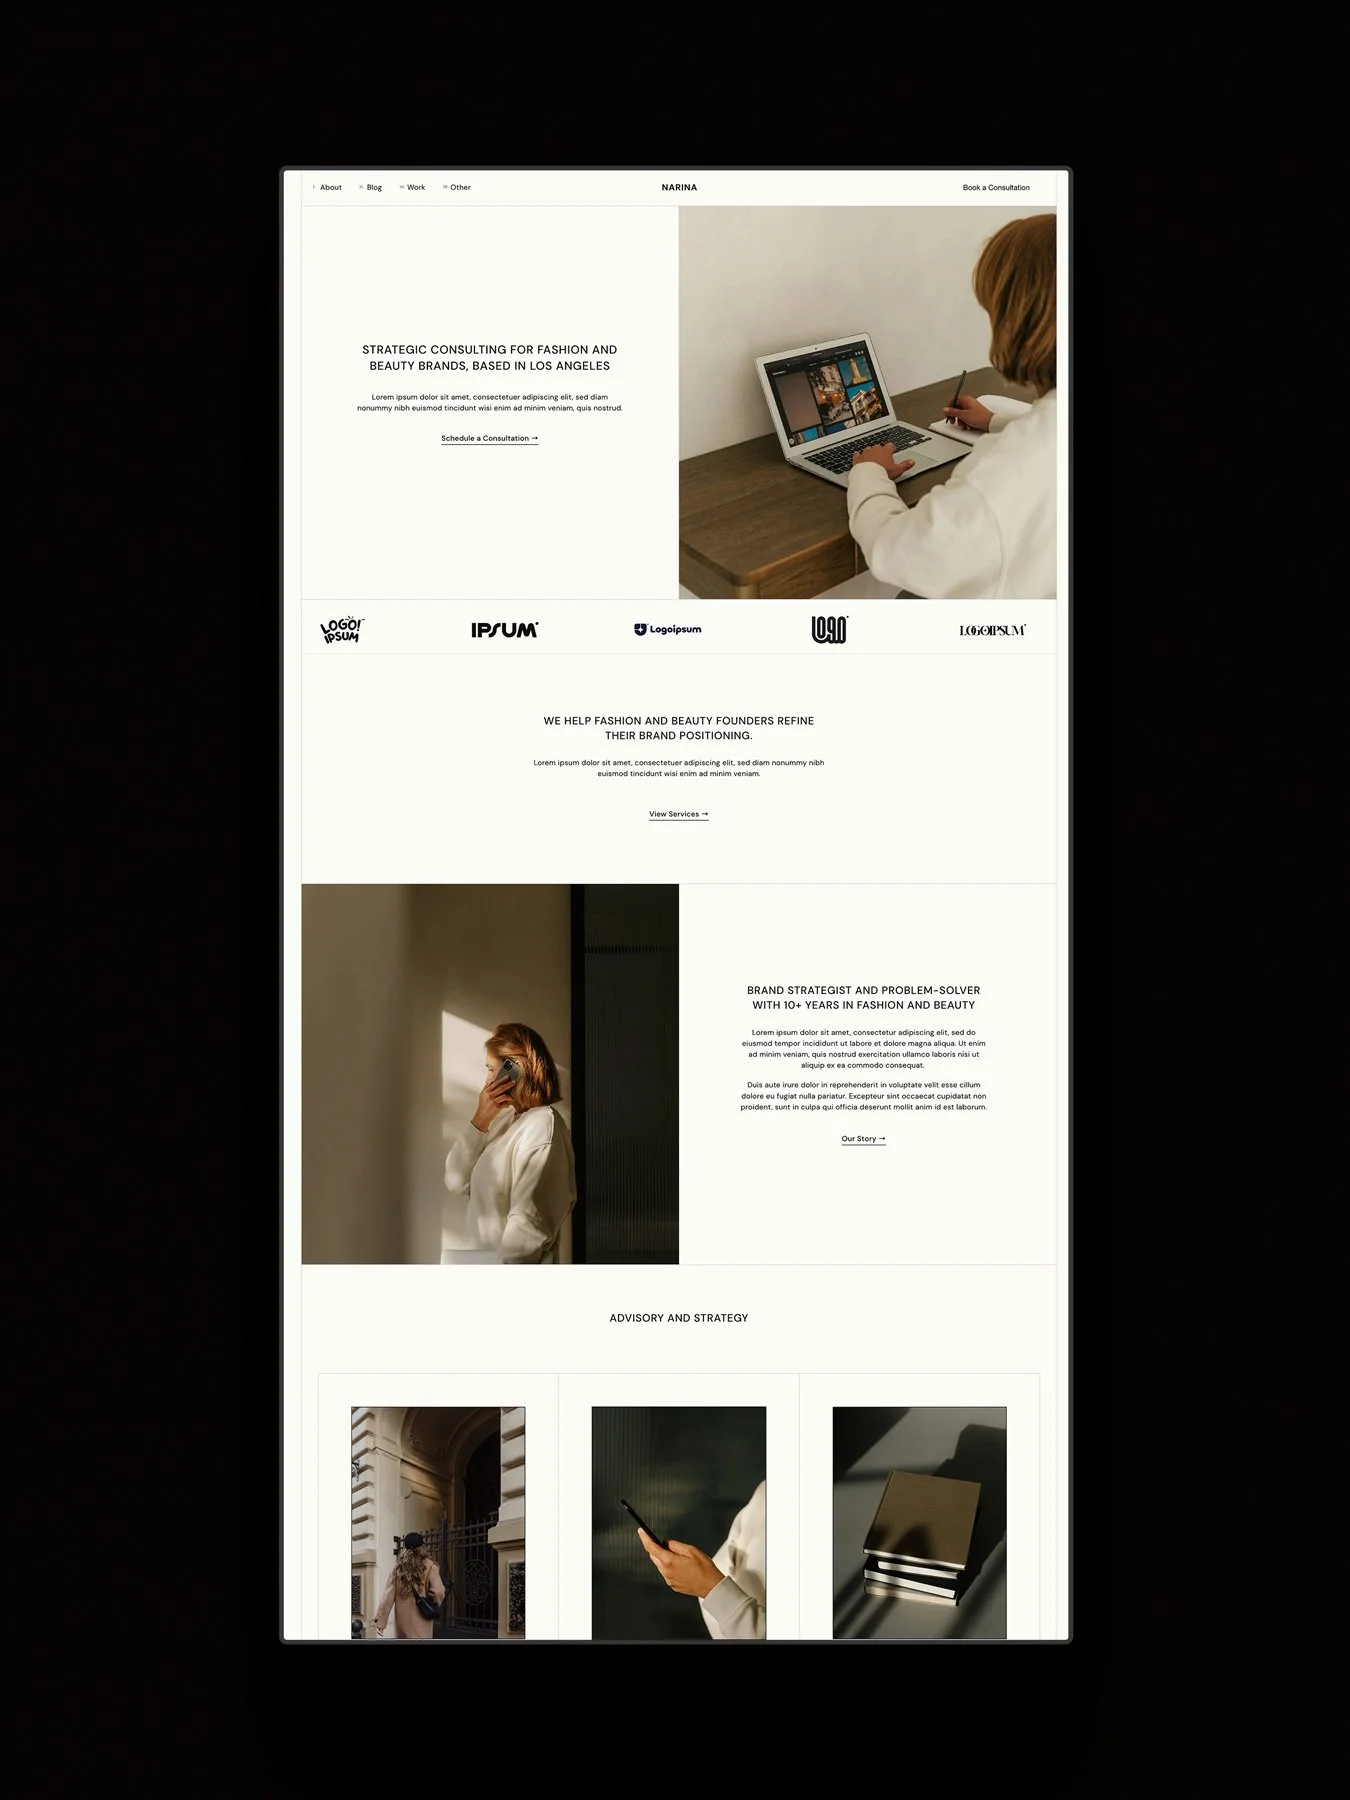
If you would like to start a blog on Squarespace but don’t feel confident with design, our collection of Squarespace templates all include two styled blog layouts, categories, and custom design features. Each comes with tutorials, email support, a 25% Squarespace discount (first years, annuals plans), and an extended 12-month Squarespace trial.

The styled blog layout in the Liren Squarespace template by Studio Founded.