How to Connect a Squarespace Site to Google Search Console

Design gives your Squarespace site its personality, but discovery allows it to grow. A site only reaches its potential when the right people can actually find it, and that’s where Google Search Console is essential. It shows you how your pages are appearing in search, flags anything that might be holding you back, and offers data you can use to strengthen visibility over time.
If you’ve ever wondered how to make sure your site is being found by the right people, this guide will walk you through connecting your Squarespace site to Google Search Console step by step.
This post contains affiliate links. If you click and make a purchase, we might earn a small commission at no extra cost to you. We only recommend products we love and trust. Read our affiliate disclosure.
What is Google Search Console and Why Do You Need It?
Google Search Console tells you how your site performs on Google. It gives you insights into:
How your site appears in search results.
What keywords are driving traffic.
Whether there are any crawling or indexing issues.
Suggestions to improve your site’s visibility.
It’s for making sure your site is working to attract clients and customers.
Step 1: Sign in to Google Search Console
The first step is to access Google Search Console and log in with your Google account. If you don’t already have one, creating an account is quick and free.
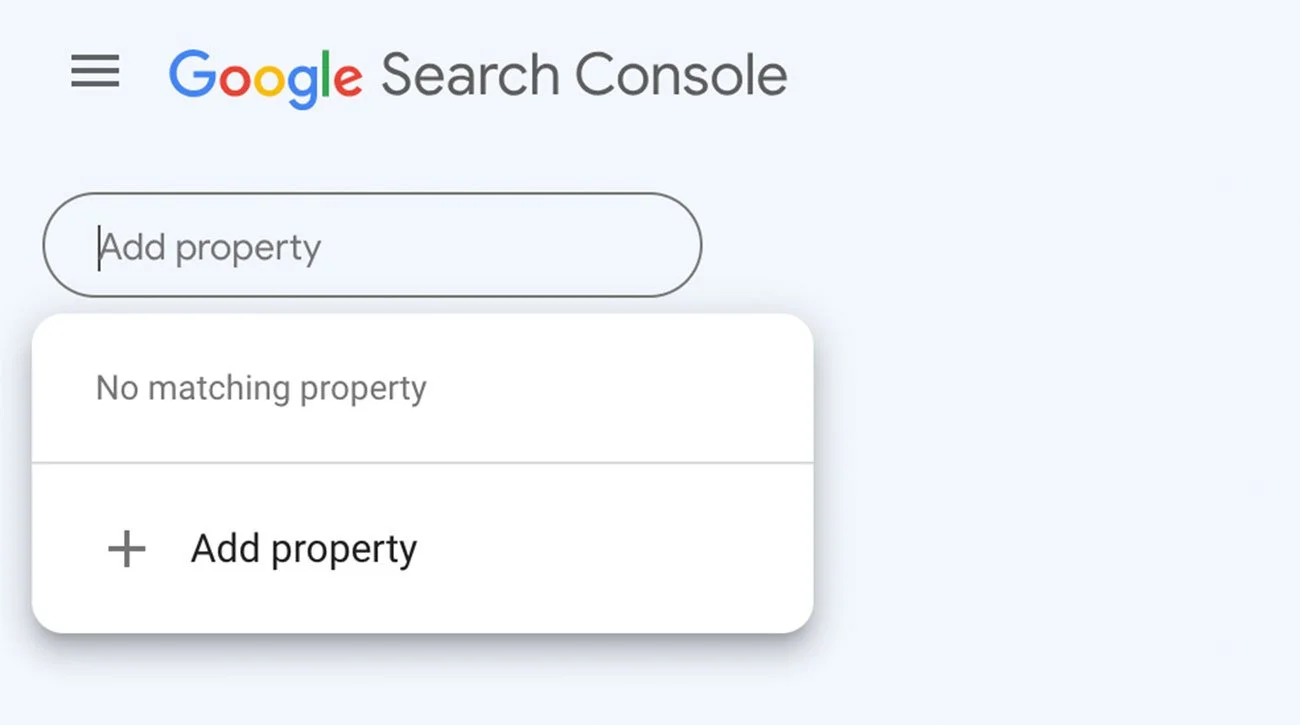
Step 2: Add Your Property
Once you’re logged in, you’ll add your Squarespace site as a “property” in Google Search Console.
From the dashboard, click Add a Property. This tells Google you want it to start tracking your site.
Enter your website’s full URL (e.g., https://www.yourwebsite.com) and click Continue.
Step 3: Verify Ownership
Google needs to confirm that you own the website you’re adding. Here’s how to do it:
The HTML File Upload Method (Recommended for Squarespace):
Download the HTML verification file provided by Google.
Log in to your Squarespace account and navigate to Settings > Advanced > External API Keys.
Under Google Search Console, upload the HTML file.
Go back to Google Search Console and click “Verify.”
Alternate Methods:
Use an HTML tag by copying a meta tag into your site’s header code.
Use Domain Name System (DNS) verification by updating your domain’s DNS records.
Choose the method you’re most comfortable with. Google will guide you through each option step by step.
Step 4: Verify Successful Connection
Once the verification process is complete, you should see a message confirming that your Squarespace site has been successfully verified and connected to Google Search Console.
Step 5: Submit Your Sitemap
Your sitemap acts as a roadmap for search engines, helping them find and understand your site’s content. Submitting it to Google Search Console ensures that your pages are crawled and indexed.
In Google Search Console, navigate to the Sitemaps section under Index.
Click “Add a New Sitemap.”
Enter your sitemap URL: /sitemap.xml (e.g., https://yourdomain.com/sitemap.xml).
Hit “Submit.”
Squarespace automatically generates a sitemap for you, so this step is super simple.

Step 6: Ensure Pages are Crawled and Indexed
After submitting your sitemap, give Google some time to crawl your site. Once indexed, you can use Google Search Console to ensure everything is working smoothly.
Check the Coverage report under the Index menu. This shows which pages are indexed, any errors, and warnings.
Use the URL Inspection Tool to see if specific pages are indexed. If not, request indexing for those pages.
If a page is not indexed, make sure it is not blocked by robots.txt, has proper internal linking, and is included in your Sitemap. After fixing any page errors, you can submit individual URLs for indexing through the "URL Inspection" tool by clicking "Request Indexing."
Google Search Console Tips
Getting your site indexed is just the beginning. Here’s how to optimize for better performance:
Give it time
After submitting your sitemap, allow Google time to process and crawl your site. This can take days or even weeks, especially for newer or larger sites.
Keep your sitemap current
Each time you add or update content, make sure your sitemap reflects those changes. Resubmitting it in Search Console helps new pages get noticed faster.
Address errors quickly
Check the Coverage report regularly. Fixing issues like broken links or blocked resources ensures search engines can access and interpret your content without barriers.
Build Internal Links
Linking between related pages and blog posts helps Google understand how your content fits together. It also creates a better journey for visitors, guiding them deeper into your site.
Optimize Metadata
Clear, keyword-rich titles and meta descriptions improve how your site appears in results. They act like a preview—helping both Google and your audience understand what each page offers.
Keep Content Fresh
Regularly updating content signals to Google that your site is active. Refreshing service descriptions, adding new case studies, or publishing blog posts can encourage more frequent crawling.
Tips for Improving Crawling and Indexing
Now that you’ve covered the basics of setup, here are strategies to help Google understand and prioritize your site more effectively:
Keep your site up-to-date
Make sure your website is always accessible and error-free. Regularly fix broken links, resolve errors, and keep everything running smoothly.
Create a clear structure
Your site should be logical and easy to navigate. Use internal links to connect related pages so Google, and visitors, can understand how to find their way around.
Refine your metadata
Your titles, URLs, and meta descriptions act as a preview in search results. Make them descriptive, keyword-rich, and aligned with the language your audience is searching for.
Update Your Sitemap
Each time you add new pages or refresh existing ones, update your sitemap and resubmit it to Google Search Console. This helps search engines recognize your most recent work quickly.
Monitor your performance
Google Search Console gives you visibility into clicks, impressions, and click-through rates. Reviewing this data regularly helps you understand what’s working and where to refine.
Keep content fresh
Search engines prioritize active sites. Regular updates (blog posts, new products, refreshed copy) give Google a reason to return more often.
Concluding Thoughts
Once your Squarespace site is connected to Google Search Console, use it as part of your ongoing workflow: check coverage reports for errors, resubmit your sitemap when content changes, review performance data for top queries, and refine titles or descriptions where click-through rates are low. These small, consistent actions keep your site accessible to search engines and help you steadily improve how it appears in results.
You may also like:
A Guide to SEOSpace: The SEO Tool for Squarespace
How to Get Started with Squarespace Blogging
20 Squarespace FAQs Answered: What You Need to Know
Shop Squarespace Templates