How to Password Protect Squarespace Websites
Sometimes you don’t want your website visible to everyone. Maybe you’re still building your site, preparing for a private event, or sharing resources with a select group of clients. Squarespace makes it simple to password protect your entire website (or individual pages) so you stay in control of who can see what.
In this guide, I’ll walk you through the process of adding a password to your Squarespace website, explain when and why you might use this feature, and share a few tips to make sure your protected pages work smoothly for visitors.
This post contains affiliate links. If you click and make a purchase, we might earn a small commission at no extra cost to you. We only recommend products we love and trust. Read our affiliate disclosure.

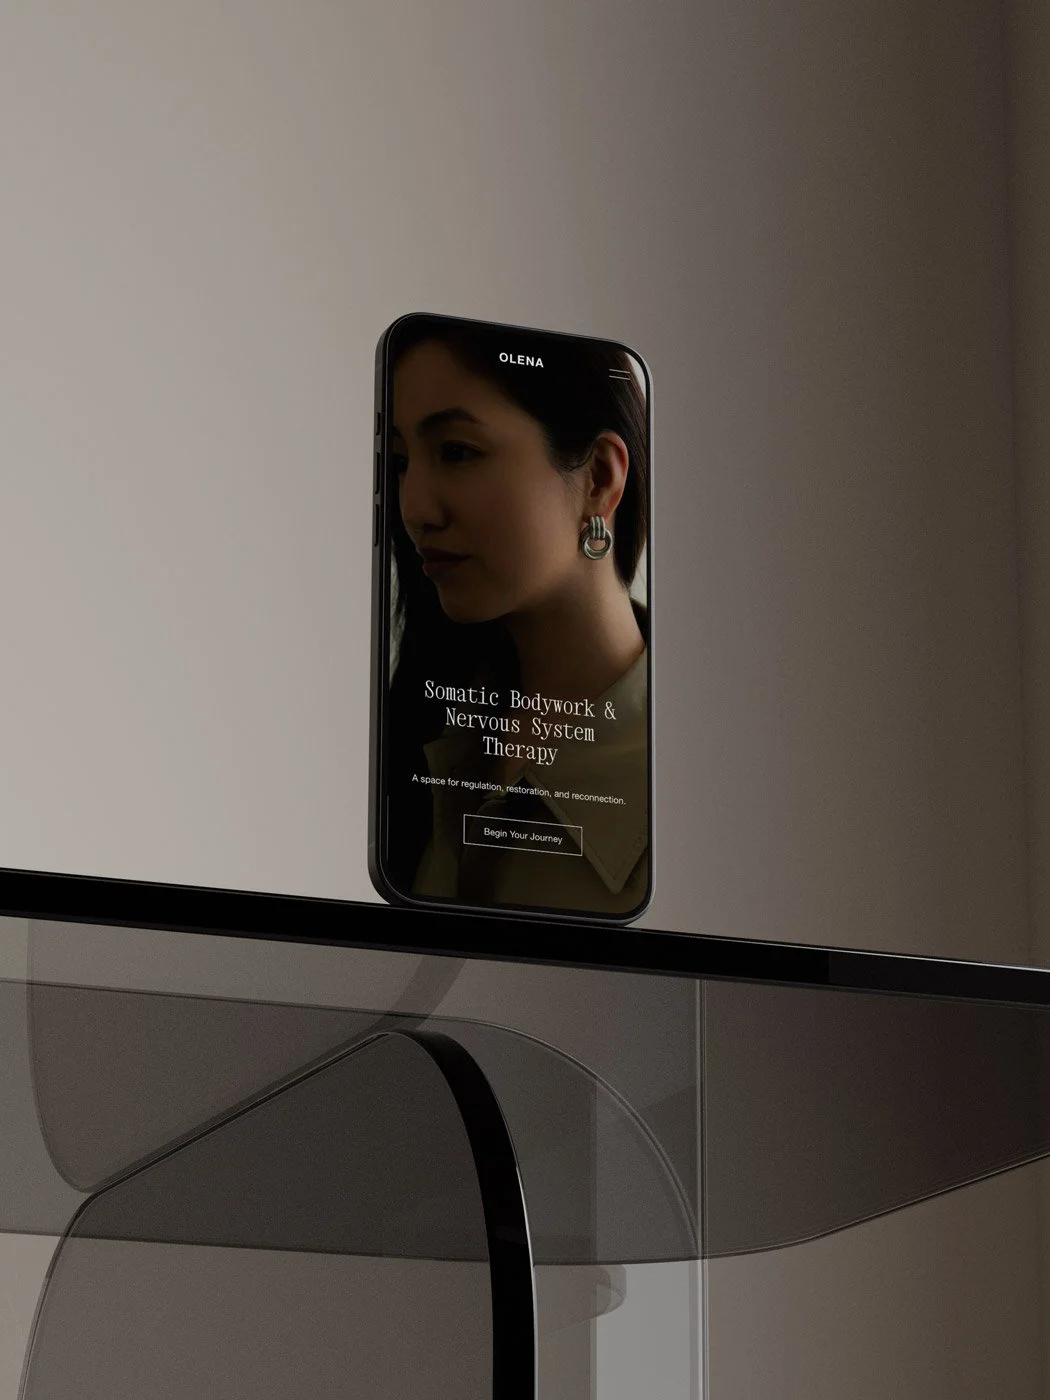
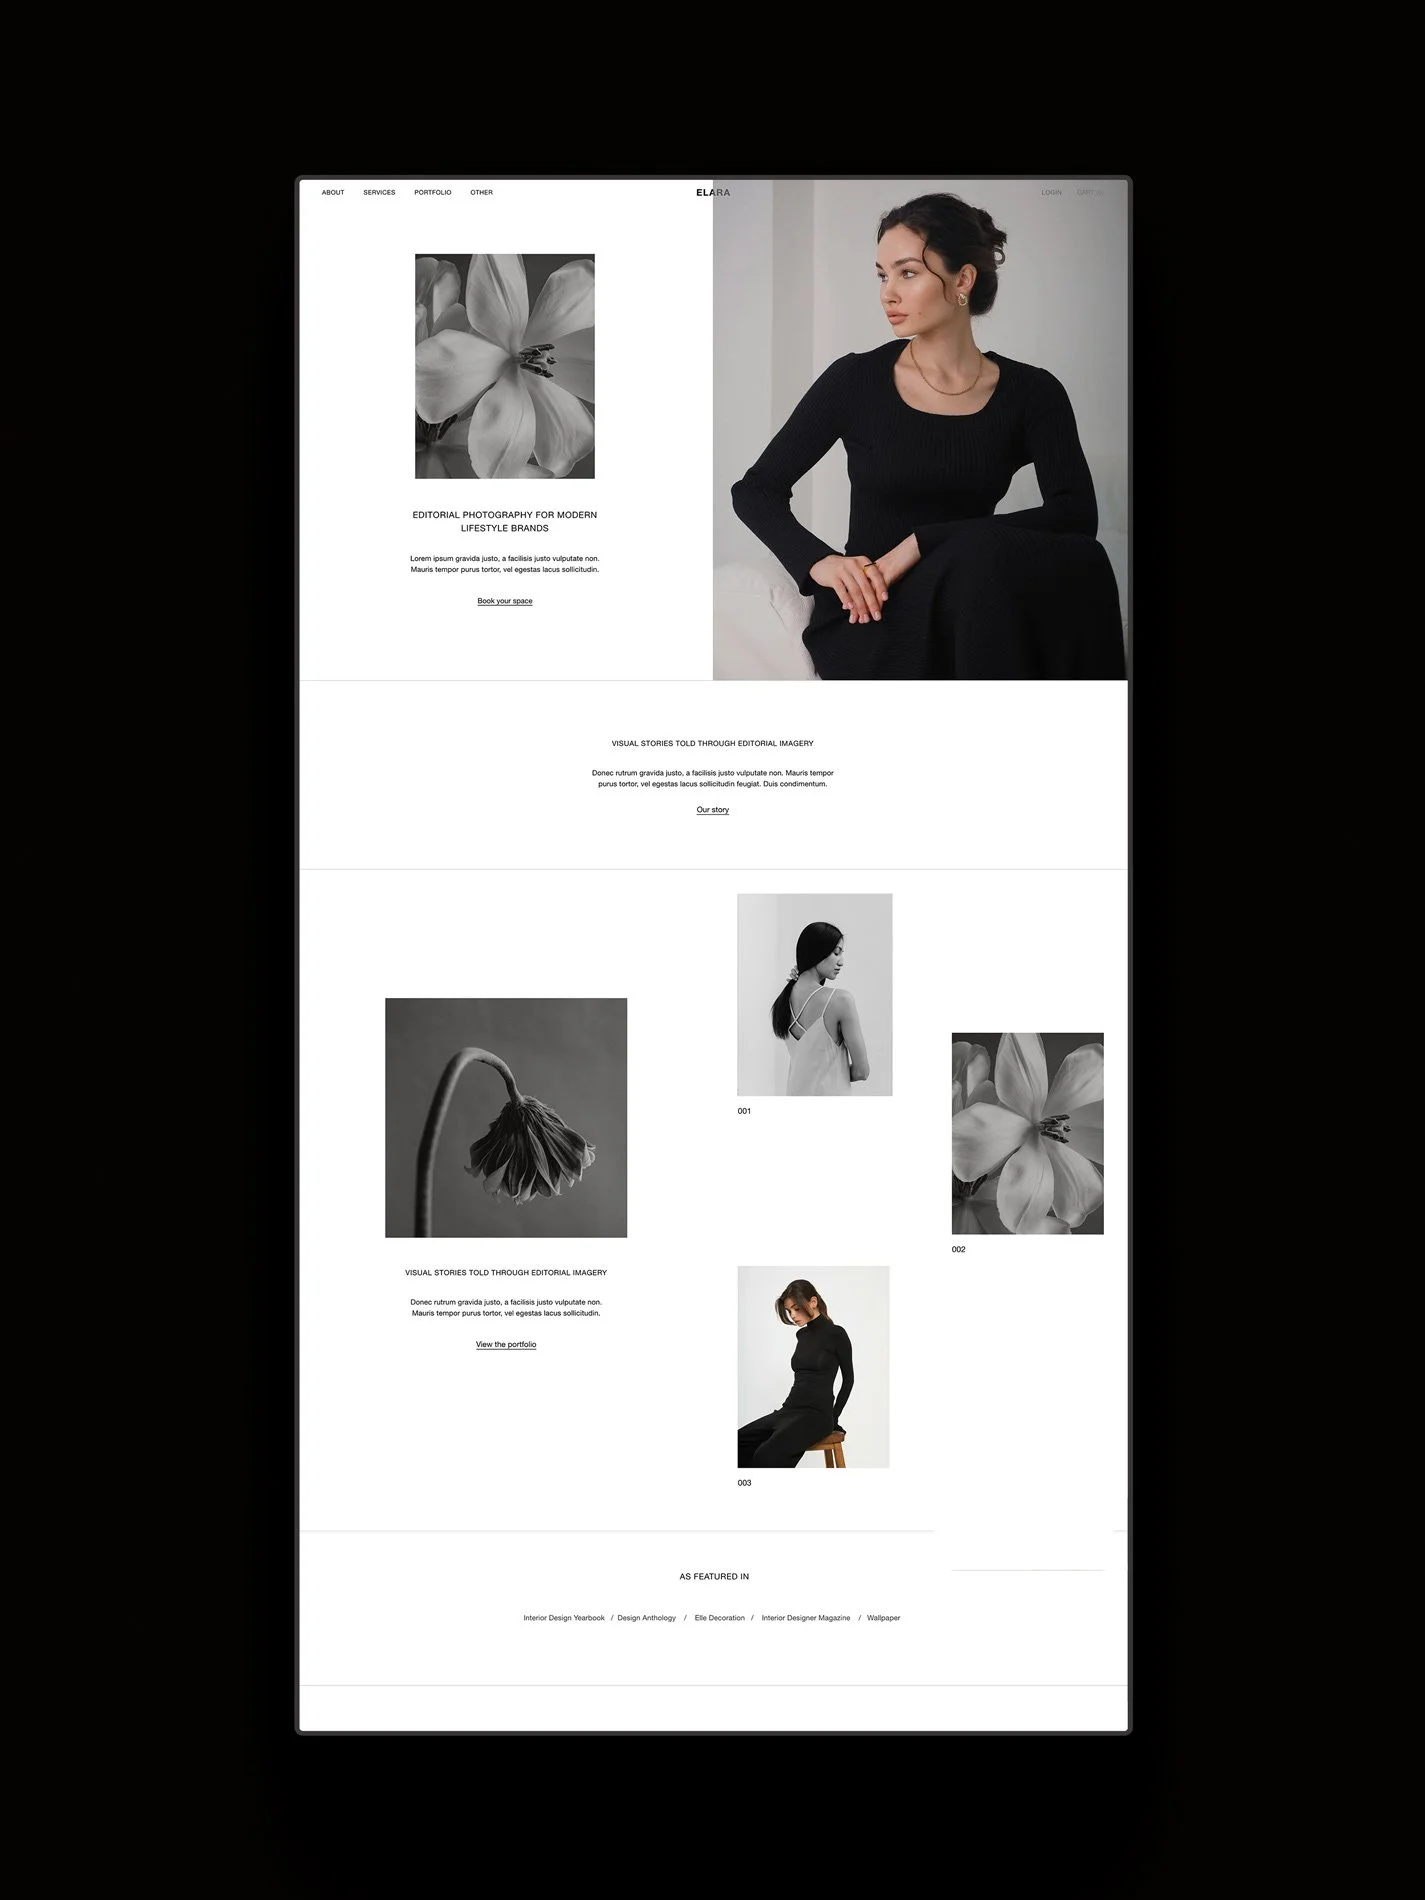
The Olena Squarespace template for therapists.
Why Should You Password Protect a Squarespace Website?
Password protection can be a valuable tool in a number of scenarios:
Private launches: Share your site with collaborators or beta testers before going public.
Client access: Create a secure area for projects, galleries, or downloadable documents.
Event hubs: Share wedding details, retreat schedules, or course information without making it visible to everyone online.
Exclusive content: Offer password-protected resources to paying clients or members without needing a full membership setup.
Work in progress: Launch with a password protected site while you build out your pages, so you can hand out limited access.
When someone visits a protected site or page, they’ll see a clean lock screen.
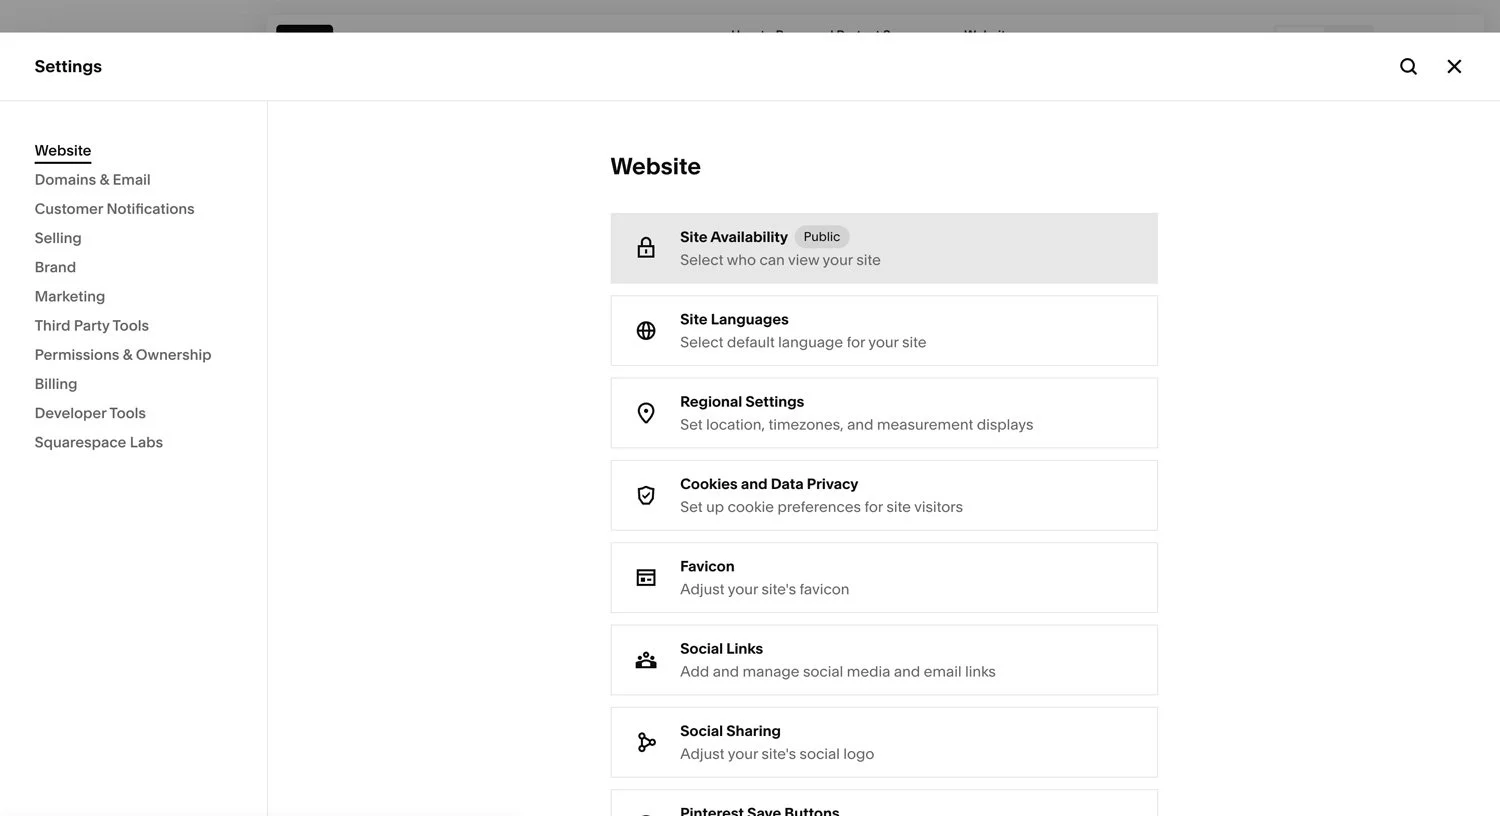
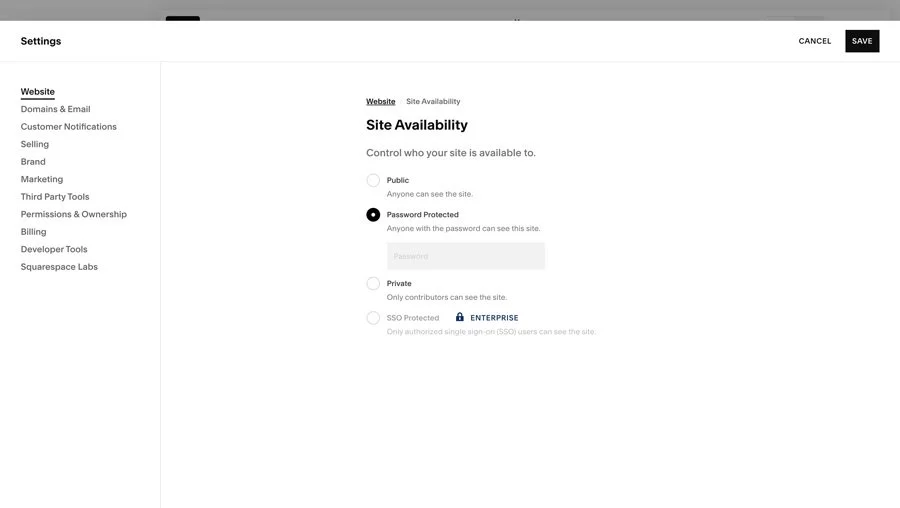
Step 1: Open Site Availability Settings
Here’s how to password protect Squarespace websites:
From your Home Menu, click Settings.
Scroll down and select Site Availability.
Choose Password Protected.
At this point, your site will be hidden from public view until someone enters the password. Visitors who try to access your domain will land on the password screen.
Step 2: Set Your Password
Once you’ve selected “Password Protected”, a field will appear where you can create your password.
Pick something easy for your audience to remember but not so obvious that strangers could guess it. Avoid reusing personal passwords, treat this more like a shared access code.
You can share the password either directly with clients or in a private message to your collaborators. Anyone with the password will be able to access your site, so think about who truly needs it.
Lastly, click Save. From now on, anyone visiting your website will see a password screen. Once they enter the correct password, they’ll be able to browse the full site normally.
How to Password Protect Individual Squarespace Pages
You don’t always need to lock down your entire website. Squarespace also lets you protect individual pages:
From the Pages panel, hover over the page you’d like to protect.
Click the Settings gear icon.
Scroll to the Password field and enter your chosen password.
Save your changes.
This option is useful for:
Client galleries with private work.
Resource libraries that you only want clients or students to access.
Member-only content without committing to a paid membership system.
You can set different passwords for different pages, so each client or project has its own secure access.

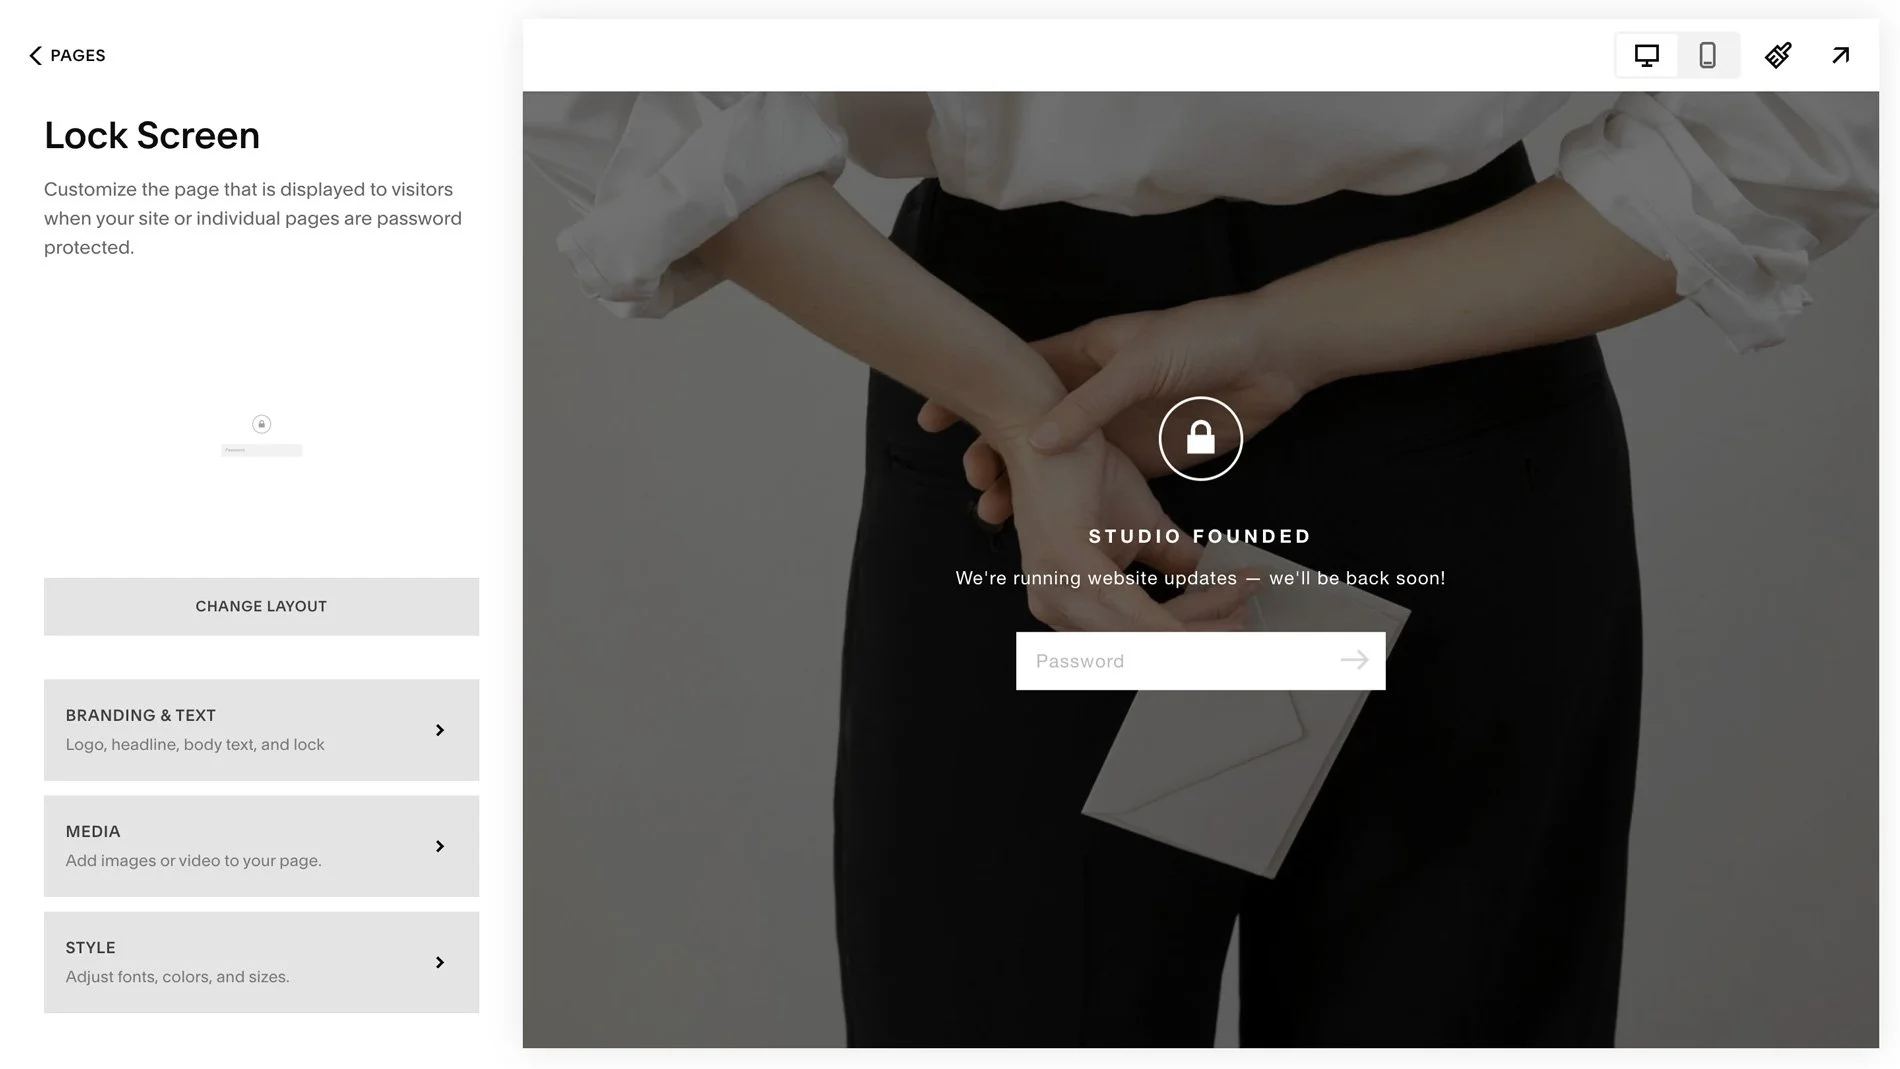
How to Customize the Lock Screen
Once you’re password is set, visitors to your site or pages will be greeted by a lock screen.
You can customize it by visiting Pages > System Pages > Lock Screen. From here, you can:
Add your site title or logo
Useful if you want visitors to immediately recognize where they are.
Adjust fonts
Font controls are available, though more limited than your main site styles. You can still refine the look so the screen feels visually aligned with your site.
Add a background image
A considered background image can transform the lock screen from a functional barrier into something that feels intentional and designed.
How Password Protection Affects SEO
Password protection has a direct effect on how search engines see your website:
Entire site protected: Search engines like Google cannot crawl or index your site. It won’t appear in search results until you remove the password. This is ideal if you’re still building your site and don’t want unfinished content visible.
Individual pages protected: Public pages remain visible to search engines, while protected pages stay hidden. This means your homepage, blog, and services can still rank on Google even if you’re using private areas for client work.
Tip: If you’re preparing for a launch, keeping your site password-protected until everything is ready can prevent Google from indexing half-finished pages or broken links. Once you’re ready, remove the password so your site can start appearing in search results.

An Alternative to Password Protecting: Squarespace Member Areas
If you need something more advanced (like recurring logins, payments, or structured gated content) Squarespace’s Member Areas feature is a better fit. Instead of one shared password, you can:
Create free or paid memberships.
Give each user their own login.
Offer tiered access to different sections of your site.
Integrate with payment systems for recurring subscriptions.
This option works well for online courses, digital products, or communities where you want members to log in regularly.
FAQs
-
No. When your entire site is password protected, search engines cannot crawl or index your pages. Your website will not appear in search results until the password is removed.
-
Only that specific page is hidden. The rest of your website remains visible to search engines. Your public pages can still be crawled and ranked normally.
-
Password protection blocks access entirely. Noindex keeps the page publicly visible but instructs search engines not to display it in results. Search engines can still crawl noindexed pages.
-
It is effective for controlling access, not for protecting highly sensitive information. It works well for client work, pre-launch sites, and private resources, but should not be treated as a substitute for high-security systems.
-
Not through normal browsing. Without the password, visitors cannot access protected content. However, anyone who has the password can share it.
-
Yes, you can switch your site back to Public at any time. Go to Settings > Click Site Availability > Select Public > Click Save.
-
Password protection works best for temporary or shared-access scenarios. Member Areas are better for structured gated content, recurring logins, or paid memberships.
-
Squarespace does not currently offer automated password scheduling. Visibility must be changed manually.
Final Thoughts
Whether you’re soft-launching your website, creating a client-only gallery, or building exclusive resources, you can password protect Squarespace sites and gain control over who can see your content.
You may also like:
How to Login to Your Squarespace Site (Step-by-Step)
How to Switch to Squarespace 7.1. (Step-by-Step)
How to Start a Blog on Squarespace: The 7-Step Guide
Shop Squarespace Templates


Continue Reading